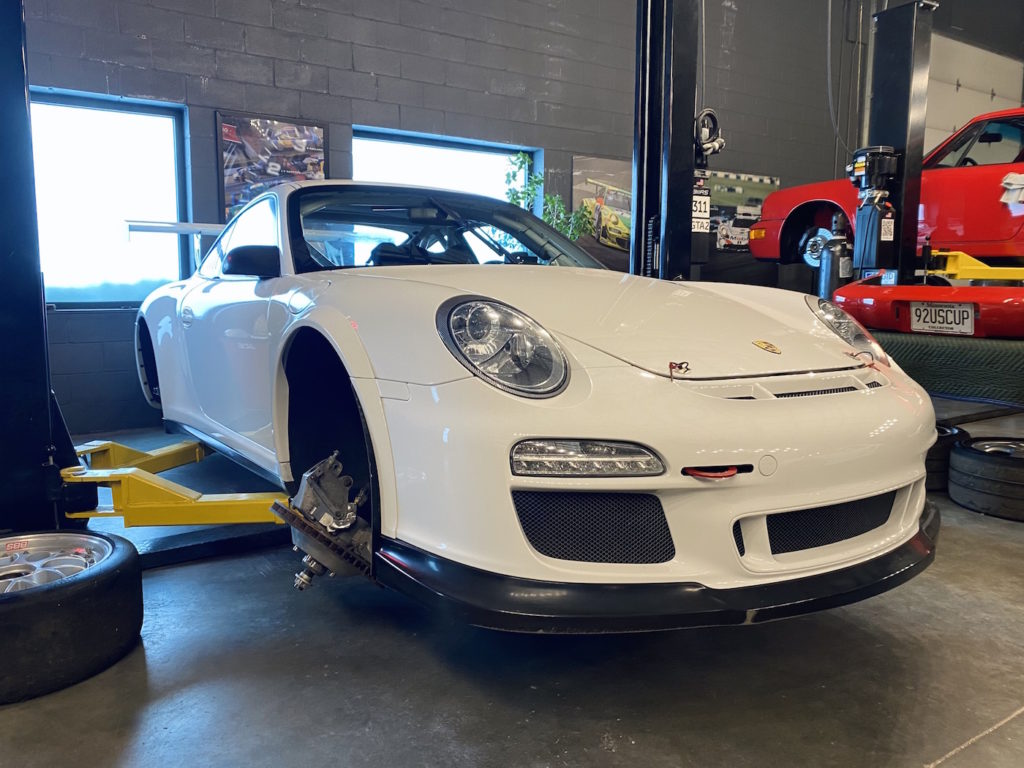
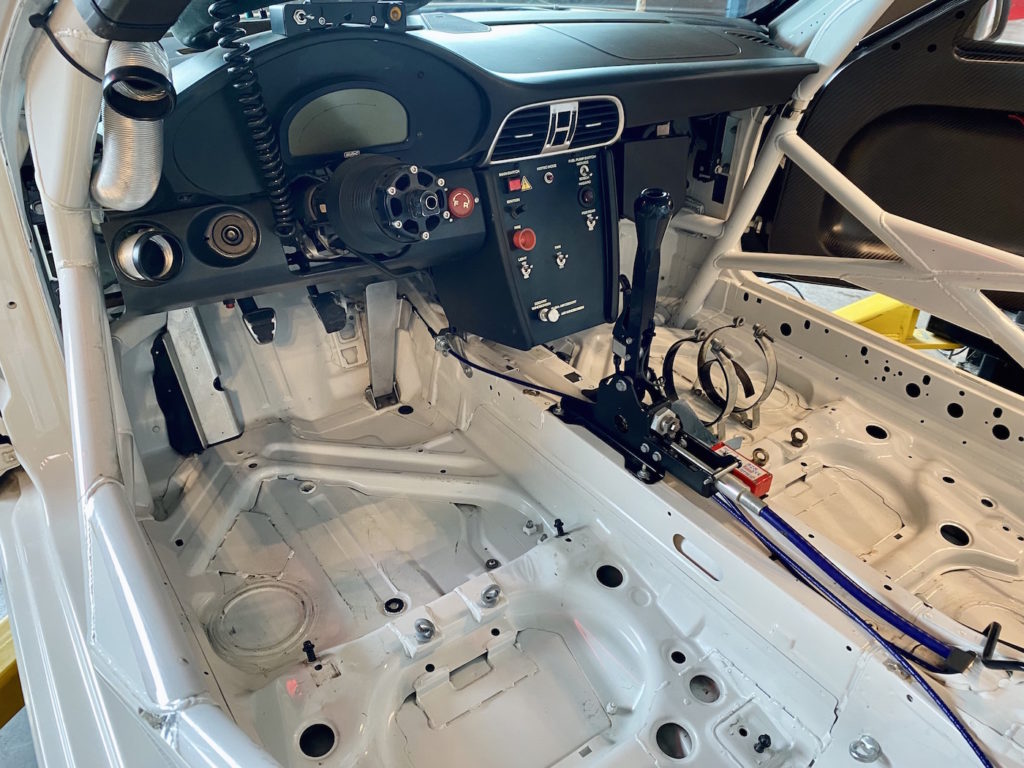
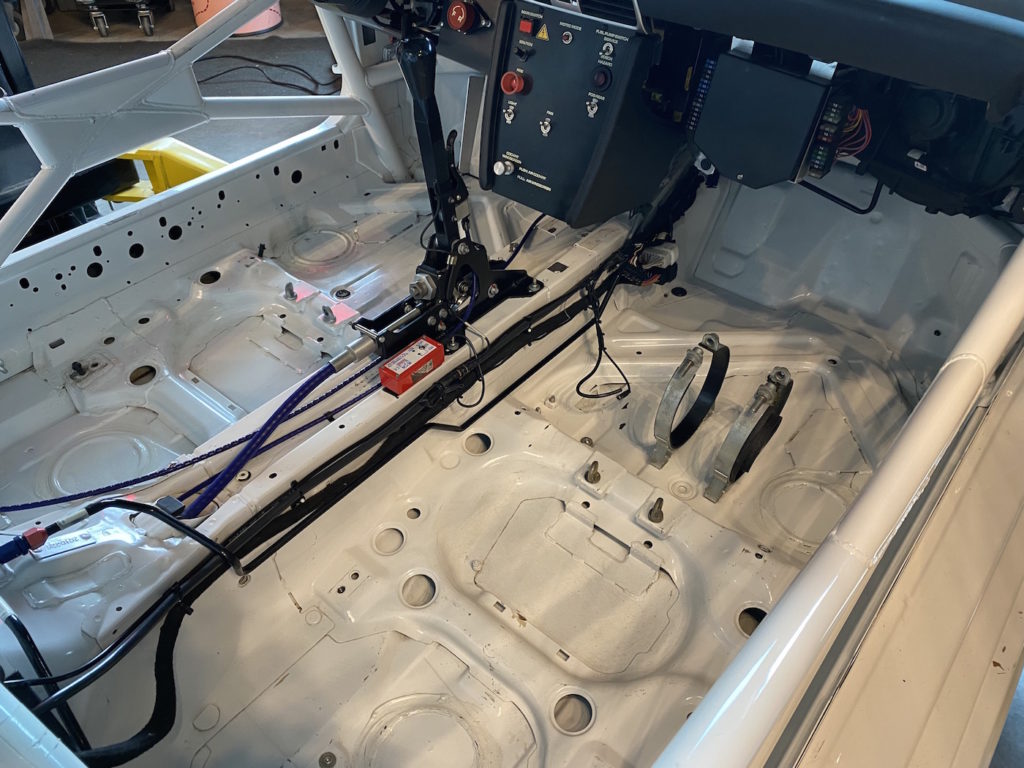
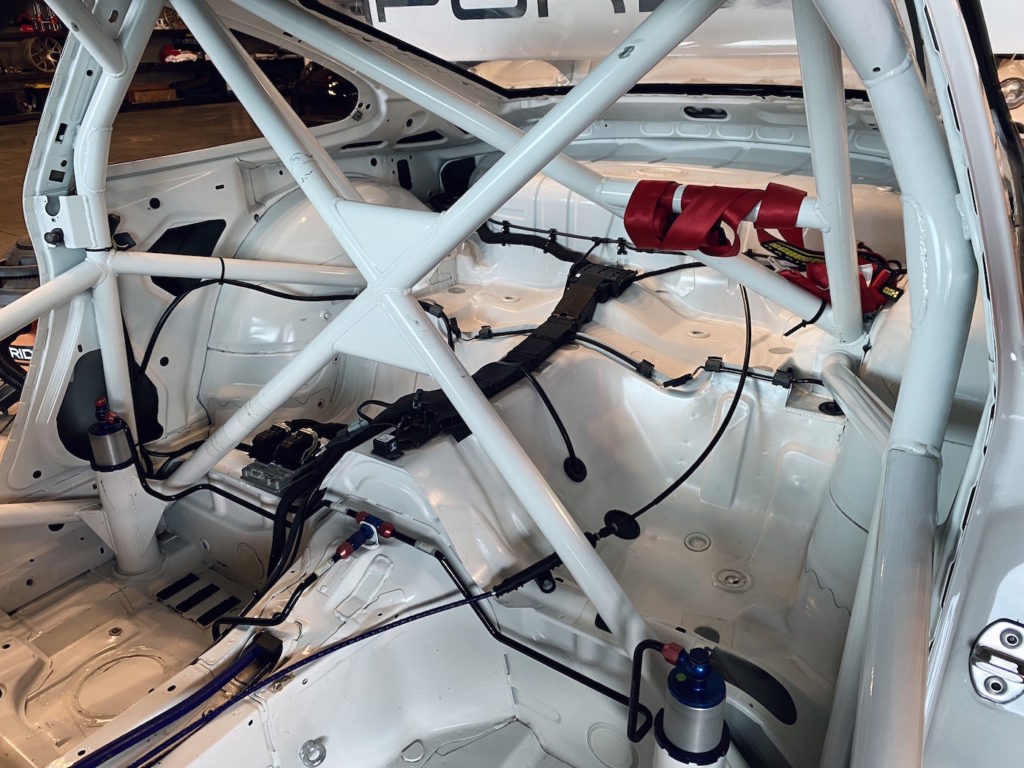
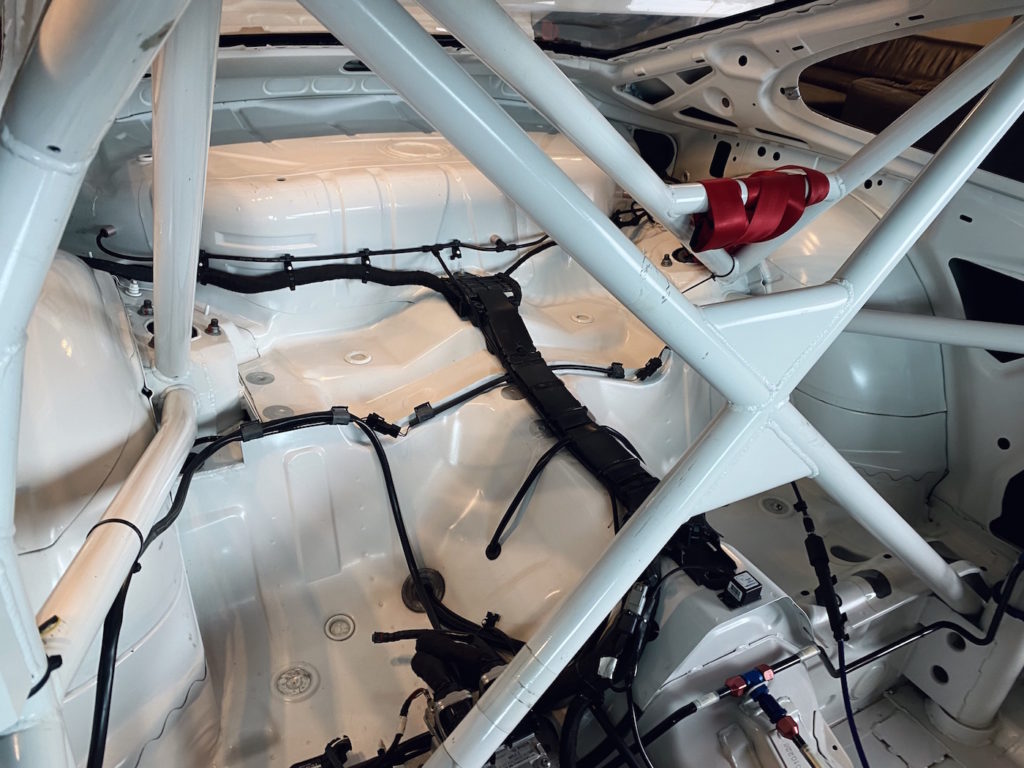
2011 Porsche 911 (997.2) GT3 Cup
Project Scope
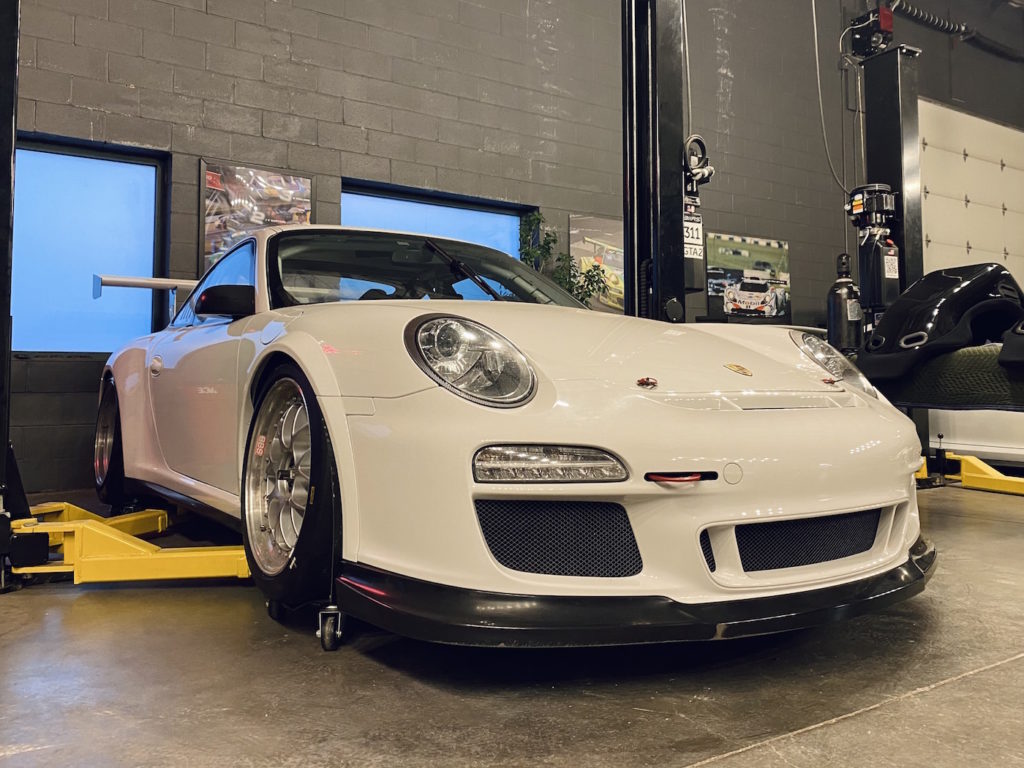
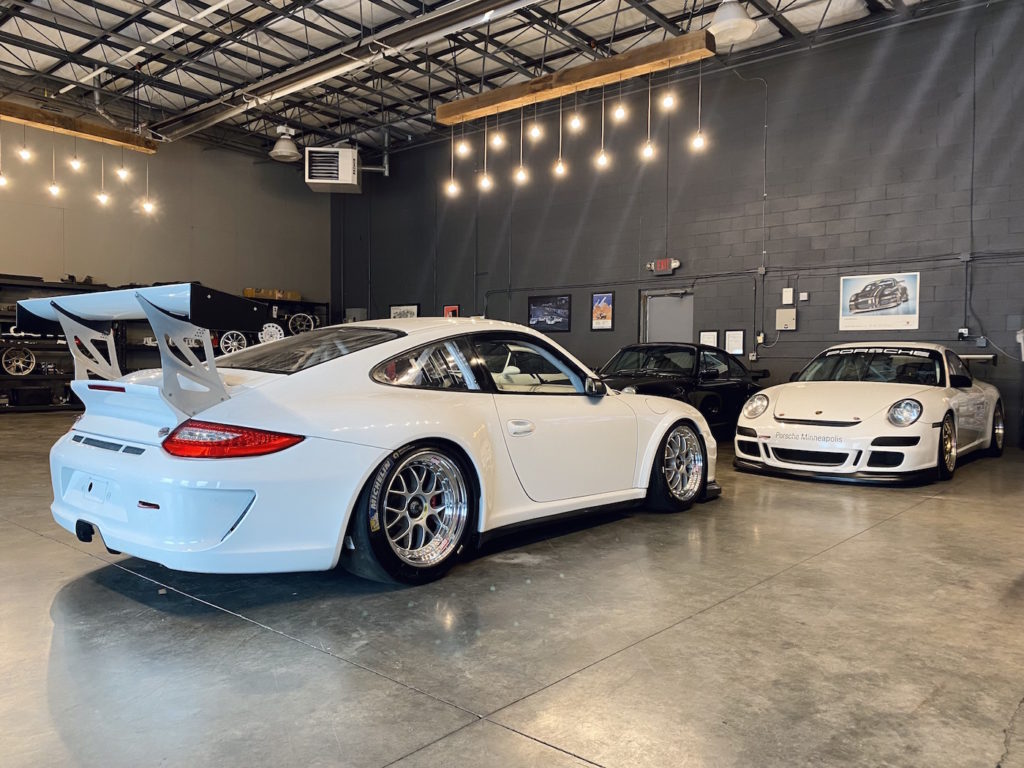
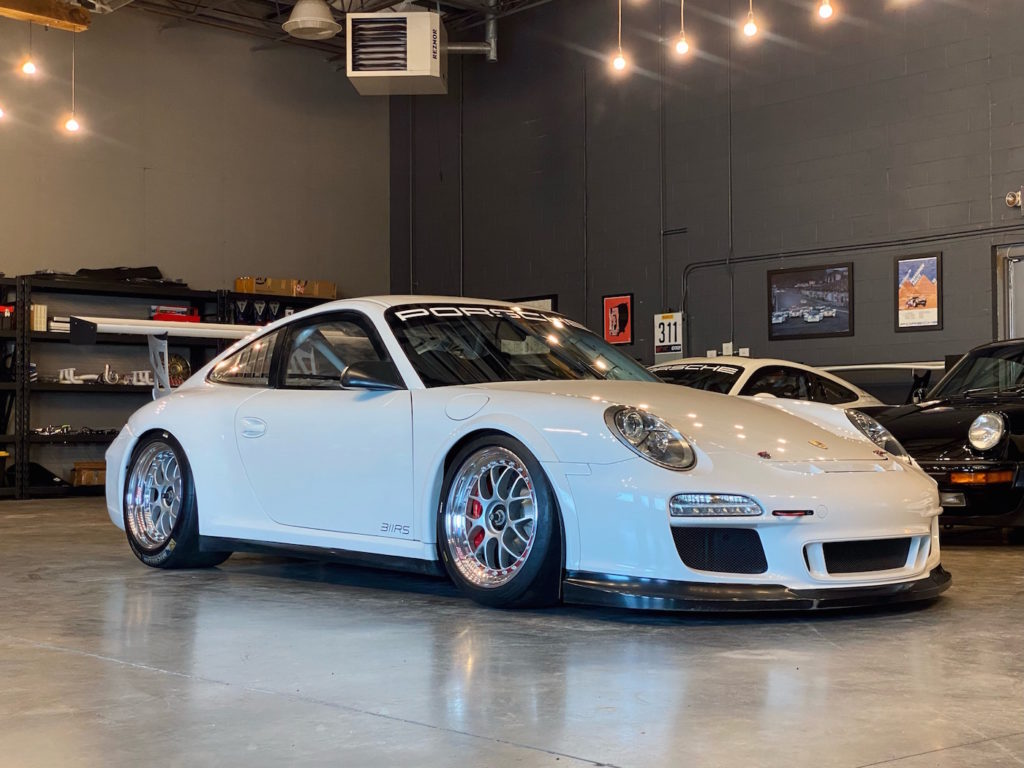
This 2011 Porsche 911 (997.2) GT3 Cup VIN: WP099ZBS798277 came to us via the Kirvida collection with 13,908km (8,642mi) in good condition. The car was ran in UK by previous owner, who claims it has not been run in years.
Our goal first and foremost is to ensure the car is in good operating condition and safe to drive after years of idle status. From there, we use “elbow grease” to tidy up the details inside and out in order to improve functionality and presentation of this 997.2 GT3 Cup.
Service History
Not much is known about the history of the vehicle, as the previous owner (Karl Leonard) as well as the shop that operated it (PARR) neither have much information.
We will do our best to determine hour life of many components during this process. Visual inspection shows most of the wear items are in good condition. Certain items such as the brake pads, tires, and fluids will be replaced with fresh items.
See below for initial work list planned for this 2011 Porsche 911 (997.2) GT3 Cup:
Originality
This 2011 Porsche 911 (997.2) GT3 Cup is largely original.
An initial inspection shows only minor repairs to the car. The front bumper appears to have been replaced at one point, along with the front radiators. The rear bumper & heat shields have taken a few hits but are in “working order”. This is normal for race cars that have lived life on track.
Further inspection will lead to a final diagnosis of condition & originality.
Progress
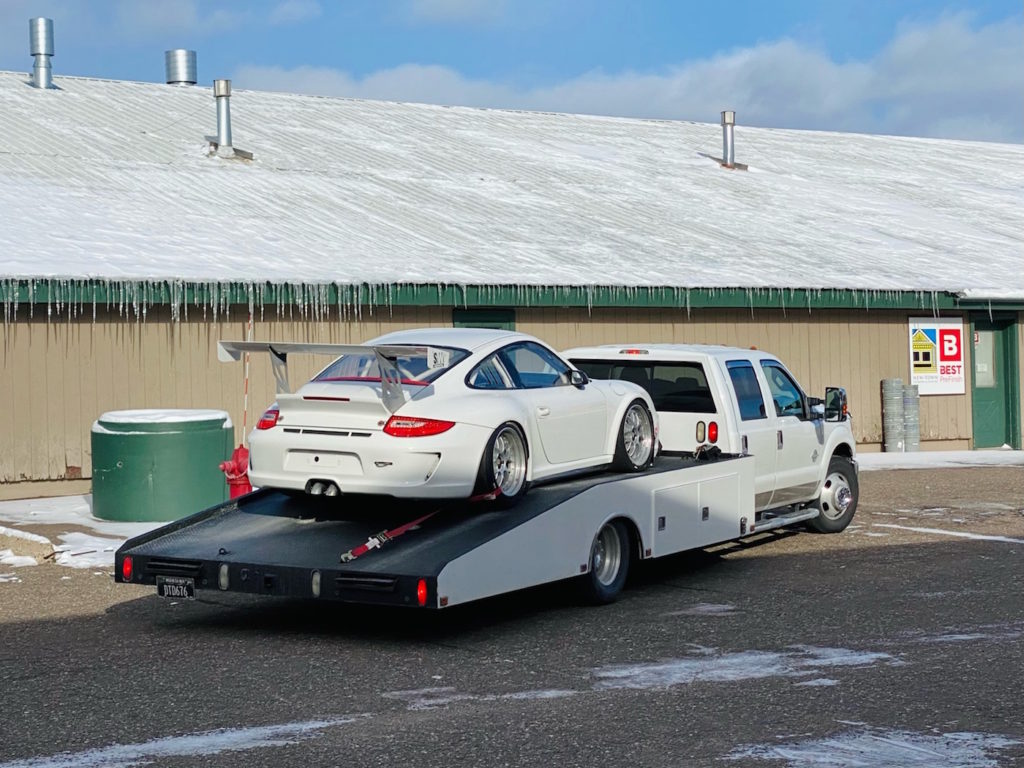
11/19/22: The car arrives via flatbed.
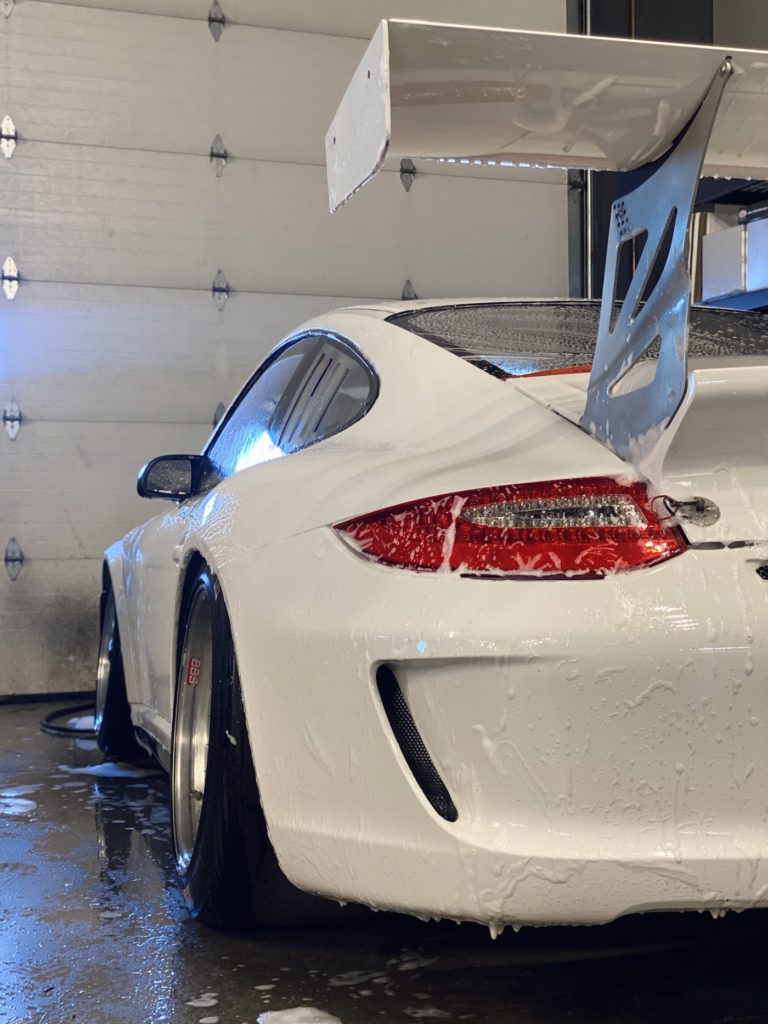
11/20/22: First order of business was to wash the car having been open topped to 311RS HQ mid-winter. This part of the process is always a pleasure, as it allows us to get acquainted with the vehicle and reveal it’s “true” colors.
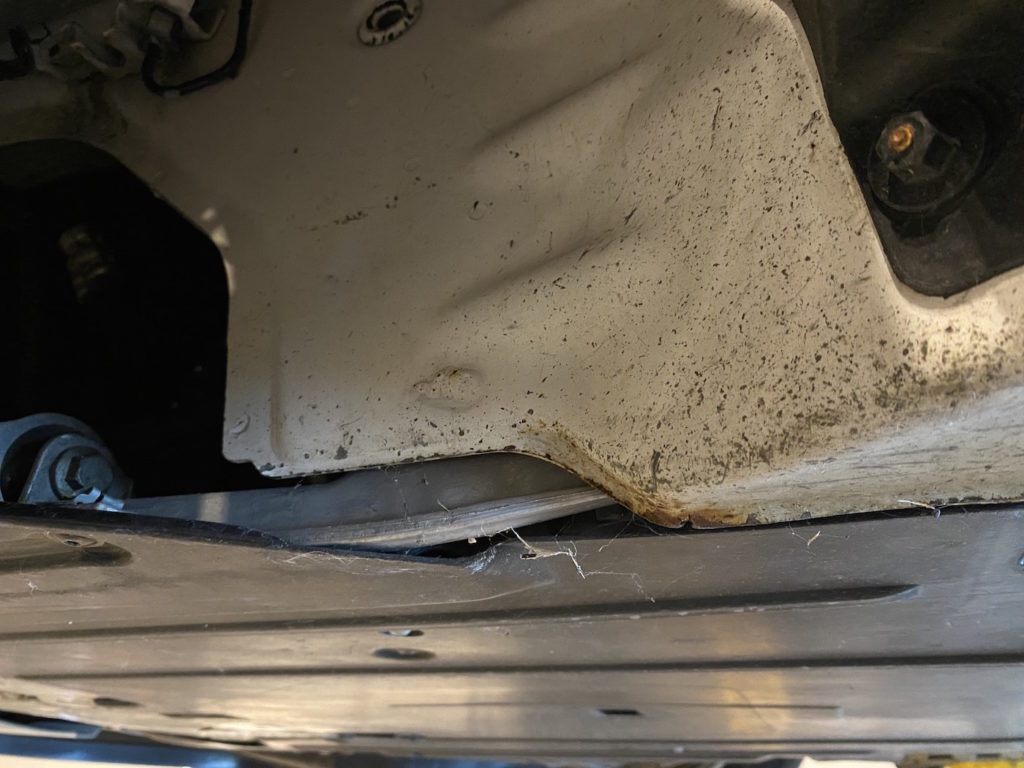
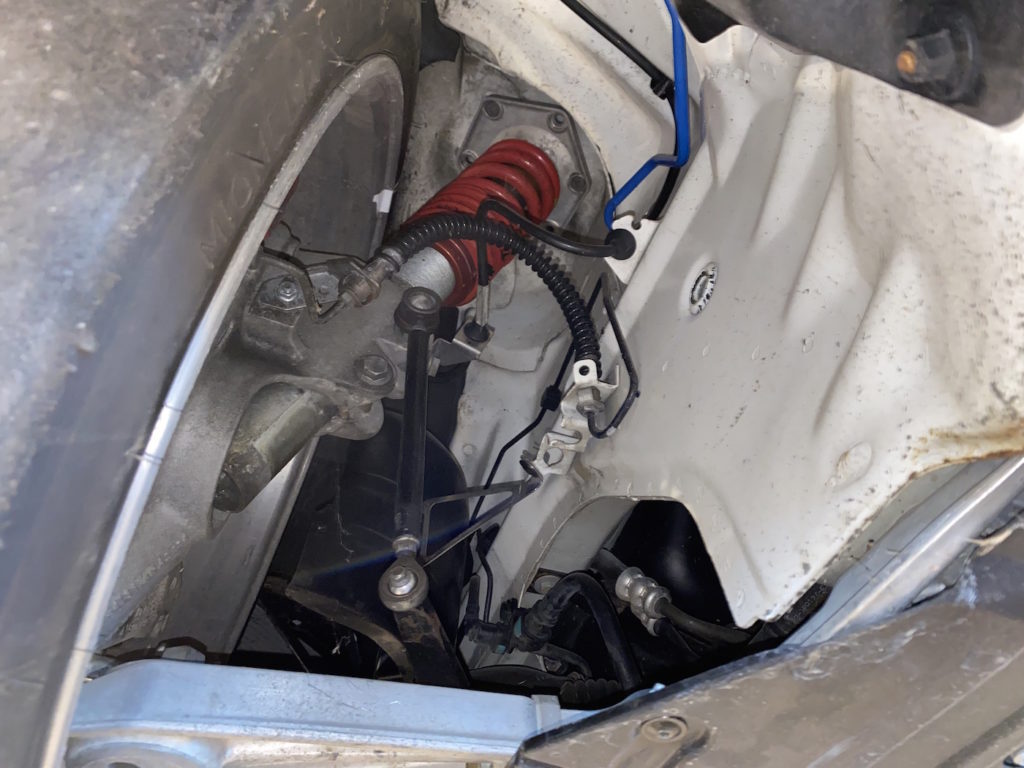
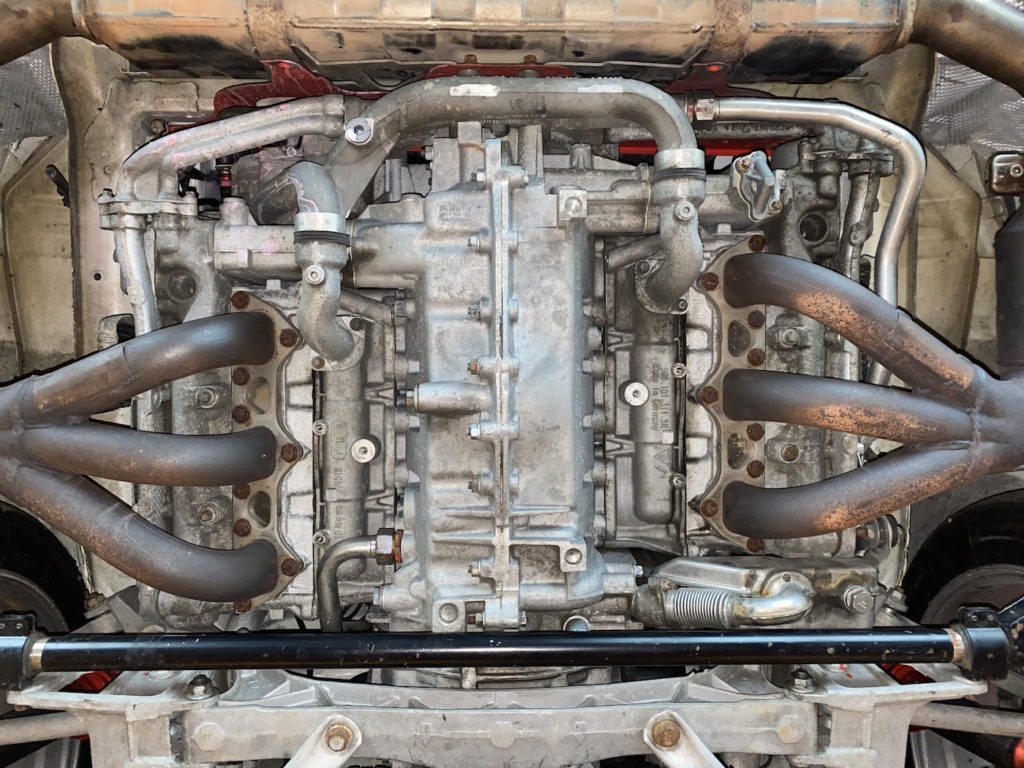
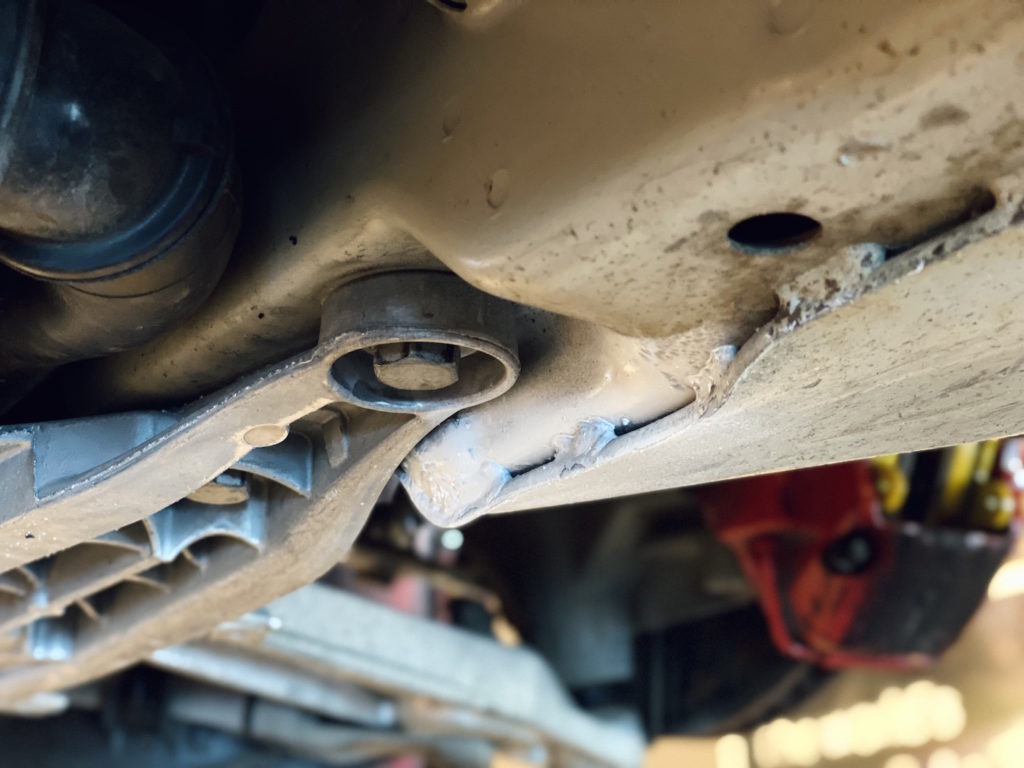
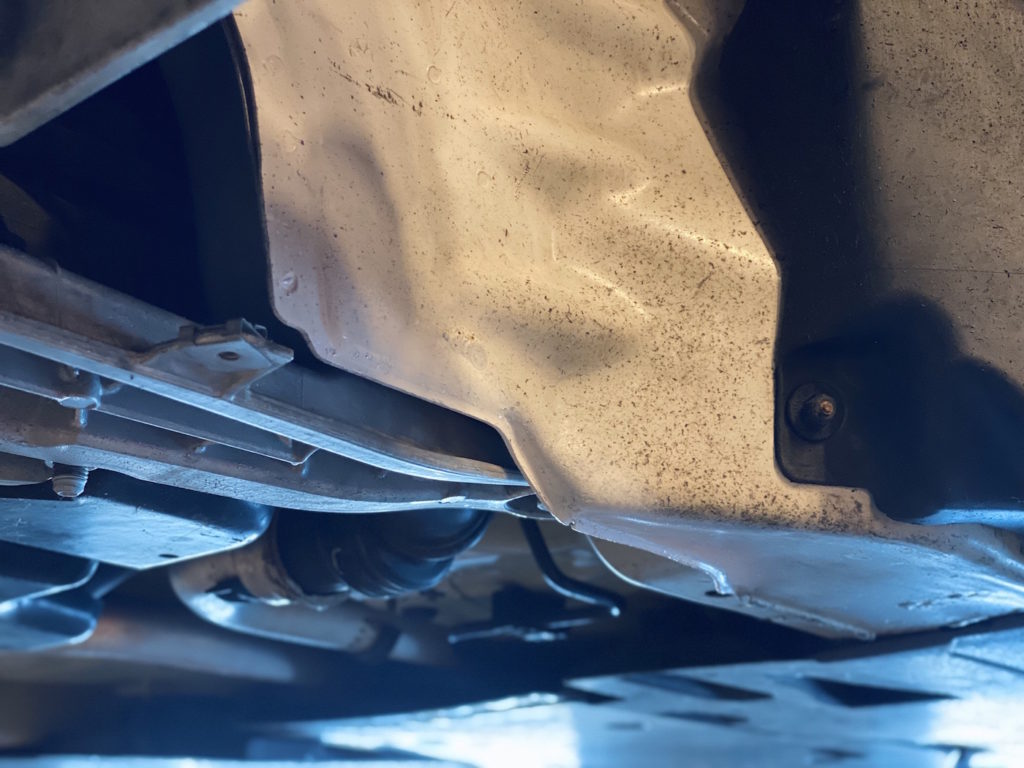
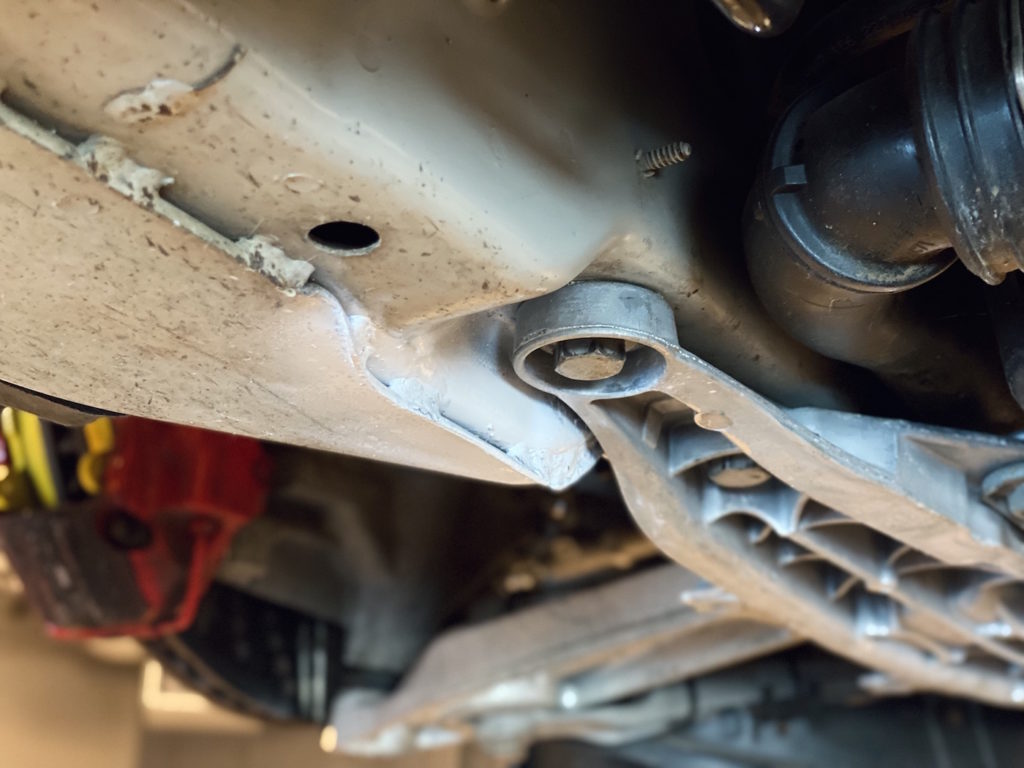
11/21/22: Initial inspection & creation of work list. Largely original underneath with signs of prolonged idle status (surface rust, cobwebs, etc.). Engine free of leaks. Wheel bearings are tight, no slop in the axles. Overall no major items to report at this time.
Examples of slight surface rust:
Left Front corner:
Right Front corner:

Left Rear corner:
Right Rear corner:
Engine:
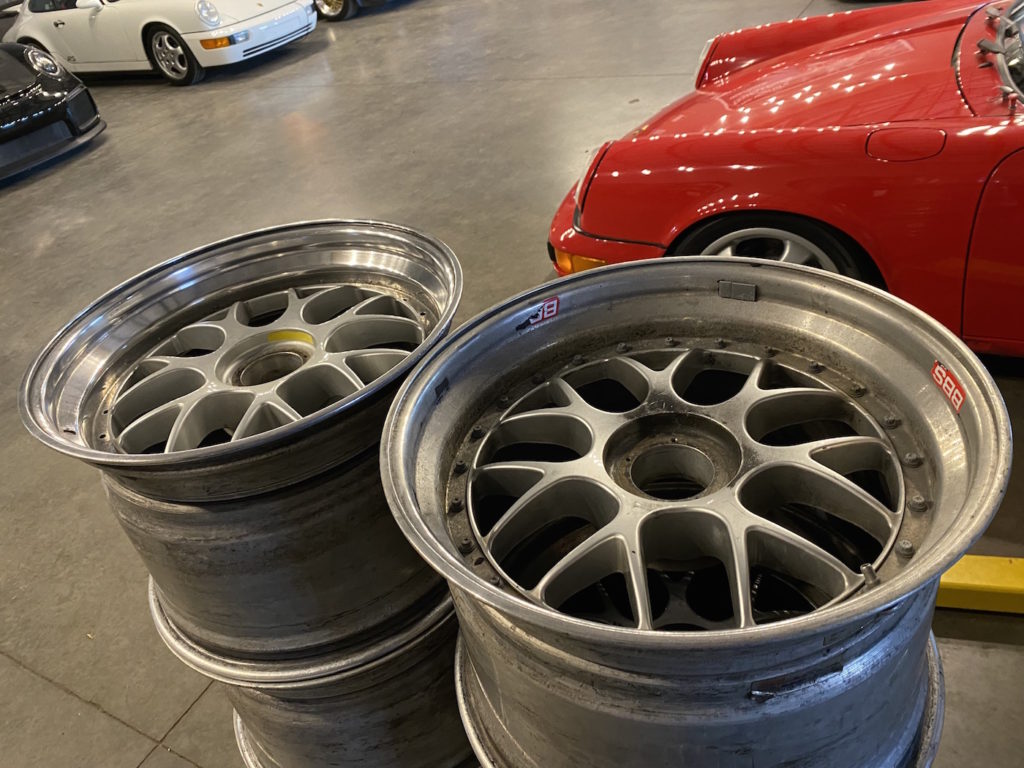
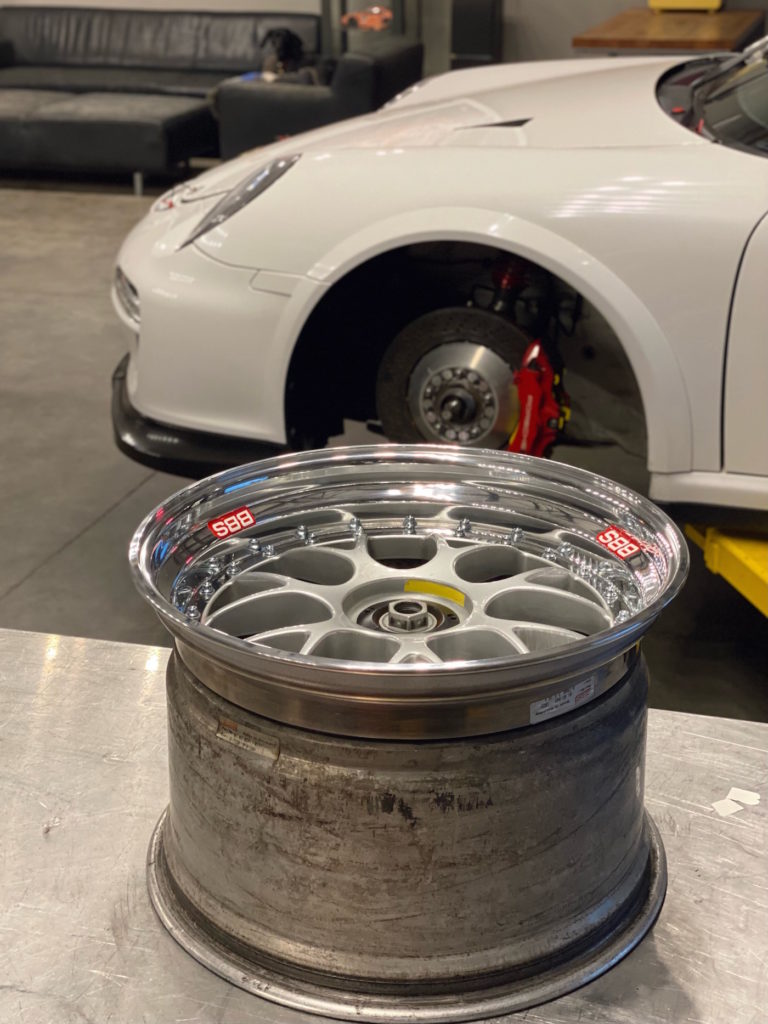
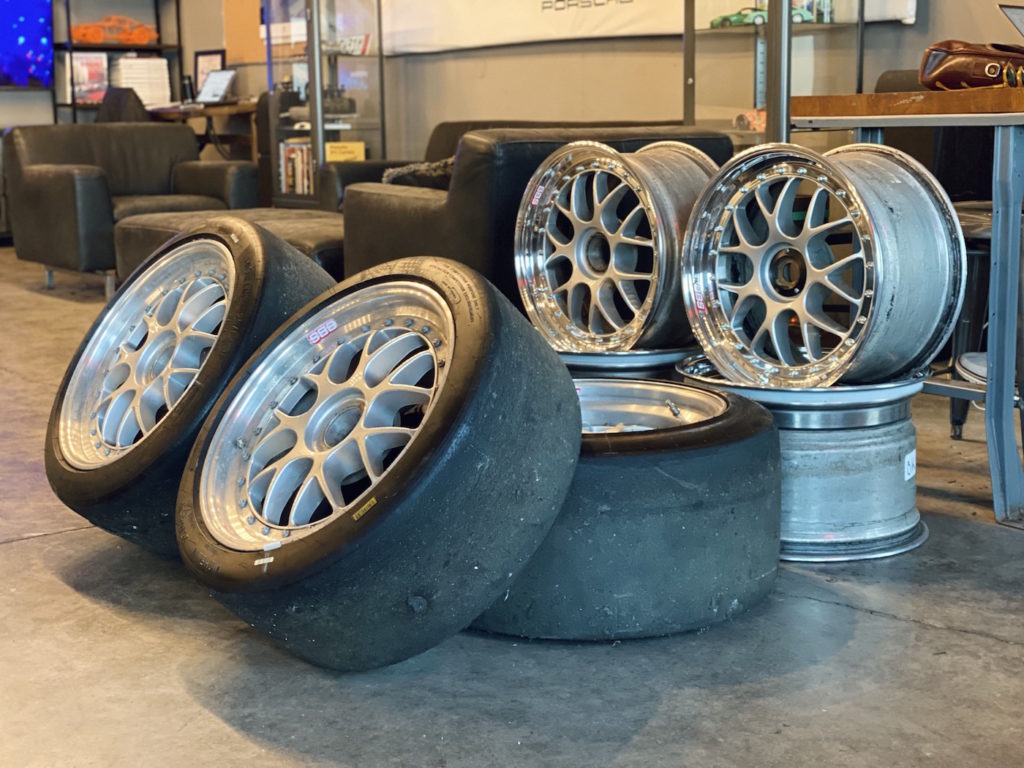
11/23/22: Following initial inspection, we used APEX Wheel & Tire to test the BBS wheels (3 sets) for trueness on-site. Most passed, with only two units (one front & one rear) considered “bent”. These can be used as spares.
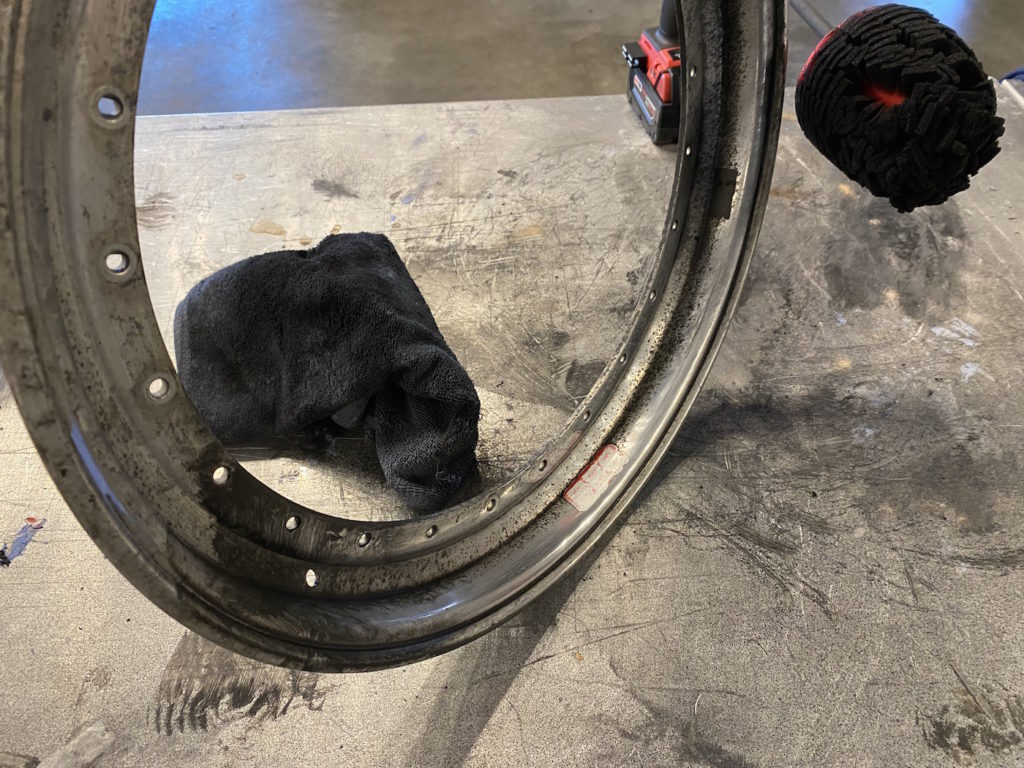
Next came visual inspection of the wheels. It appears the wheels have sat idle along with the car. This caused a bit of pitting on the finish of the raw aluminum, some wheels worse affected than others. We polished all outer wheel halves and most are presentable. The wheel centers cleaned up rather nicely and do not need to be refinished to present well.
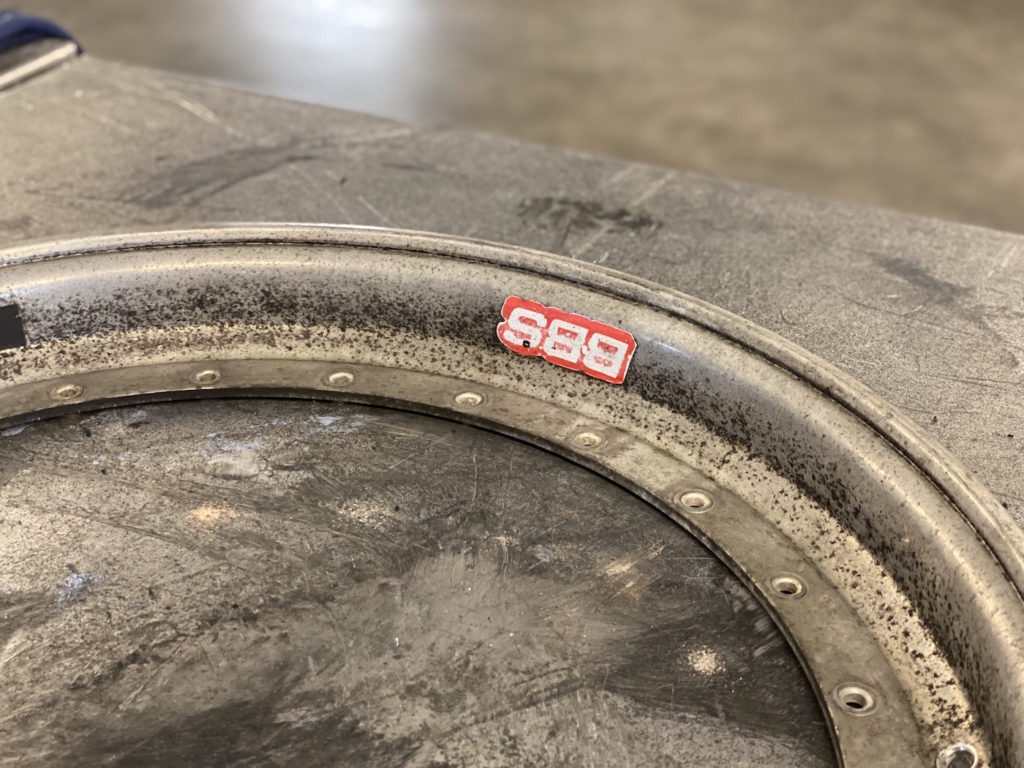
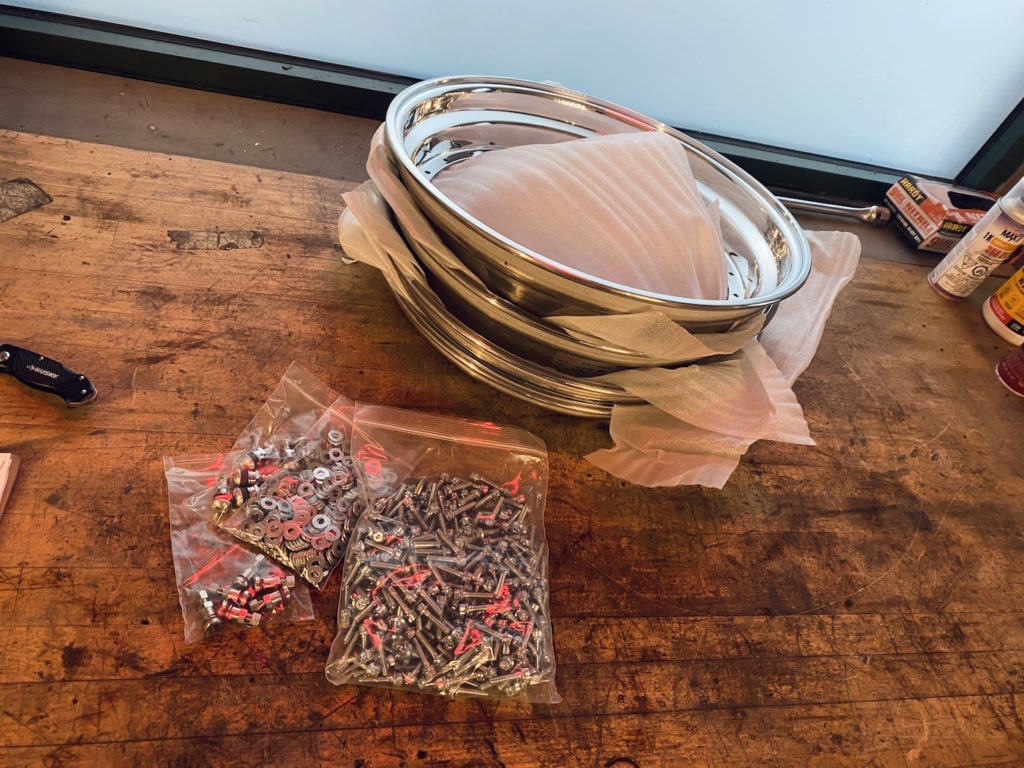
Further inspection of the wheels showed cracked gaskets in between the inner & outer wheel halves along with the valve stems – it was decided to replace all hardware & gaskets with new BBS units, along with one set of new outer wheel halves (2 front & 2 rear) to have a single set of wheels that present “as new”. These items were ordered early Dec with expected delivery from BBS early January.
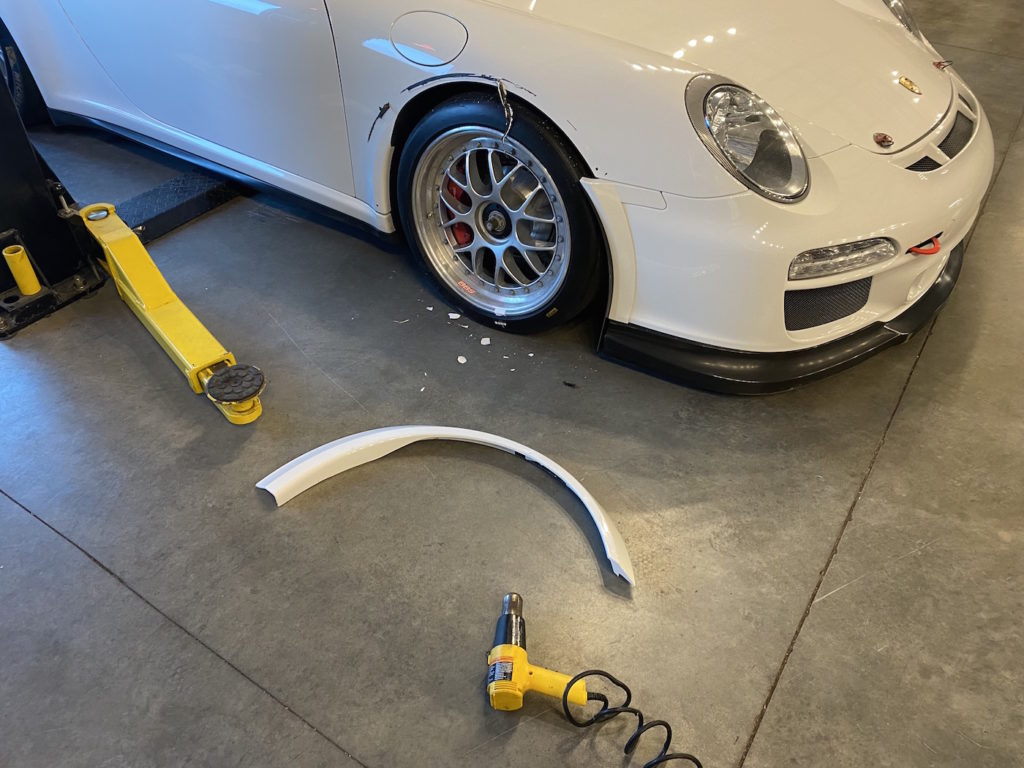
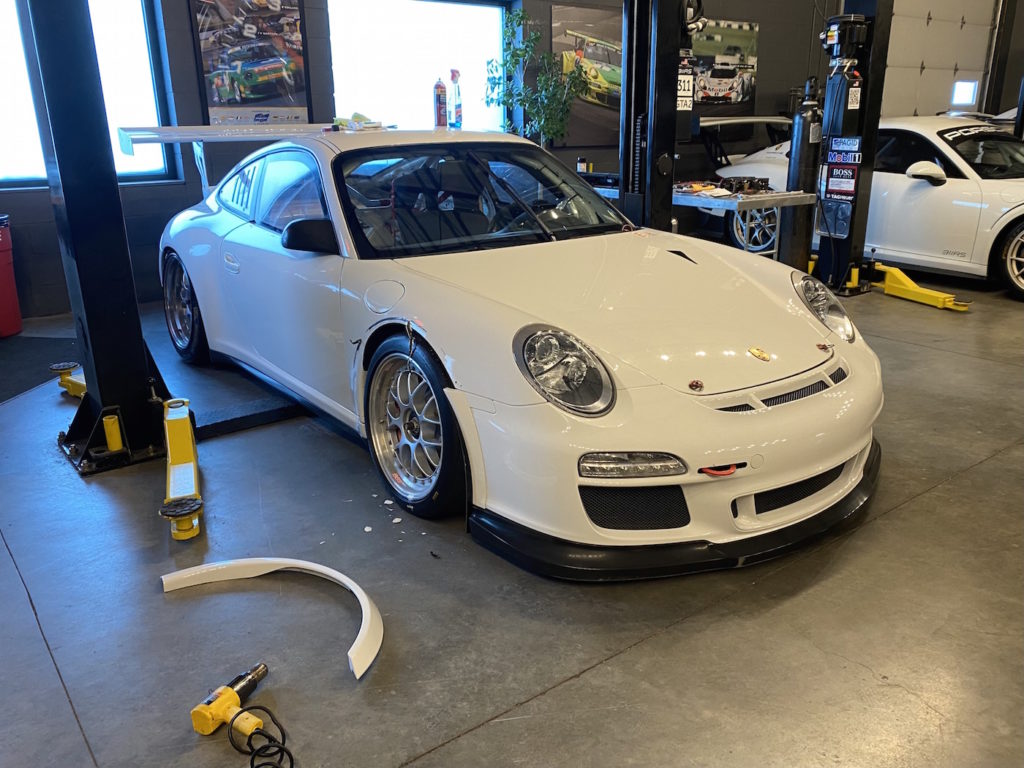
12/27/22: We returned to the shop after a few weeks overseas and began to chip away at the work list. This began with fixing the loose front passenger fender flare.
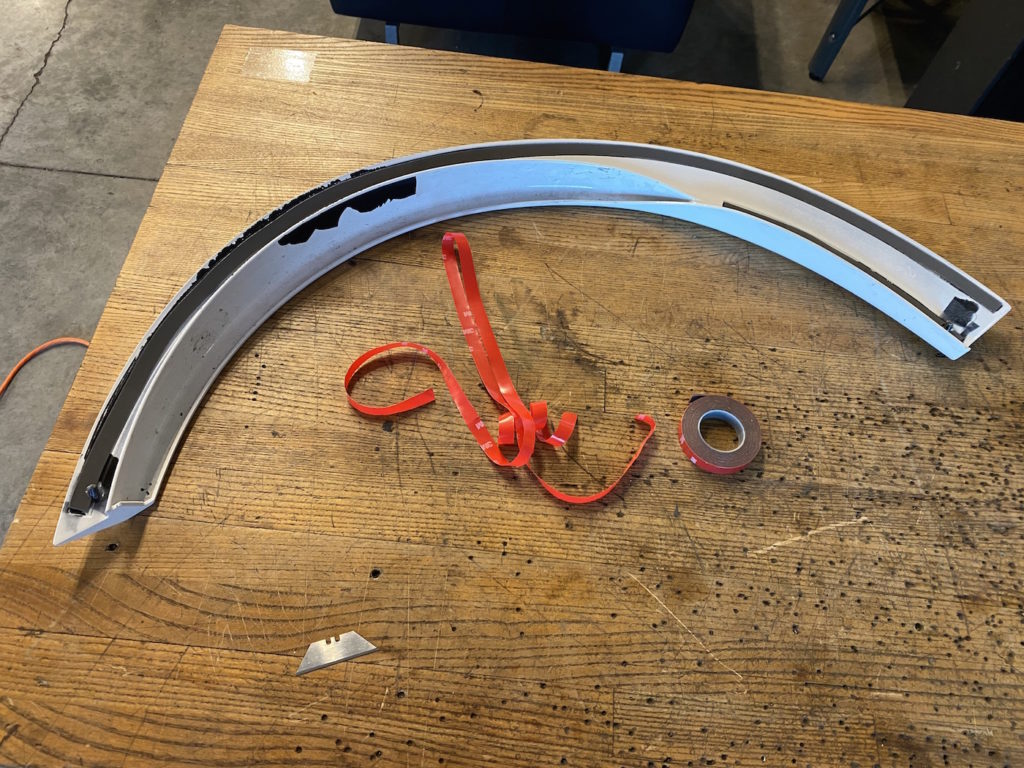
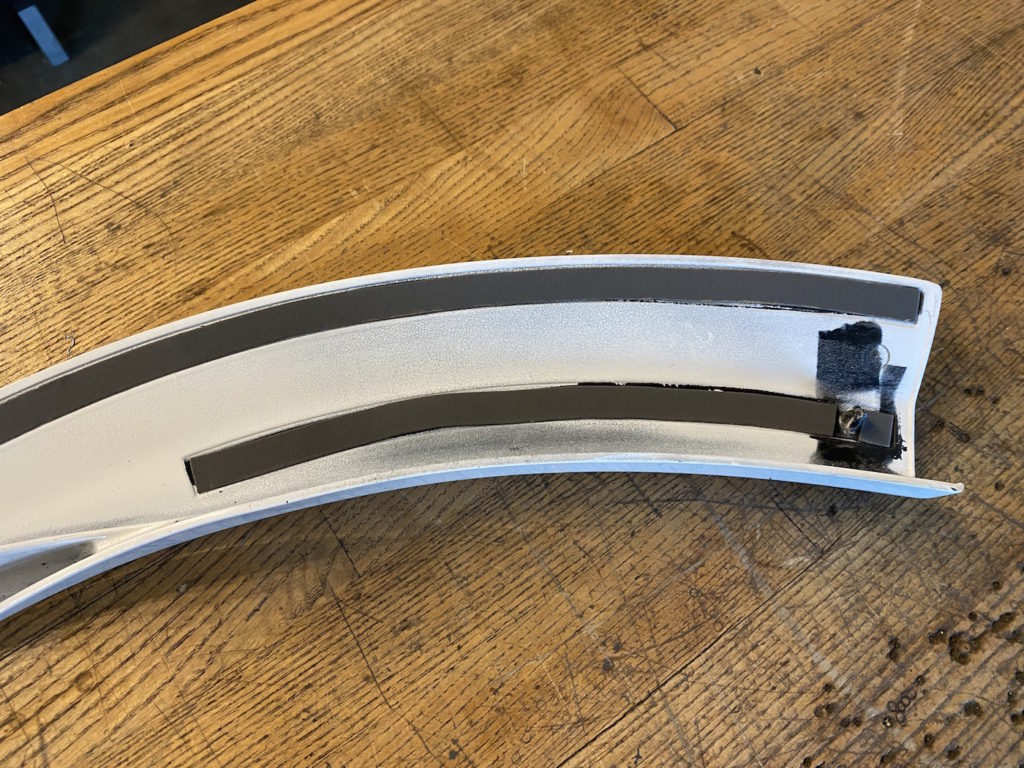
The fender flare was removed with only minor flaking on the underside of the flare itself (appears to have been repainted at some point). Paint on the body was unaffected. The process continued with removal of existing tape, new double sided body tape applied to the flare, body cleaned and prepped, and finally the fender flare reinstalled. The driver’s side fender flare is currently not an issue.
12/28/22: Fuel drained – a total of 7 gallons were removed from the car. The car was supplied with a 997.1 GT3 Cup fuel pump out hose, we used a 997.2/991/992 fuel pump out hose we had on hand. We suggest client source the correct unit for this car (we can help via PMNA).
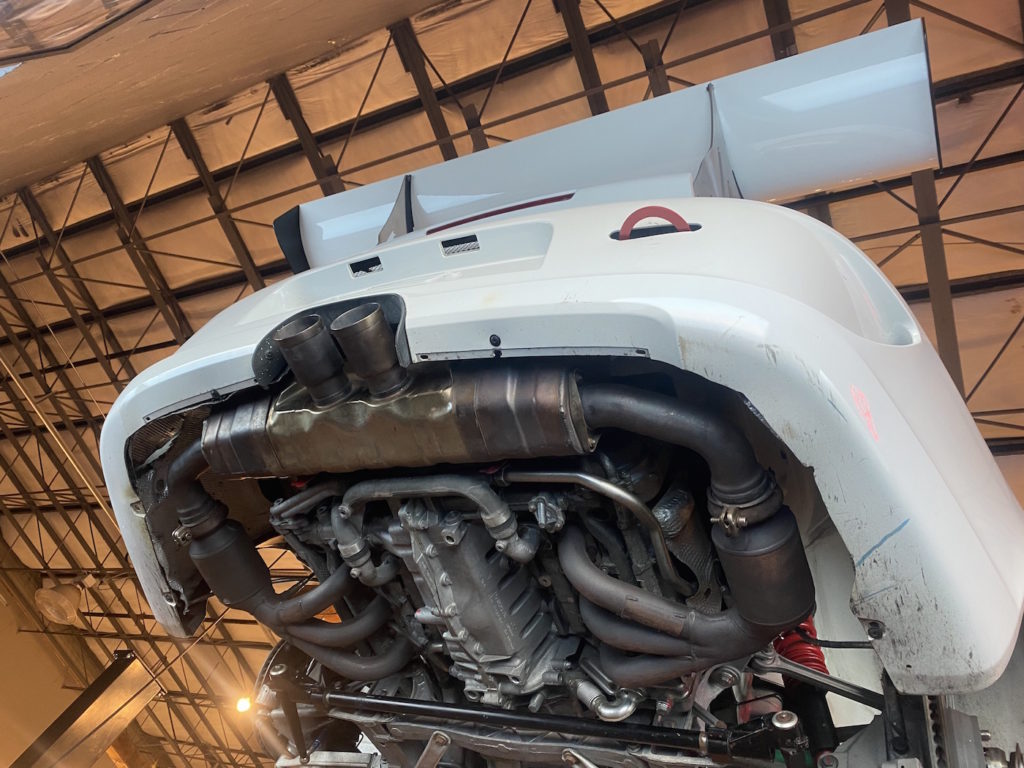
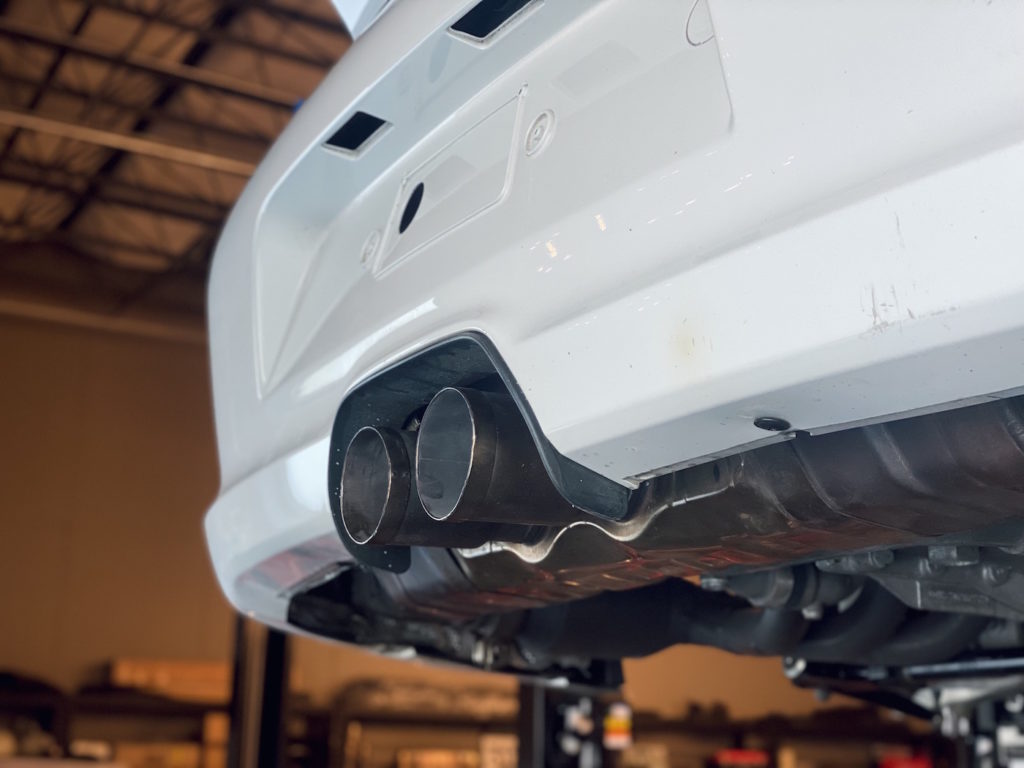
12/29/22: Rear bumper removed for inspection. Removed OEM “quiet” mufflers & brackets from the car in preparation for lighter system. These were standard in UK but not required in USA. These two mufflers and brackets weigh 42lbs total, replacement pieces we less than 2lbs.
Next, we removed the OEM fire system bottle to be refilled and re-certified for use in 2023. This unit will be shipped to our partners at Stable Energies for the job.
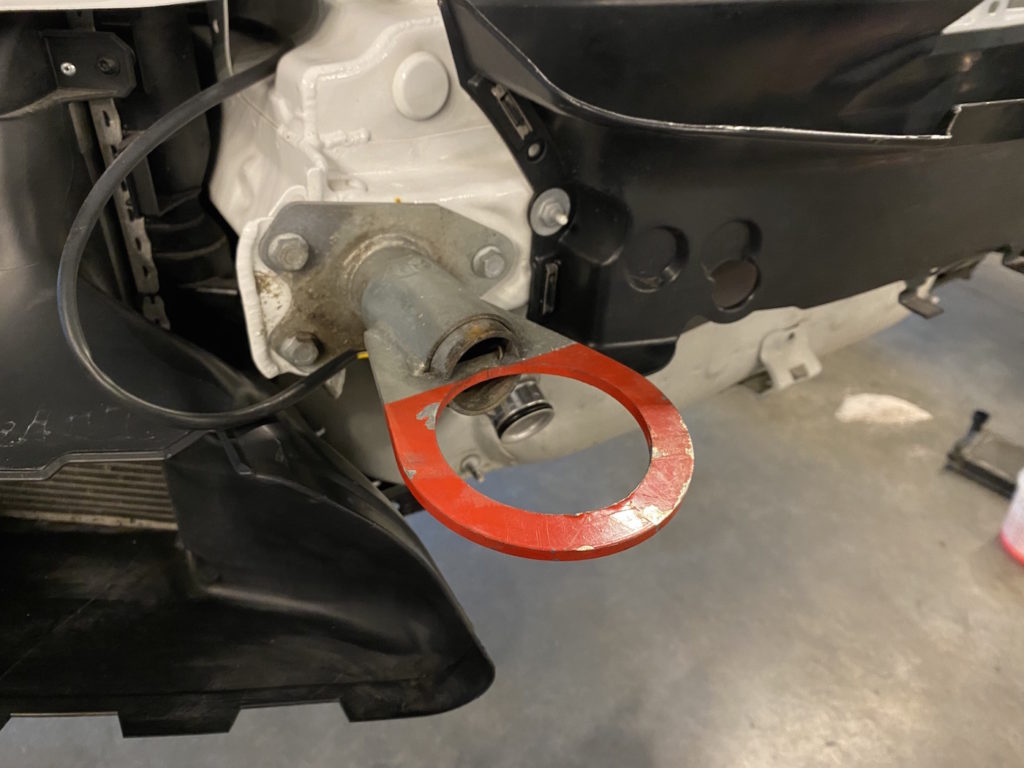
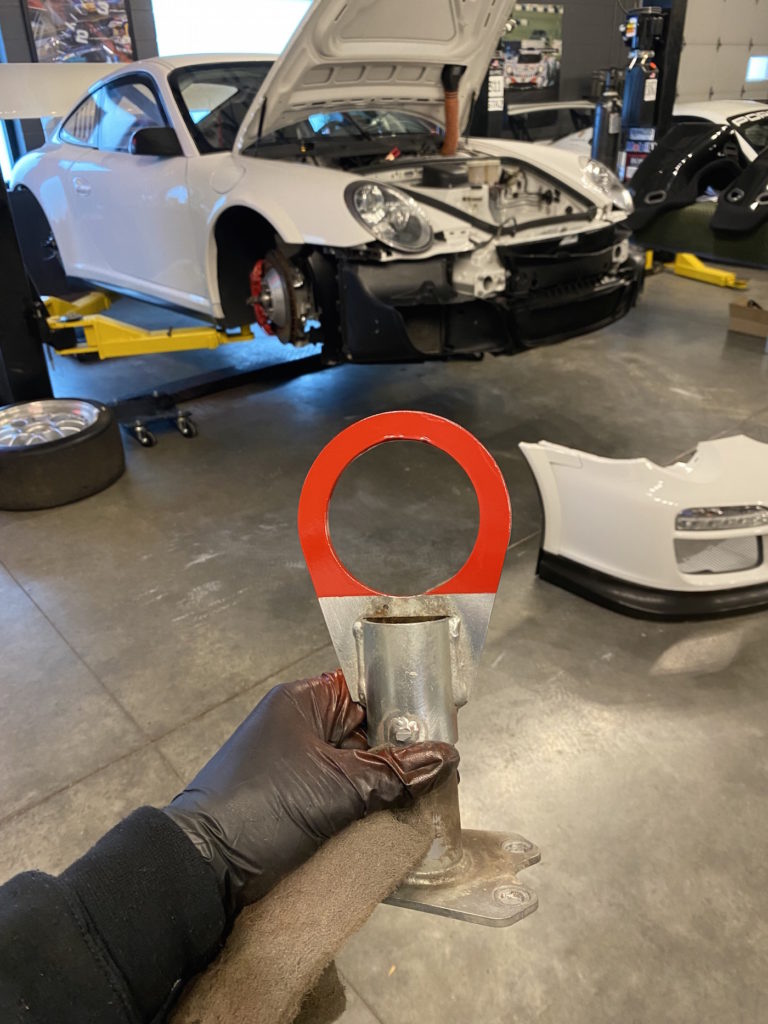
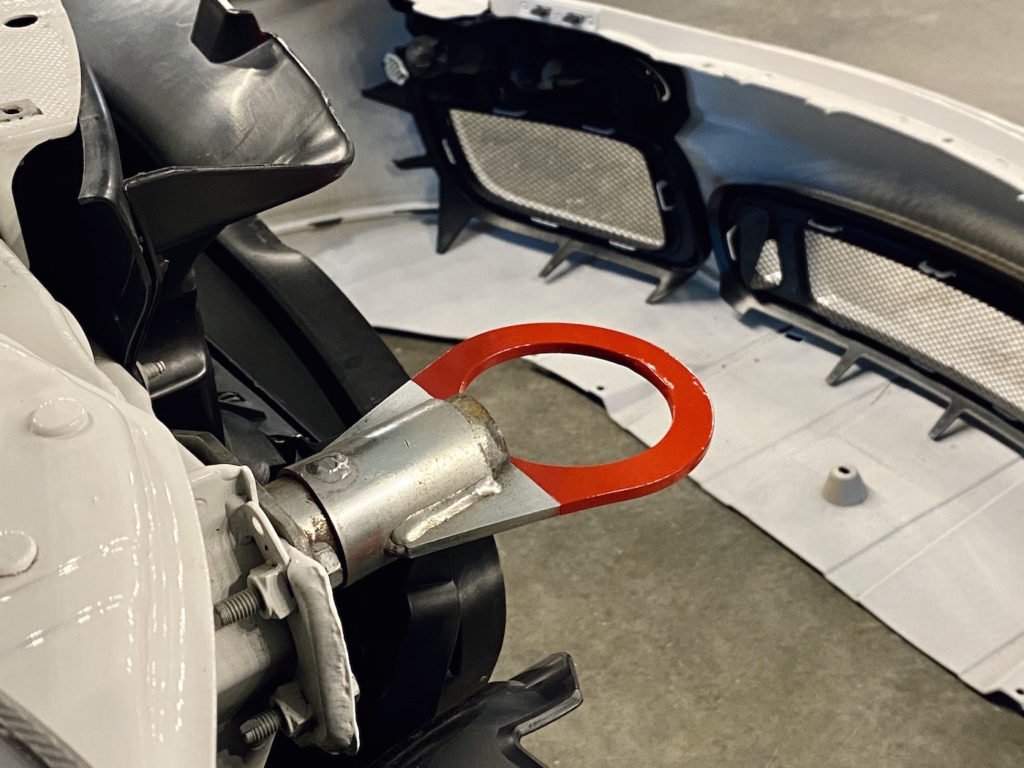
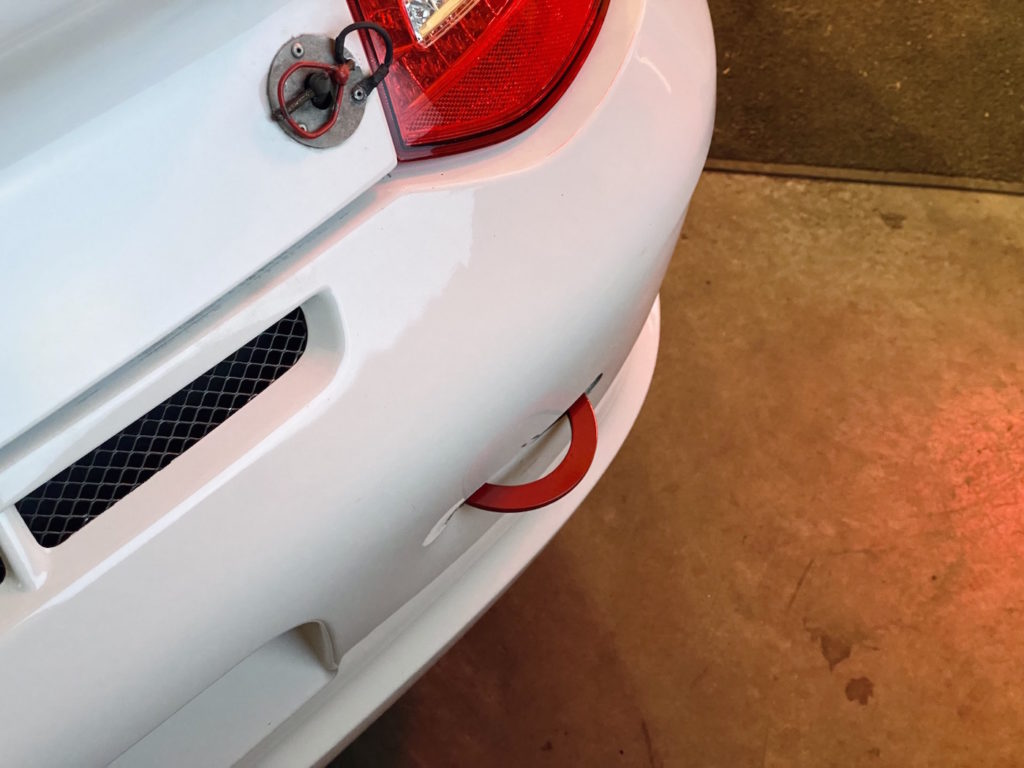
The rear wing end plates and both Front & Rear tow hooks were refinished. Both tow hooks showed signs of aging from use or wear & tear. These were stripped and coated with 8 coats of red paint and two coats of clear coat.
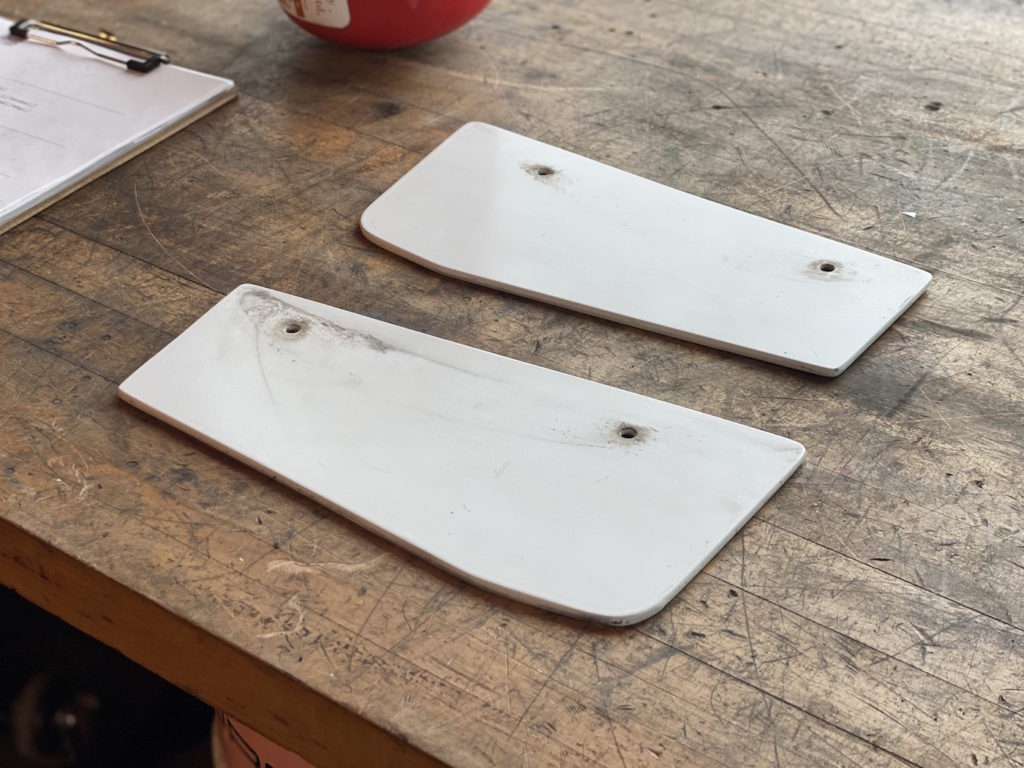
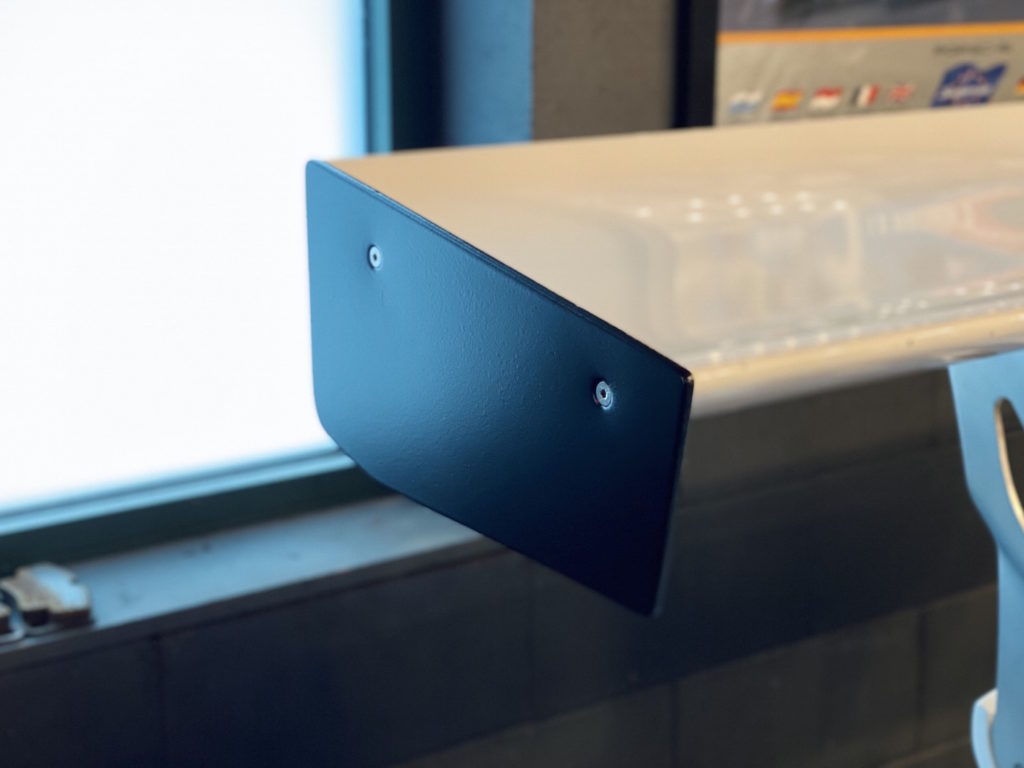
Next were the end plates – these also showed signs of age. These were stripped and refinished matte black to match the other trim pieces on the car (mirrors, side skirts, front lip, etc.). This solution is reversible, however we feel it is a small change that makes a nice visual difference to improve the cohesiveness of the package.
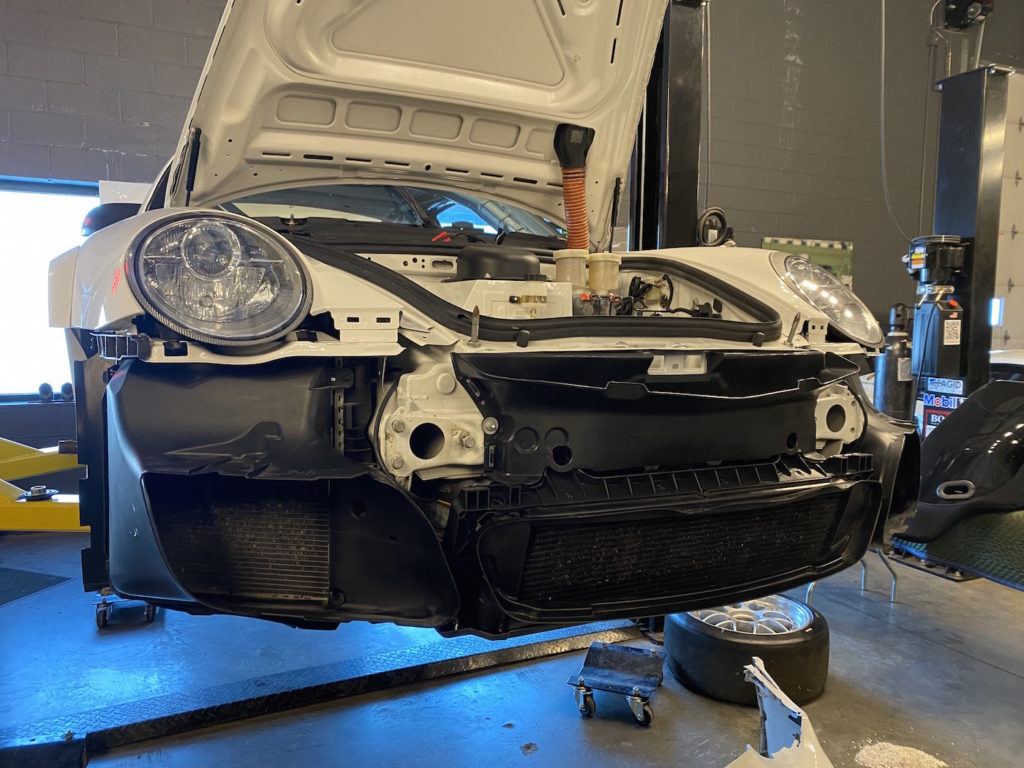
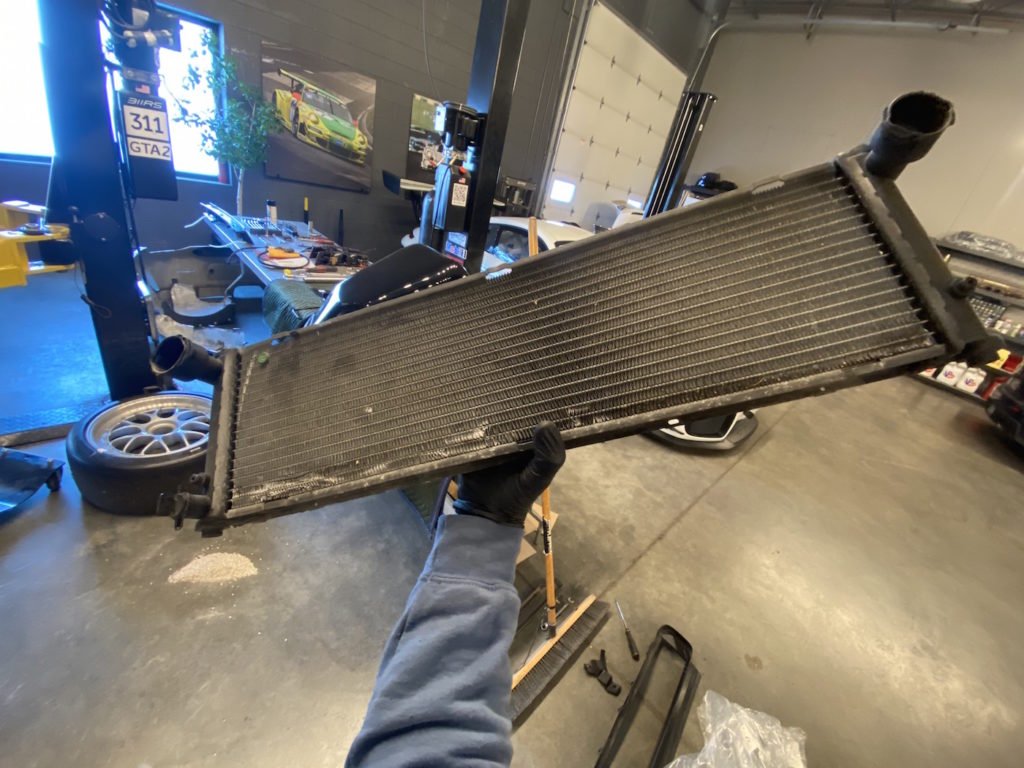
01/02/22: Further inspection continues. We noticed the center radiator was “loose” while removing front bumper – it was discovered the plastic radiator bracket was damaged. A new unit ($215.38) ordered for install next day.
No further damage found to body, however the center radiator appears to have taken a hit. It does not currently leak but will be more susceptible to failure in the future – we suggest the client keep a spare on hand (we can help source this via PMNA).
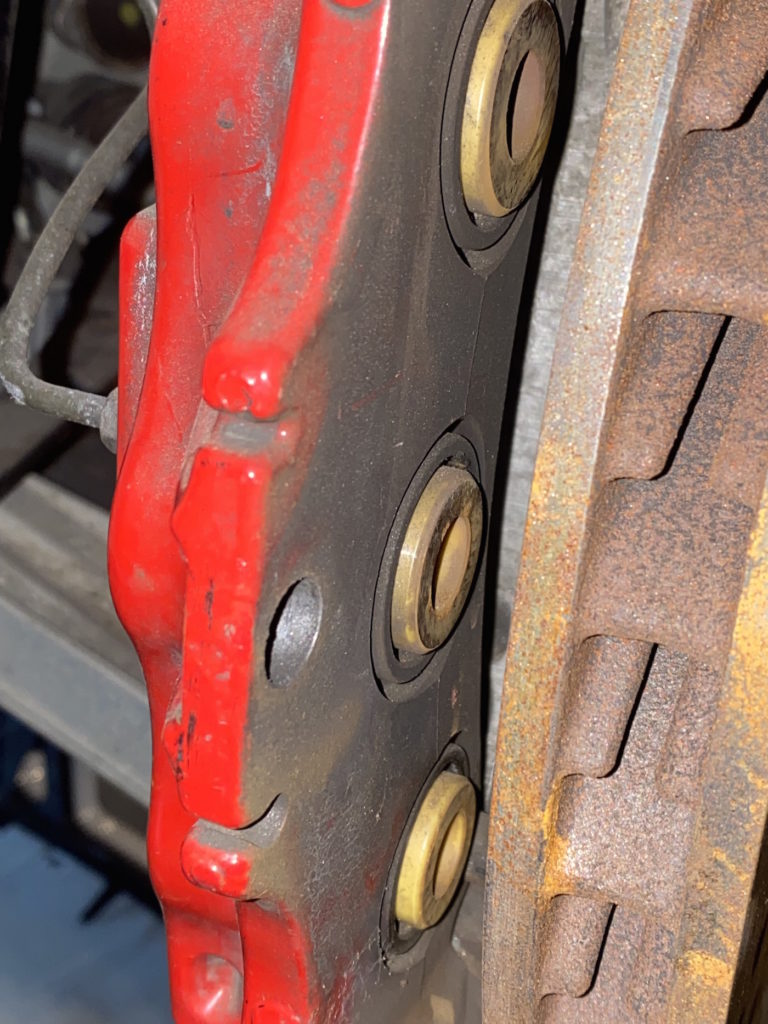
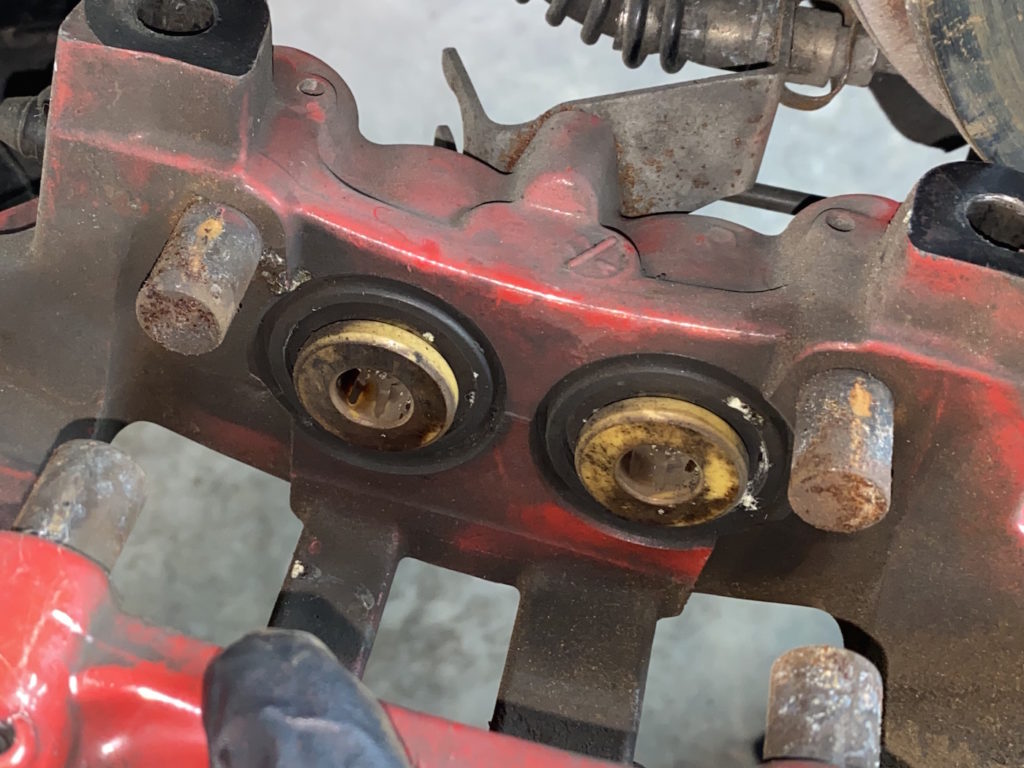
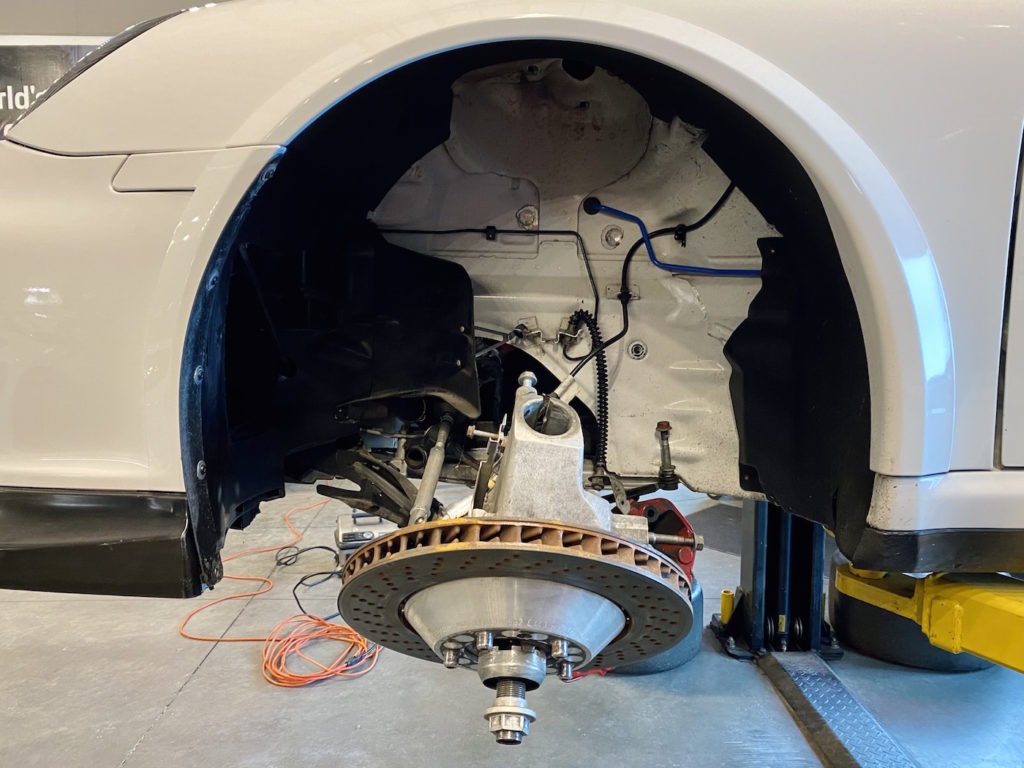
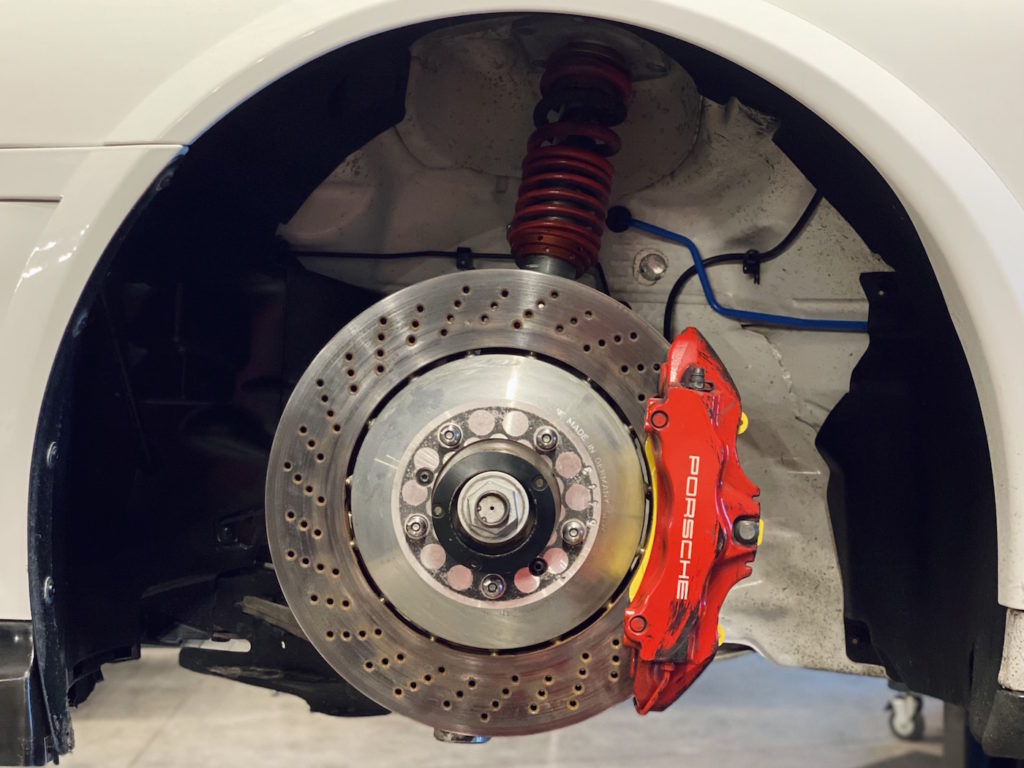
01/02/23: Further inspection continues. Today was the brakes & hubs. Brake calipers appears to be in very nice condition with fresh looking seals, no cracks in any front or rear.
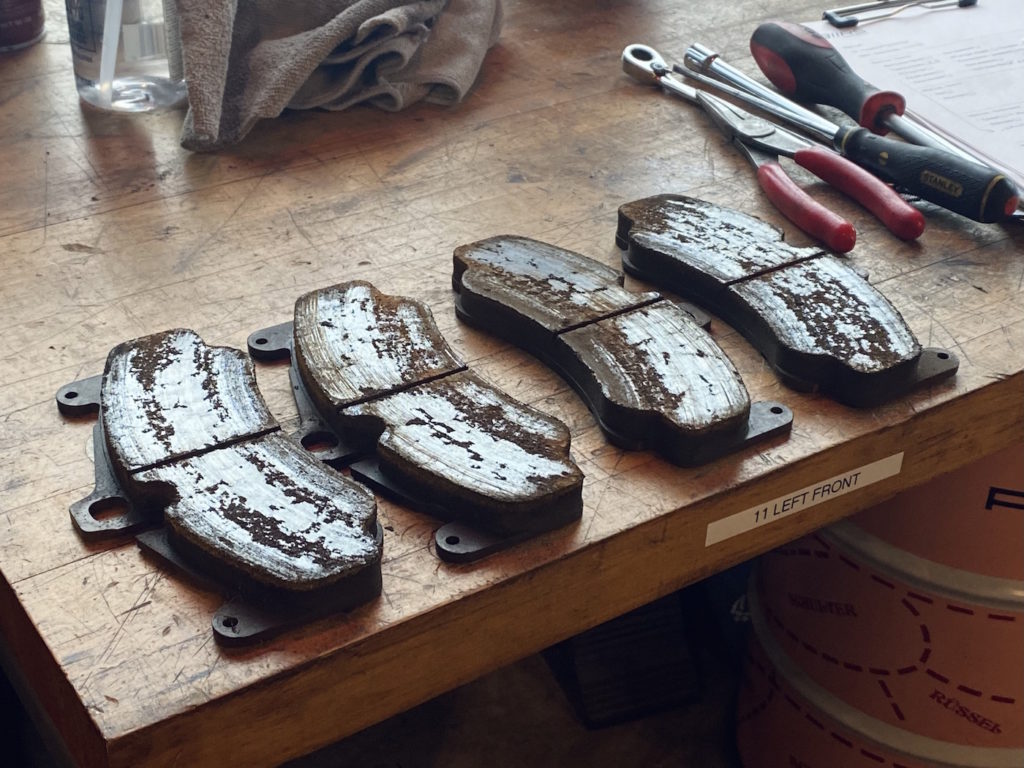
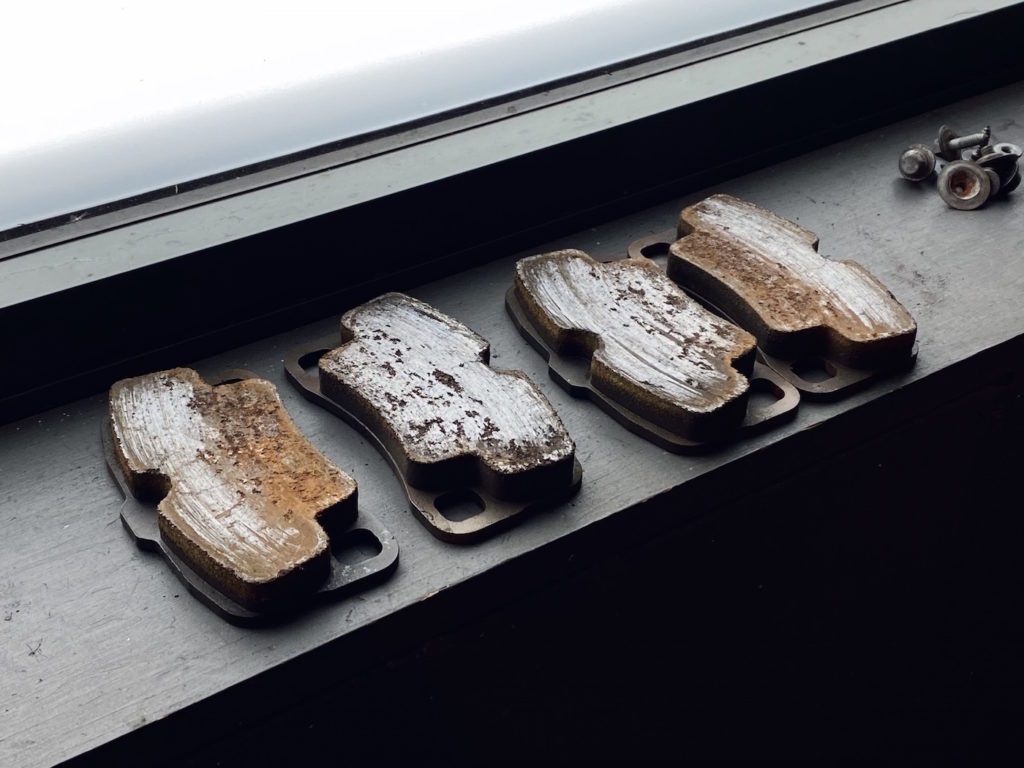
The brakes pads are Pagid RS29 “Yellow” all around and have plenty of “meat” left on them. They how signs of aging due to years of sitting idle, this can lead to the pads crumbling and very poor pedal feel. We suggest the client replace the brake pads with new Pagid RS29s and keep these as emergency spares.
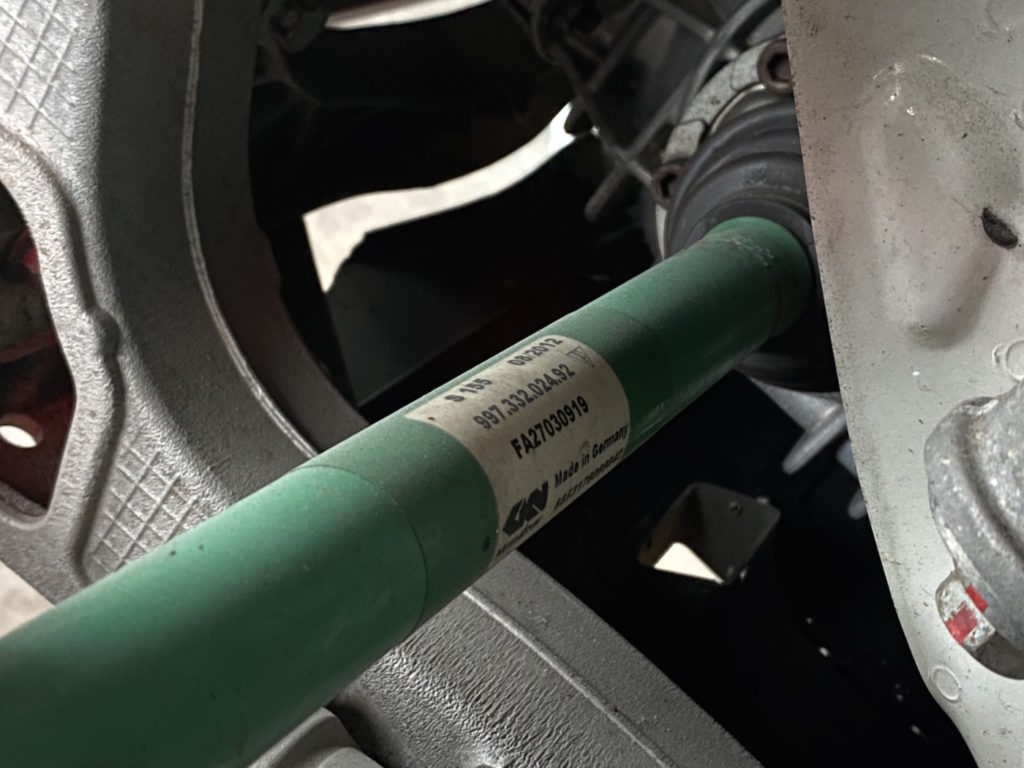
Next we looked into the hubs along with the axles. The axles are dated 08/2012, however we cannot determine if they have been rebuilt. The boots are in good working order and do not show signs of age. We recommend client to have these units sent out for inspection/rebuild and consider purchasing a new set of axles for replacement or for use as spares.
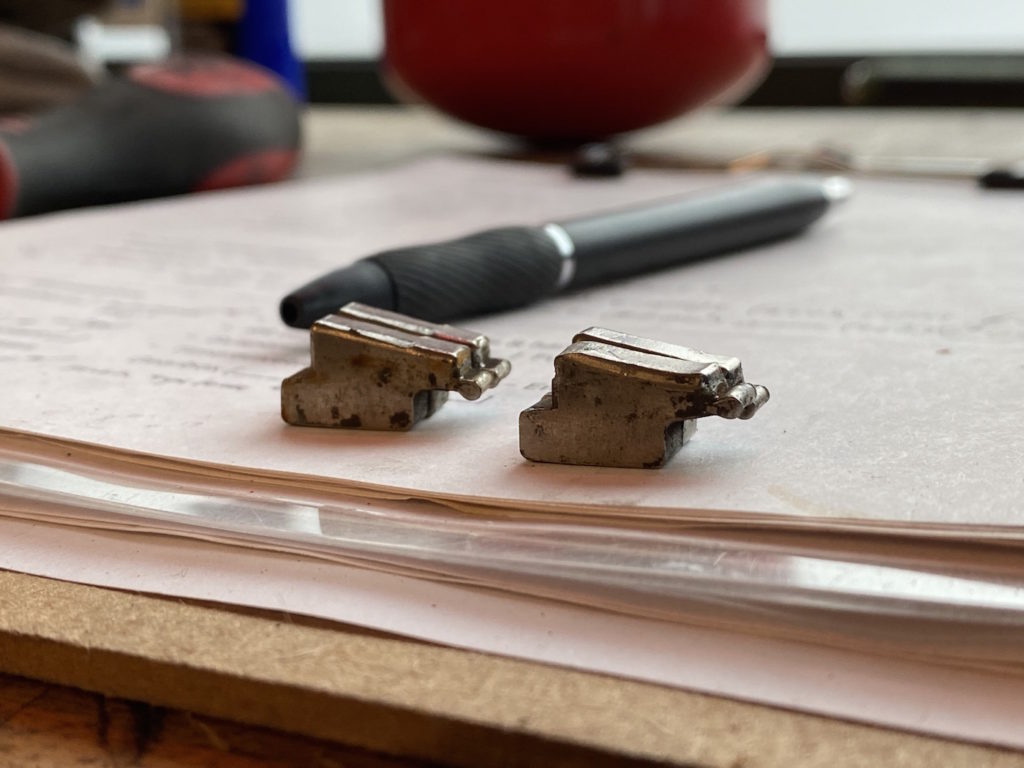
The Right Rear center lock nut was getting hung up on the safety locks while using the factory center lock nut tool. We disassembled both rear center lock spindles to find the issue. Further inspection showed one of the spring-loaded safeties was bent. New units are not available from PMNA (separate from a new center lock spindle) so we used heat and a Dremel to reform it as best we could in order to restore function – the safety now functions as it should.
01/03/23: The car in it’s current state. The fire system is due back next week and we expect BBS wheel parts to arrive later this week. Next on the list is to polish the windows and prepare for further inspection with our Factory-trained technician Nick Pooler in the coming days.
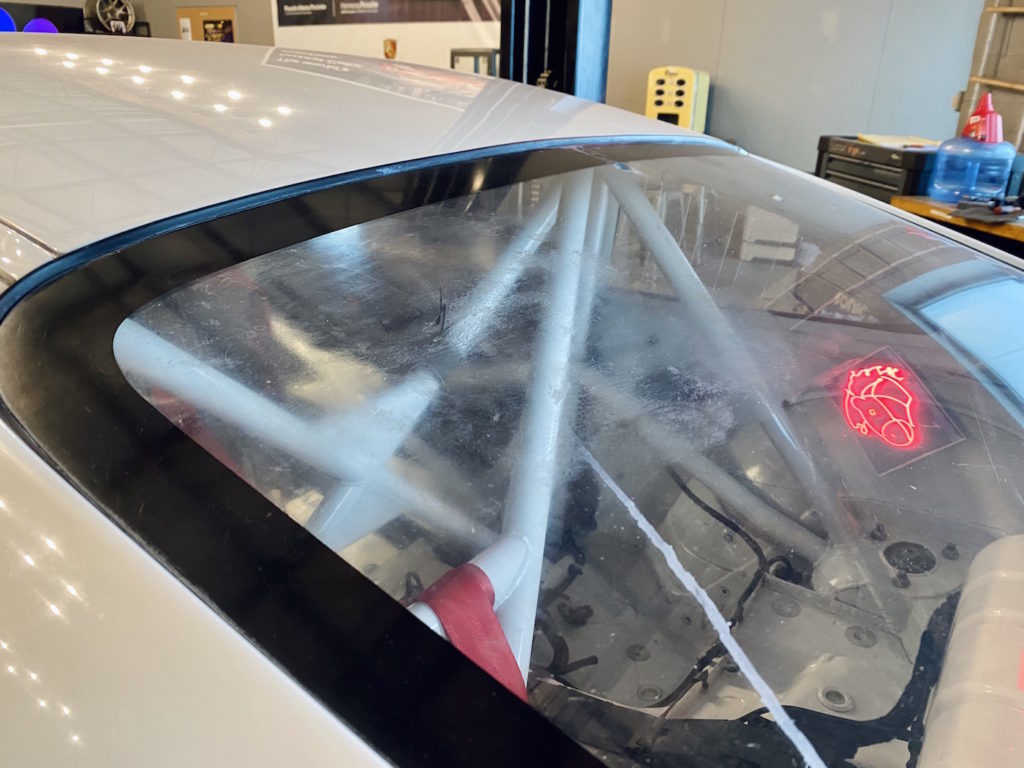
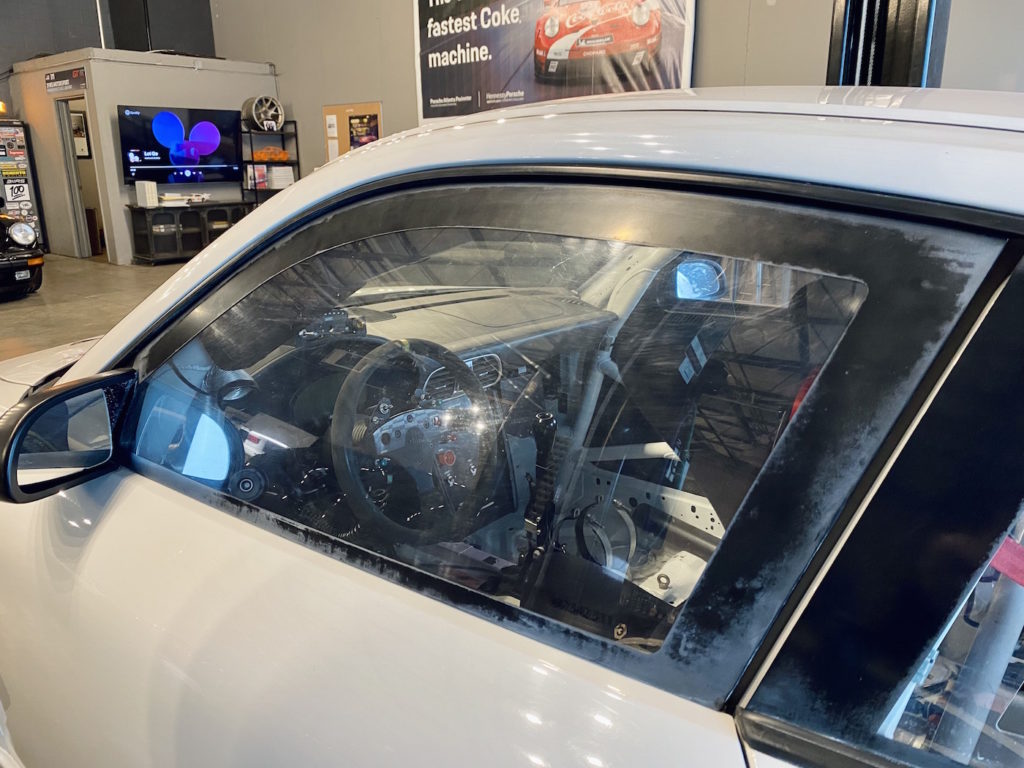
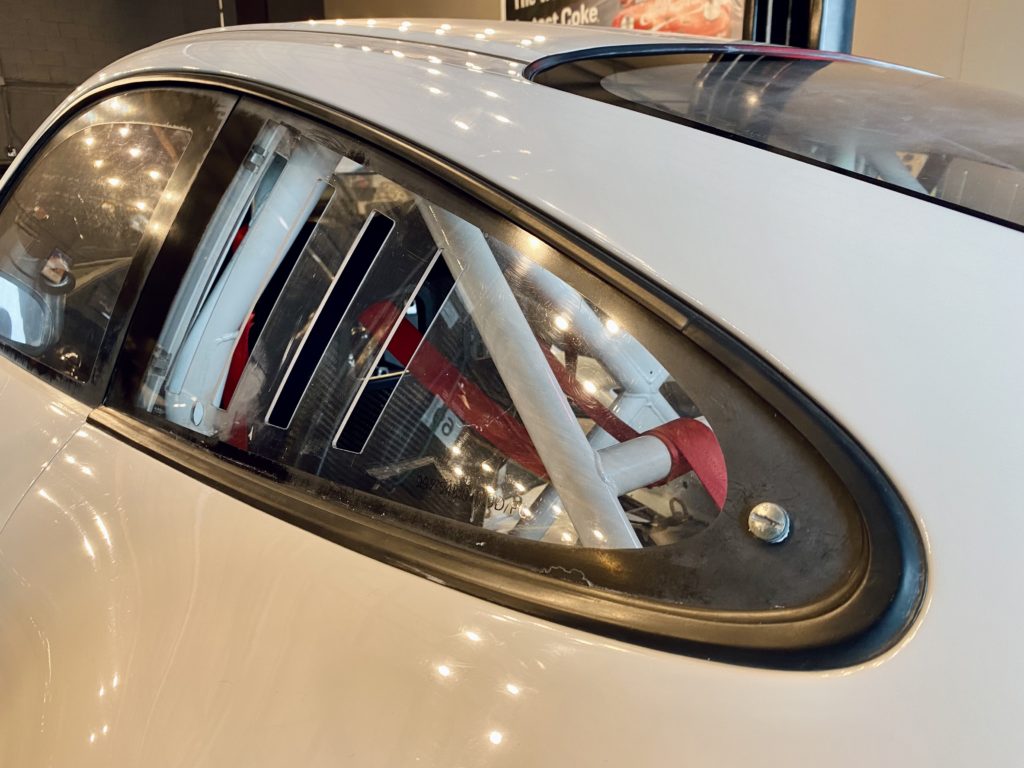
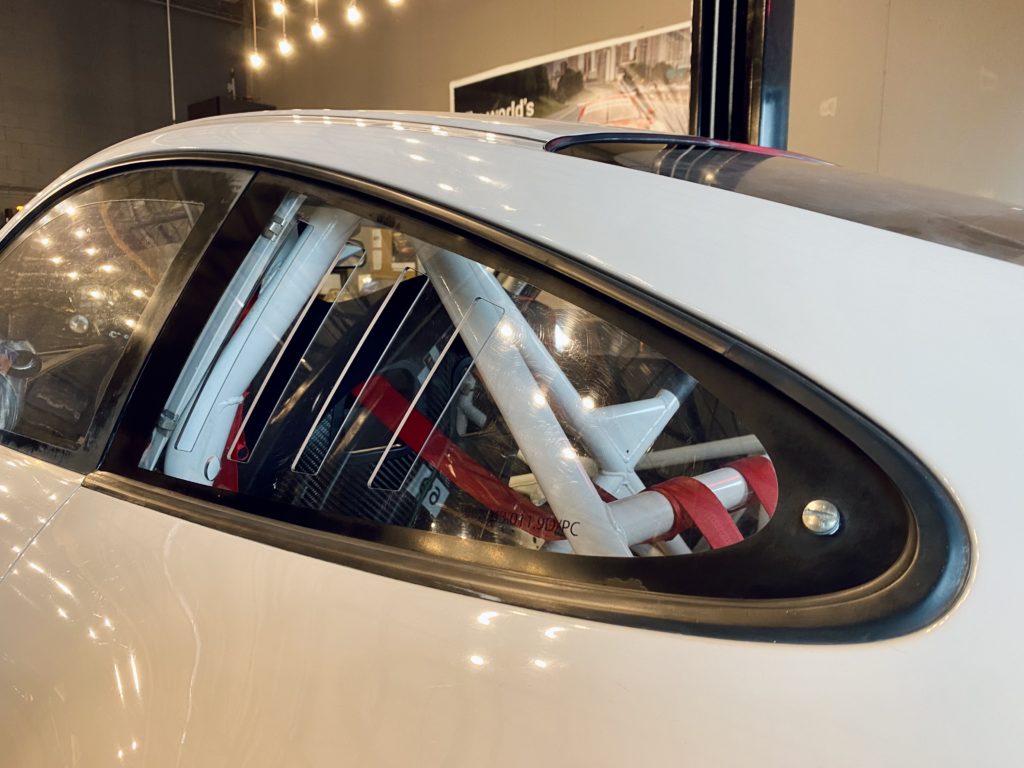
01/04/23: Window polishing using the NOVUS system. These GT3 Cup cars come with polycarbonate side and rear windows that get scuffed up and tarnished over time. Typically a polish will breathe new life into them, helping the driver to see better and also improving overall appearance.
Before:
After:
Results are difficult to capture via photos but in person the clarity and shine is improved. The windows on this particular GT3 Cup show more wear than usual but the process was worth a try.
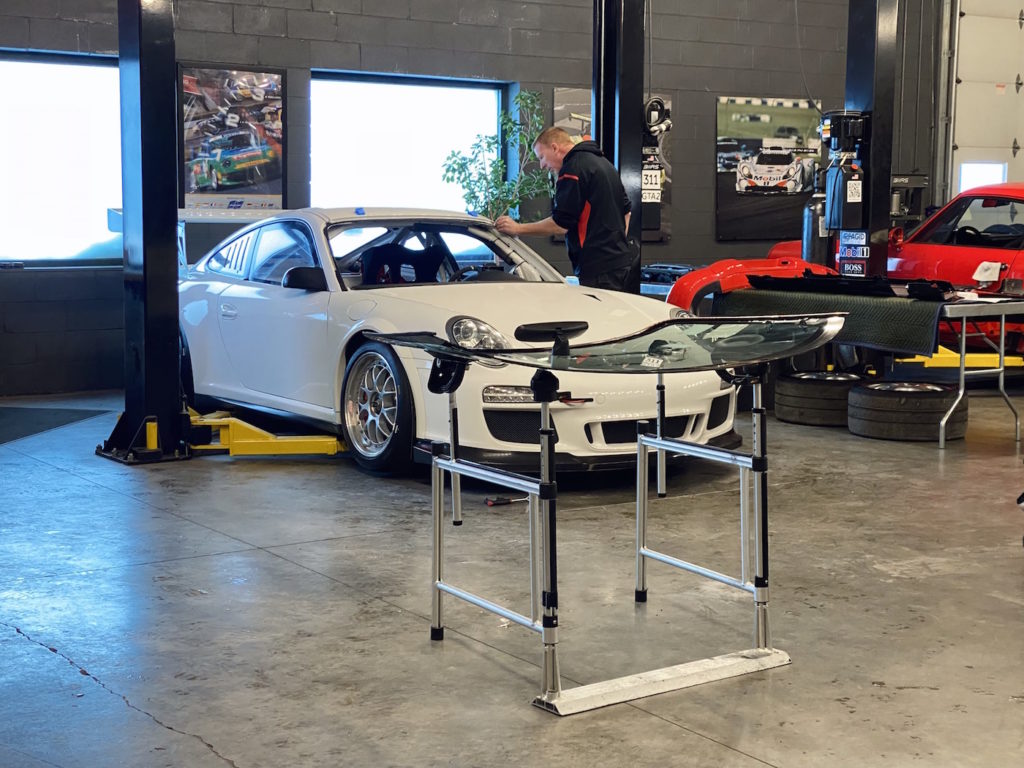
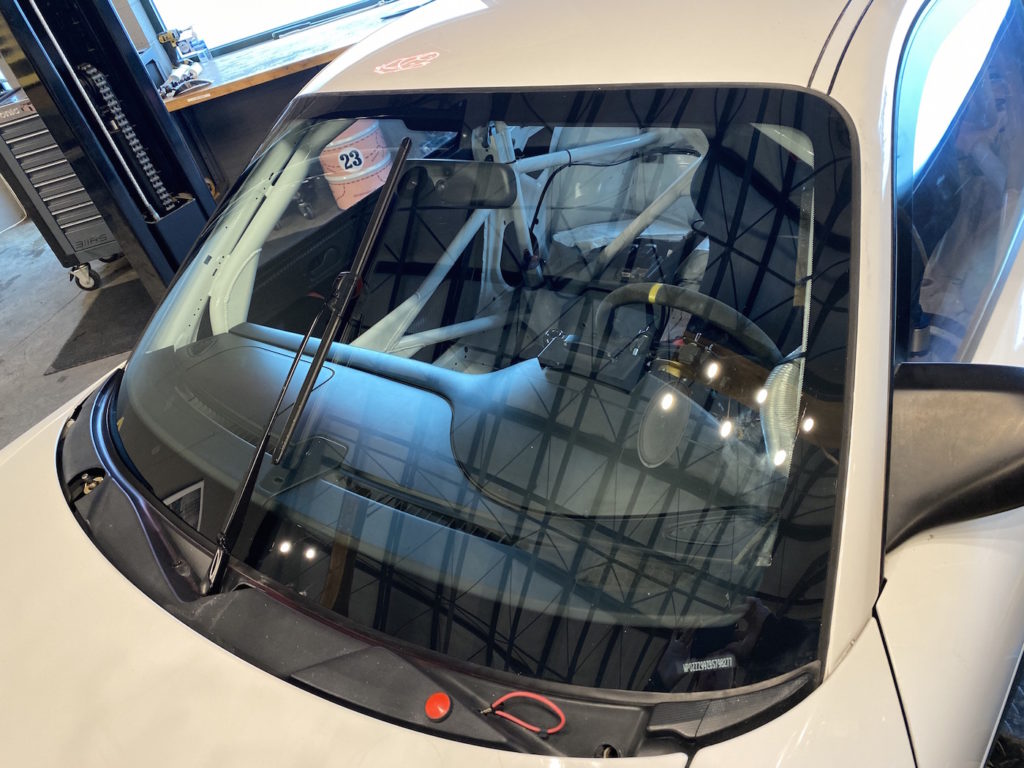
01/17/23: Front windshield replacement via our partners at Lucken Auto Glass. New glass went in without issue and is a significant improvement.
While in there, Andy noticed the roof skin lifting in the front corners – he applied some adhesive here to seal the panel to avoid further lifting and potential leaking.
Nick Pooler, our race technician from Porsche Minneapolis performed an inspection on the car. His general consensus, and taking into account the service history provided by previous owner, is the car is in good shape and with a thorough service he would have confidence running the car. His recommended services are listed below.
In addition to the services already approved & performed, Nick suggests the following:
– New spark plugs and coils
– Brake master cylinder rebuild F&R
– Serpentine belt & pulley check
– Suspension dyno
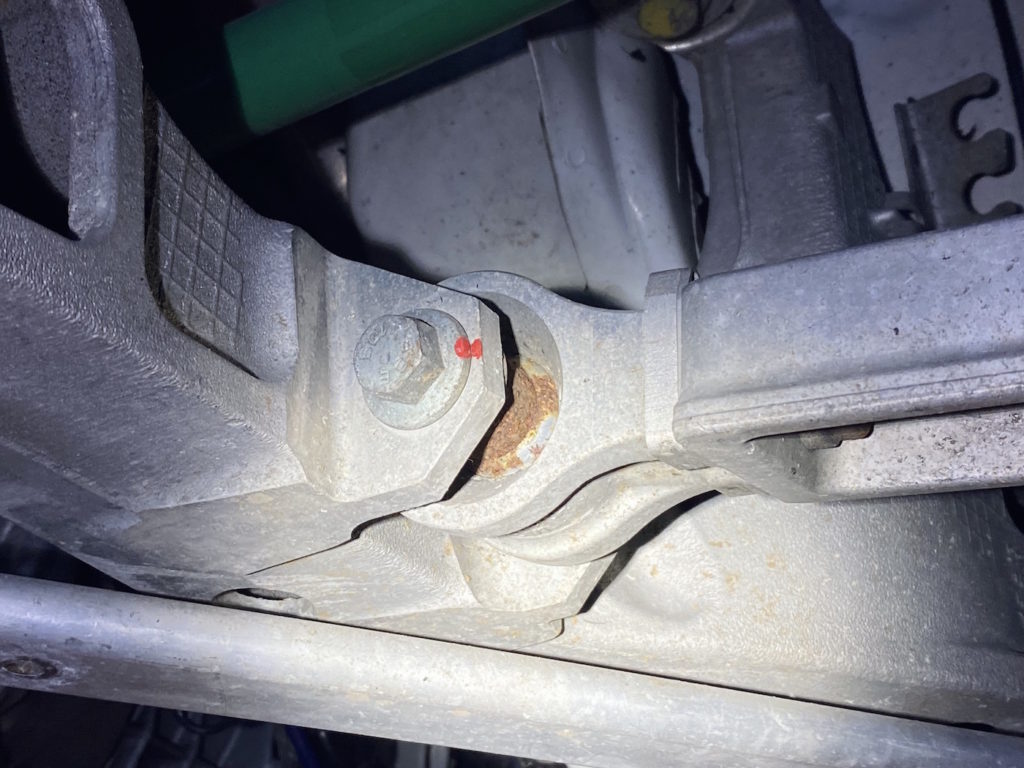
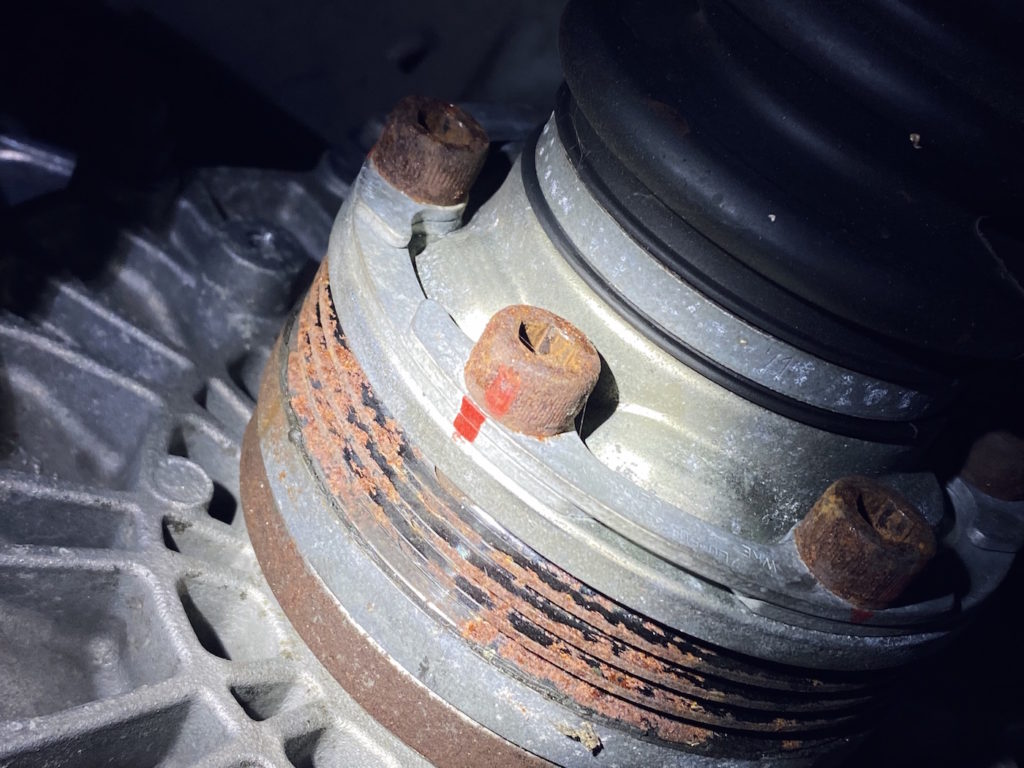
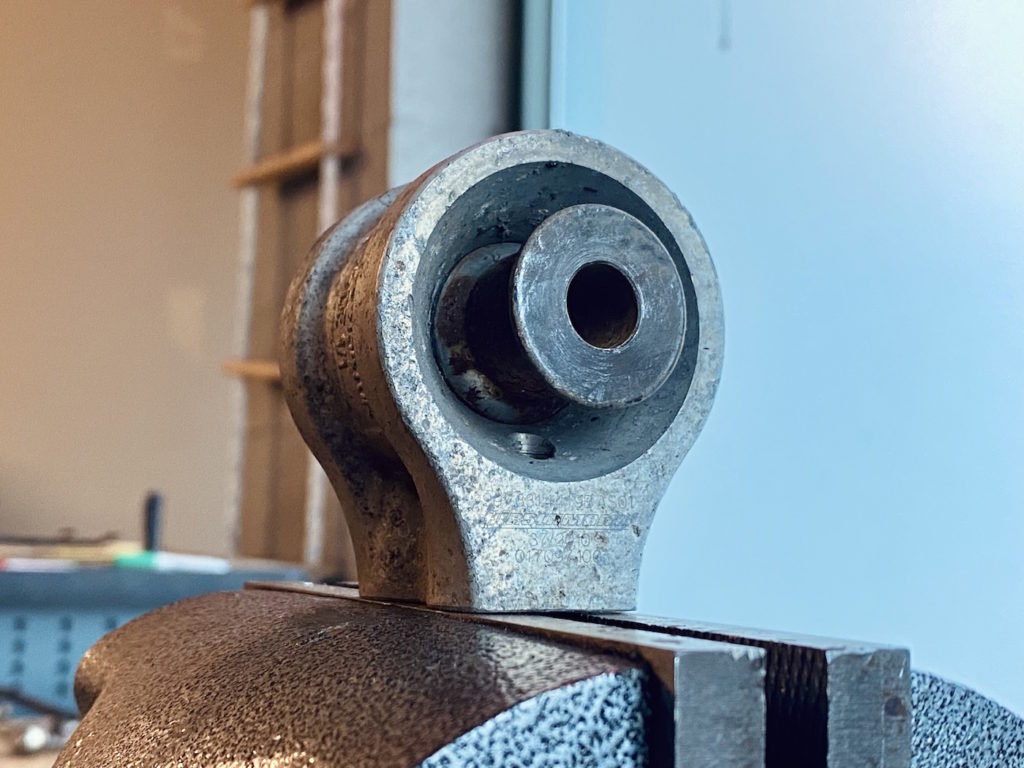
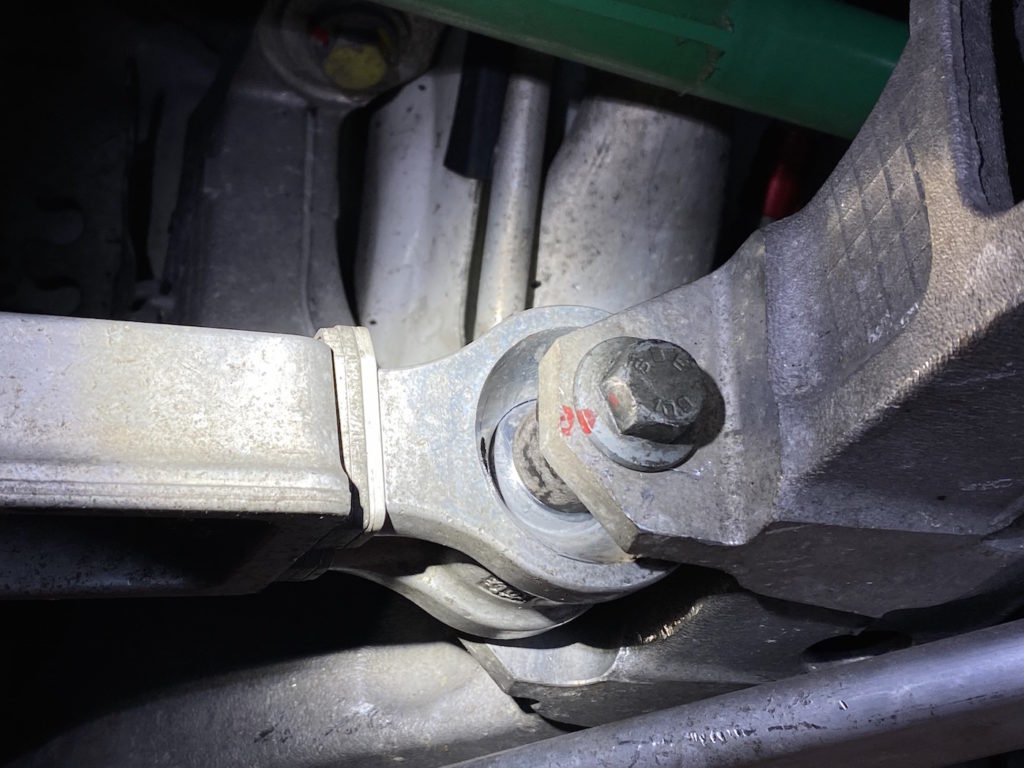
– Attempt to service rusty heim joints of the lower control arms F&R – removing inner LCA and working the joints using rust penetrant & Optilube to slowly work the rust off in an effort not to damage the heim joint and aluminum housing. This may work, however the corrosion may have damaged them beyond repair, in which case new inner LCAs will be needed.
– Complete nut & bolt – Nick noted many bolts marked with red paint have moved a few MMs from their marked position.
With those items complete, along with the remaining items on the original work list, we will perform a few complete heat cycles here at HQ, including running the engine and transmission up through the gears. After which the car will be signed off and delivered to client.
A few photos for reference for items noted above:
01/18/23: Lower control arm removal and refresh. All four LCA bearings show rust. In an effort to avoid purchasing new, we took the time to refresh these using a combination of penetrant lube and lithium grease.
All four corners cleaned up nicely and should be good for service.
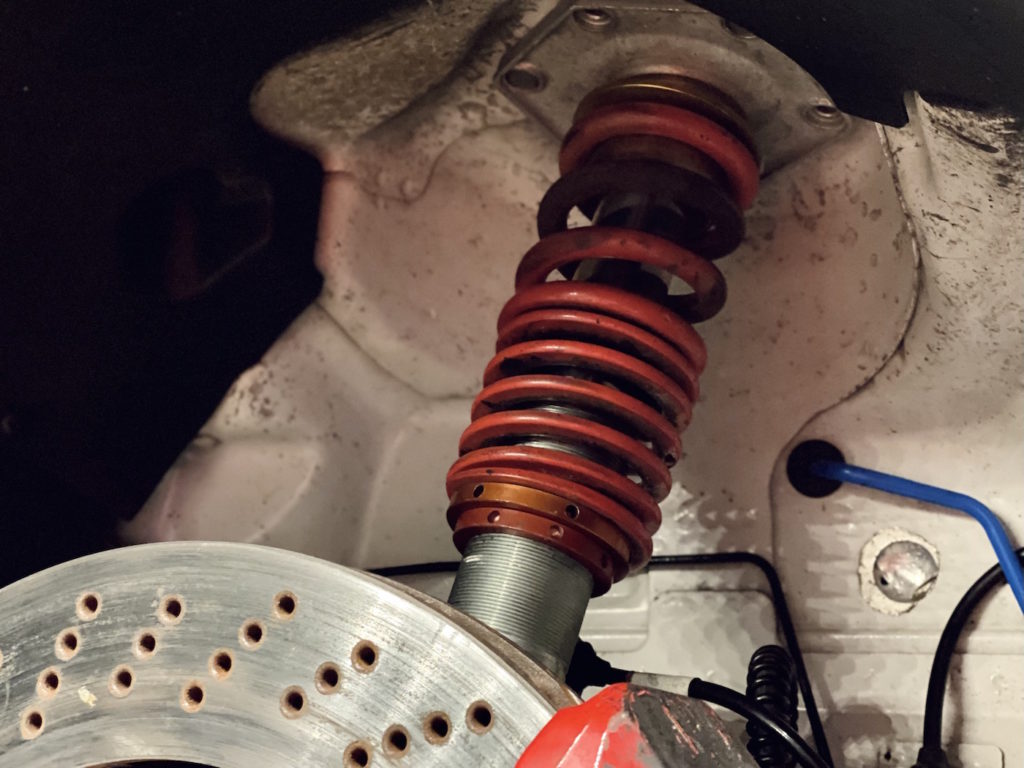
01/19/23: Damper removal & ship to 057 Motorsports for dyno. A shock dyno reveals the “damping curve” of the damper, similar to a power curve of an engine. There is a window in which the damper should perform within, the dyno is the most efficient way to confirm whether or not the dampers are within spec of if they need to be rebuilt/replaced.
This process, along with the LCA bearing refresh, will allow us to check two key chassis unknowns off the list.
The package of dampers was shipped to 057 on Thursday 01/19/23 via FedEx: 771072180685. We expect to that them back to 311RS HQ by 01/26/23.
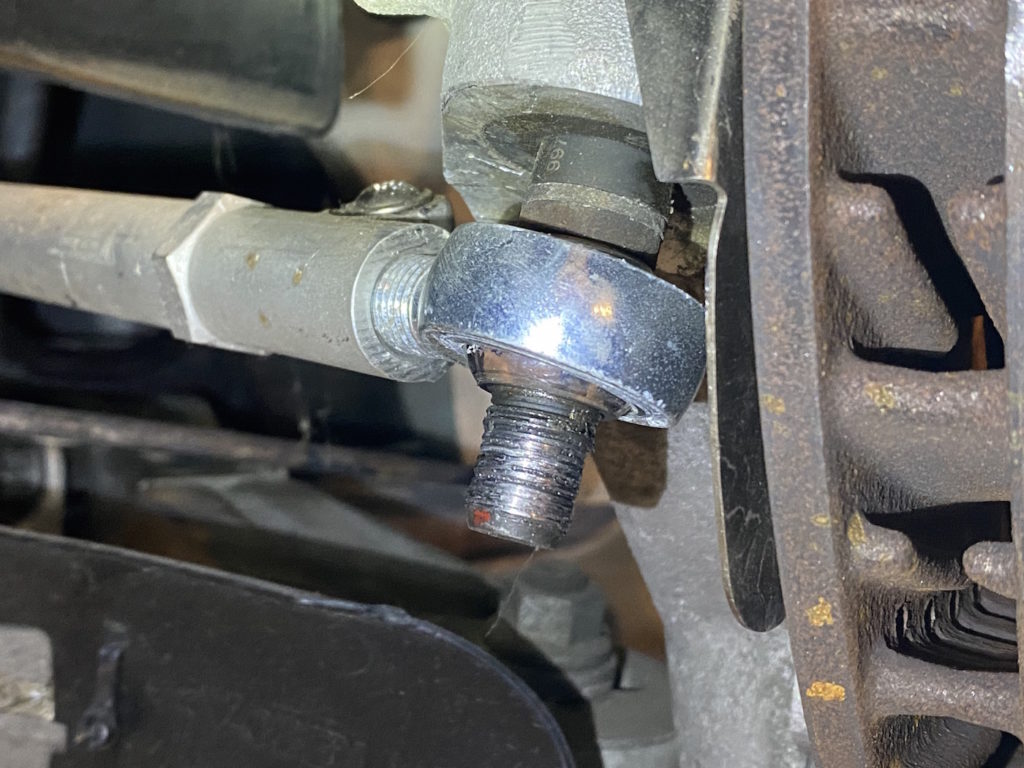
During damper removal, it was discovered the FL outer tie rod was stripped and will need to be replaced. This assembly has been ordered via PMNA.
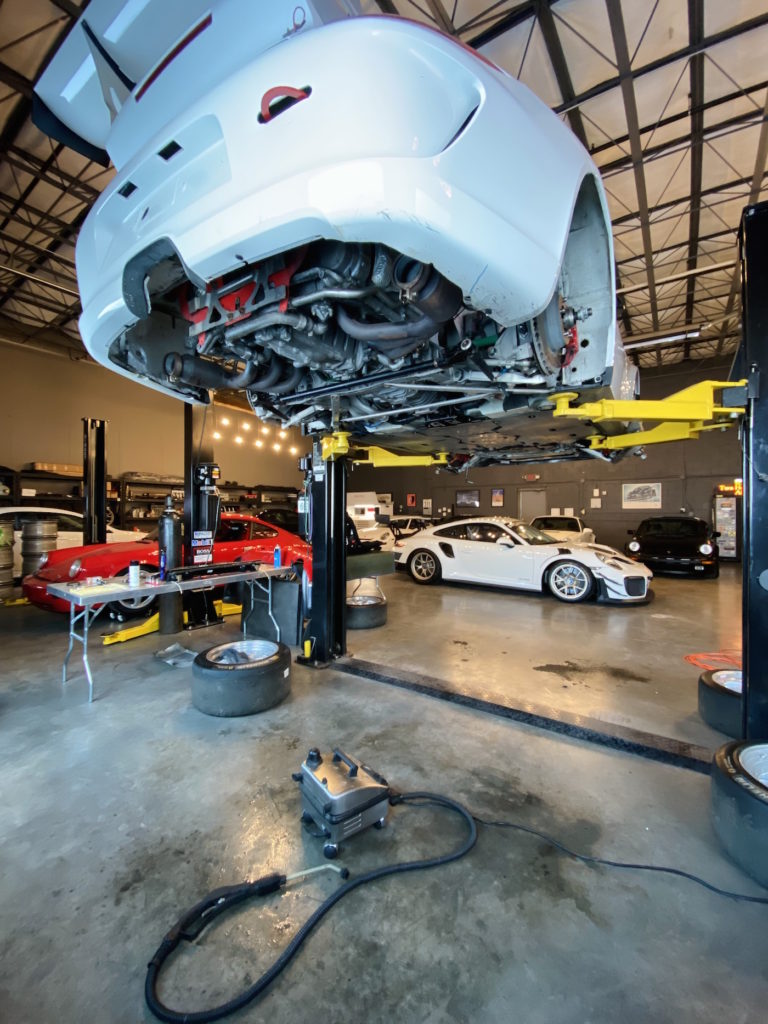
01/20/23: With the suspension removed, we took the opportunity to steam clean the chassis.
Results are best appreciated in person, however this step is important for two reasons 1) allows us to fully understand the state of the chassis 2) diagnose any hidden wear/damage 3) clean car is a fast car.
In reality, it is critical with a race car to keep the chassis clean in order to ensure quick, quality service at the track along with allowing the technicians a clear visual of the components as the car progresses through a weekend and a clean place to work. Here’s a look at a comparison before and after steam cleaning.
Front left:
Right Rear:
We were happy with the results. It must be mentioned that it appears the car was cleaned well by previous owner. While nice, it does leave us with a few questions about the history of the car. We will continue to monitor areas such as axles & gear box as we begin to run the car.
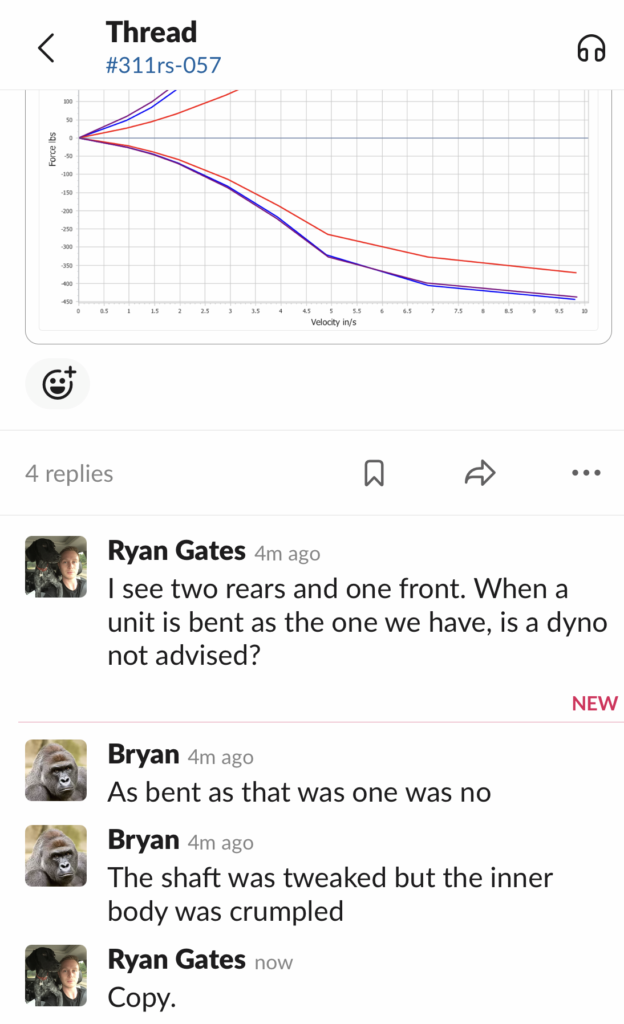
01/31/23: Results from the OEM damper dyno at 057 Motorsports came back today. Please see below for dyno graph.
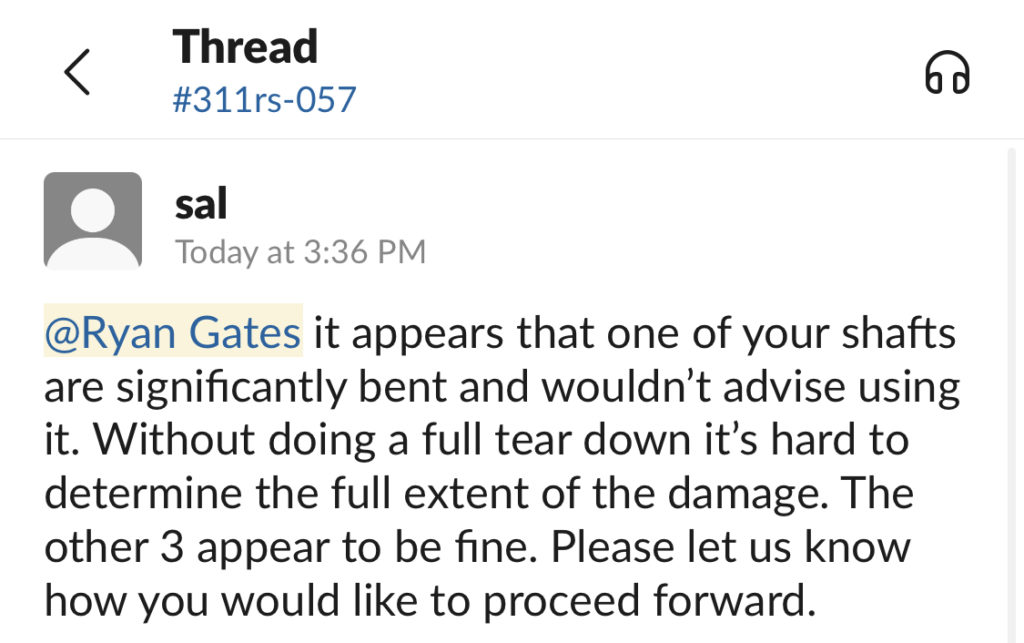
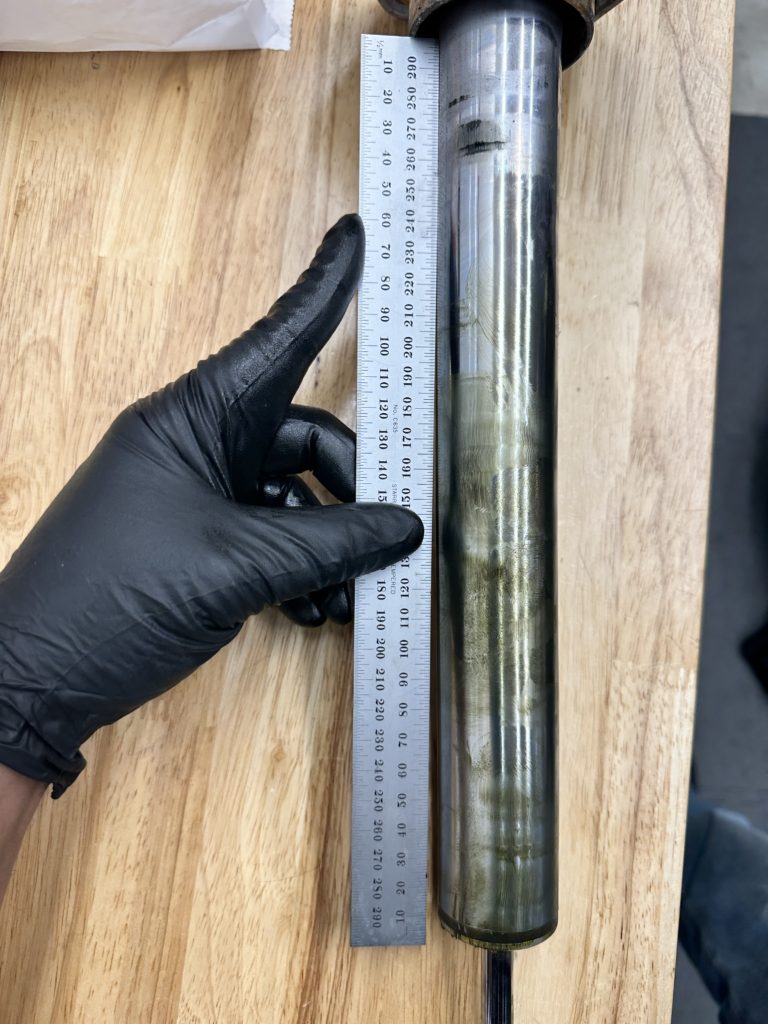
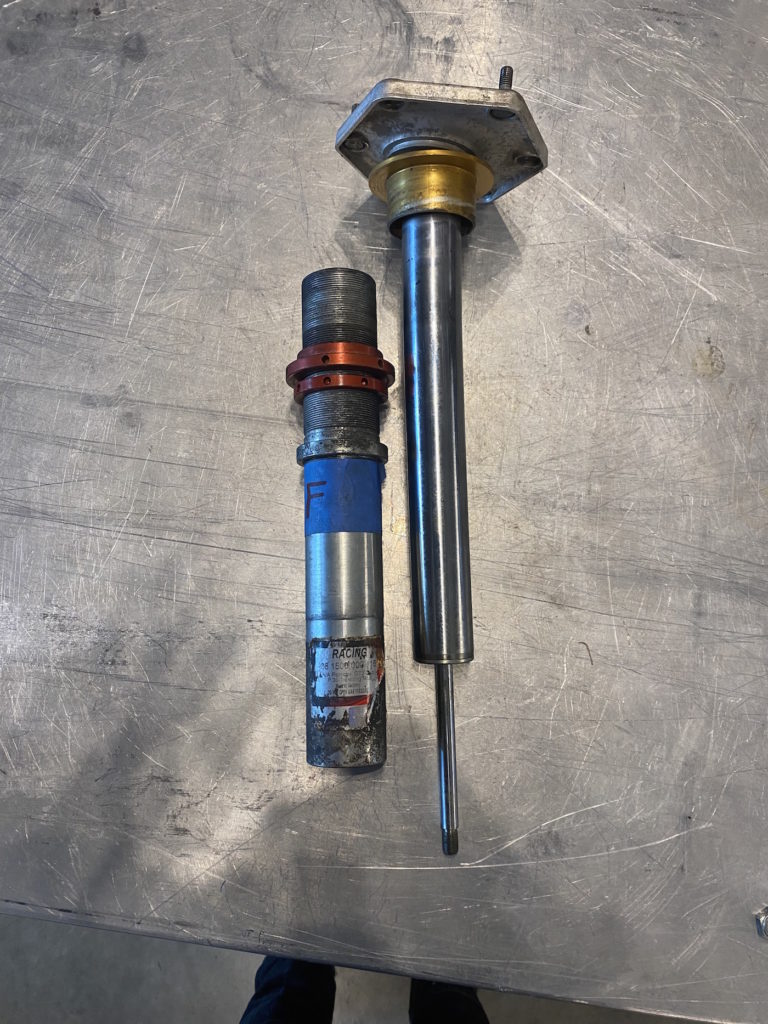
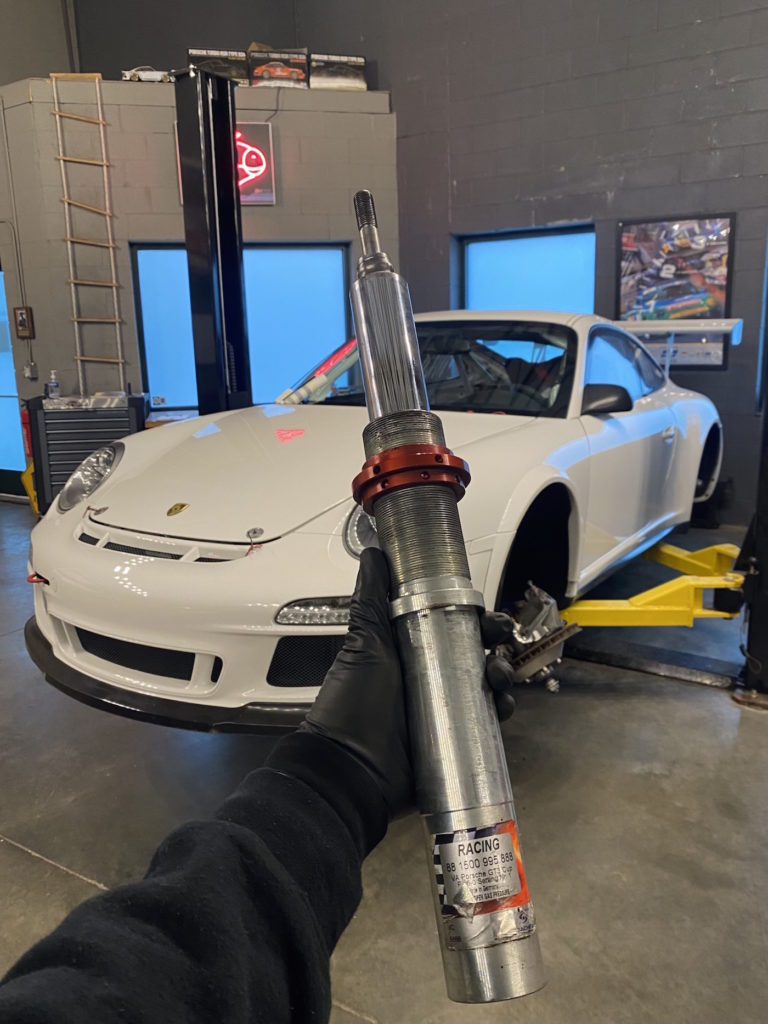
You’ll notice there are three lines on the graph – both rears dyno’d well within spec as did one front. However, one front was found to be bent and could not be dyno’d. Please see below for a screenshot of our conversation with 057 Motorsports’ engineers and a photo of the damper for reference.
We have since reached out to three of our partners who have ran 997.2 GT3 Cups in the past – Goldcrest, Autometrics, & Kelly Moss. We will report back with what we hear. In the meantime, the dampers are on their way back to 311RS HQ from 057 Motorsports in IL.
Separately, components from PMNA, Porsche Minneapolis, Pagid, Brey Krause arrived today. We are awaiting components from BBS Motorsport, Porsche Motorsport P.A.G., and Motul to begin the next steps of the process, all of which are expected to arrive or ship this week.
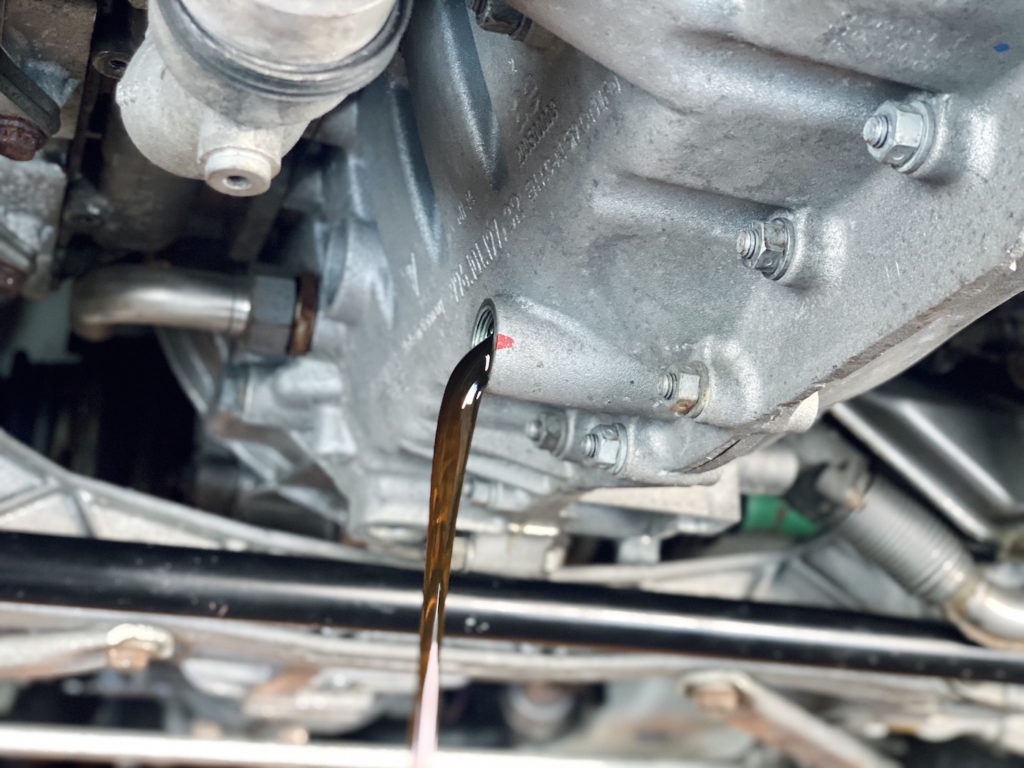
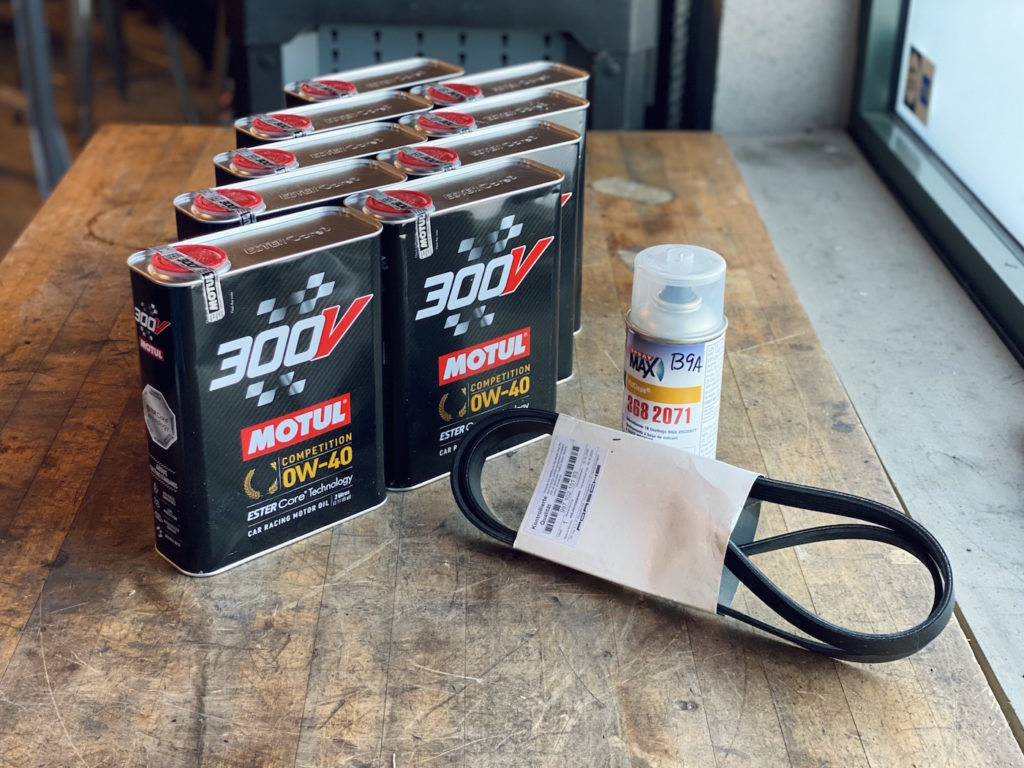
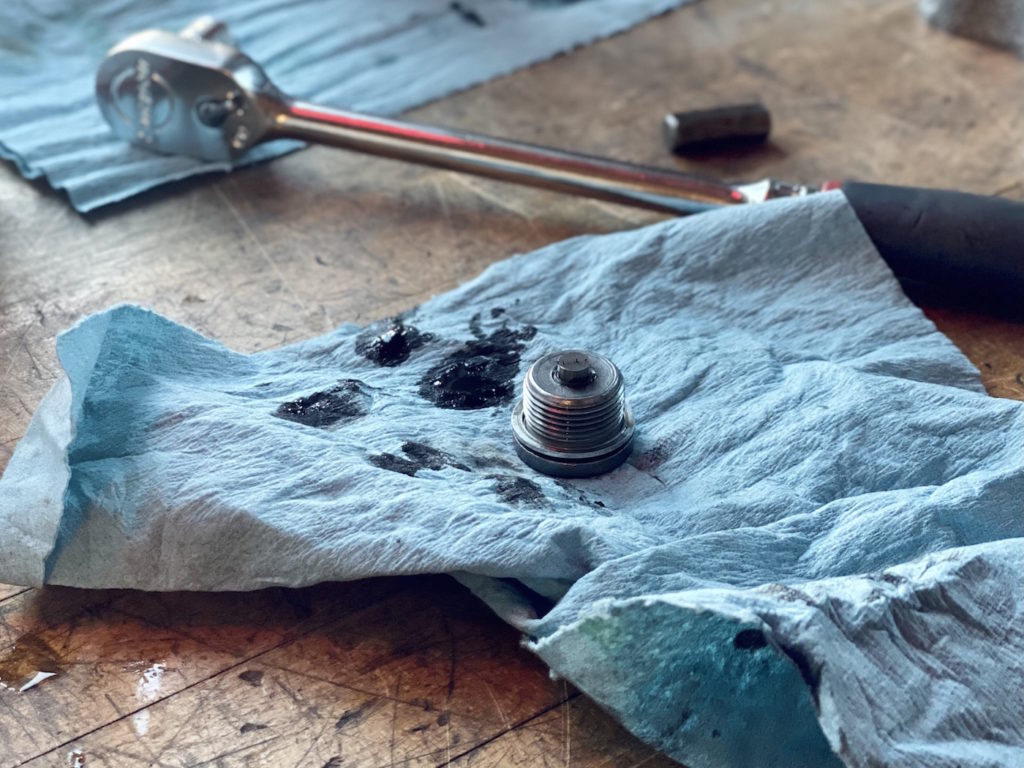
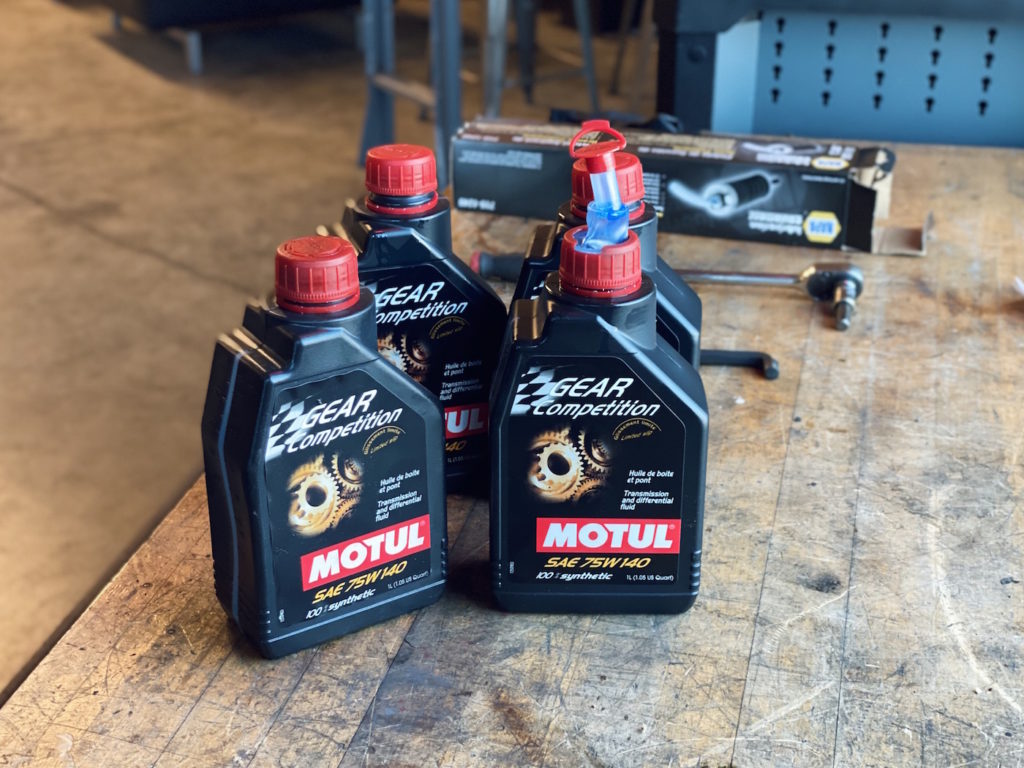
02/02/23: Fluids arrived from Motul – “Competition” 0W-40 engine oil and “Gear Competition” 75W-140 transmission oil. Both engine and transmission flushes were performed.
The engine was filled with ~10qts as measured upon draining the case and the oil tank. Typically we refill the engine with the amount that is removed, however being the car is new to us we will start with the ~8qts the manual calls for.
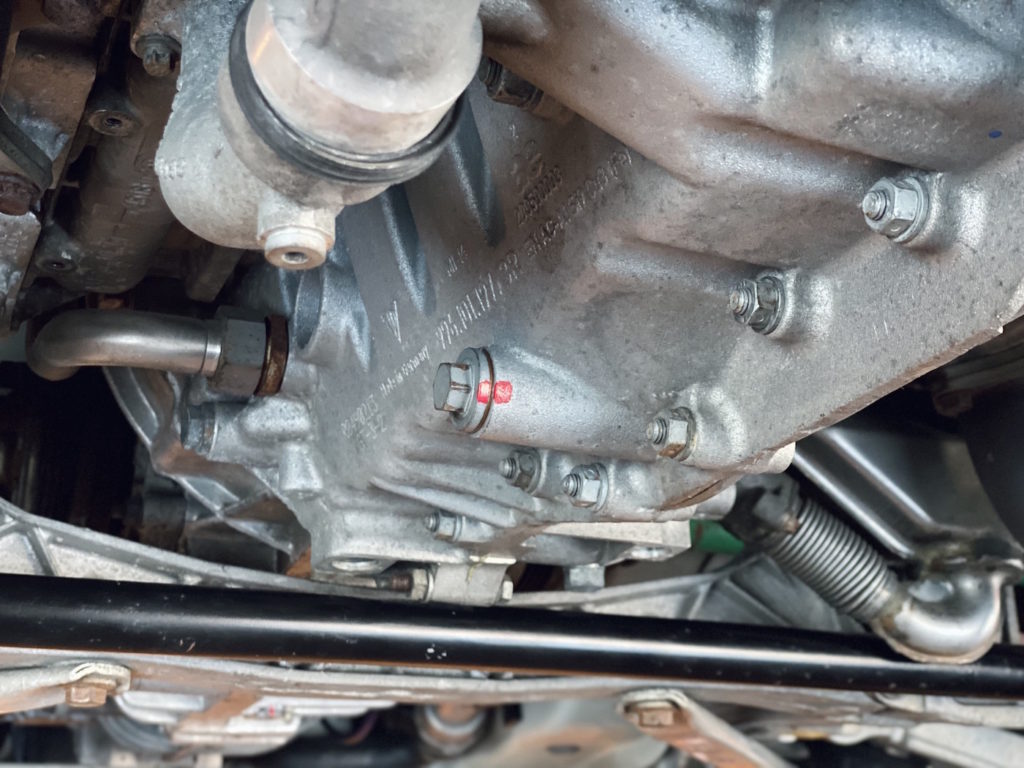
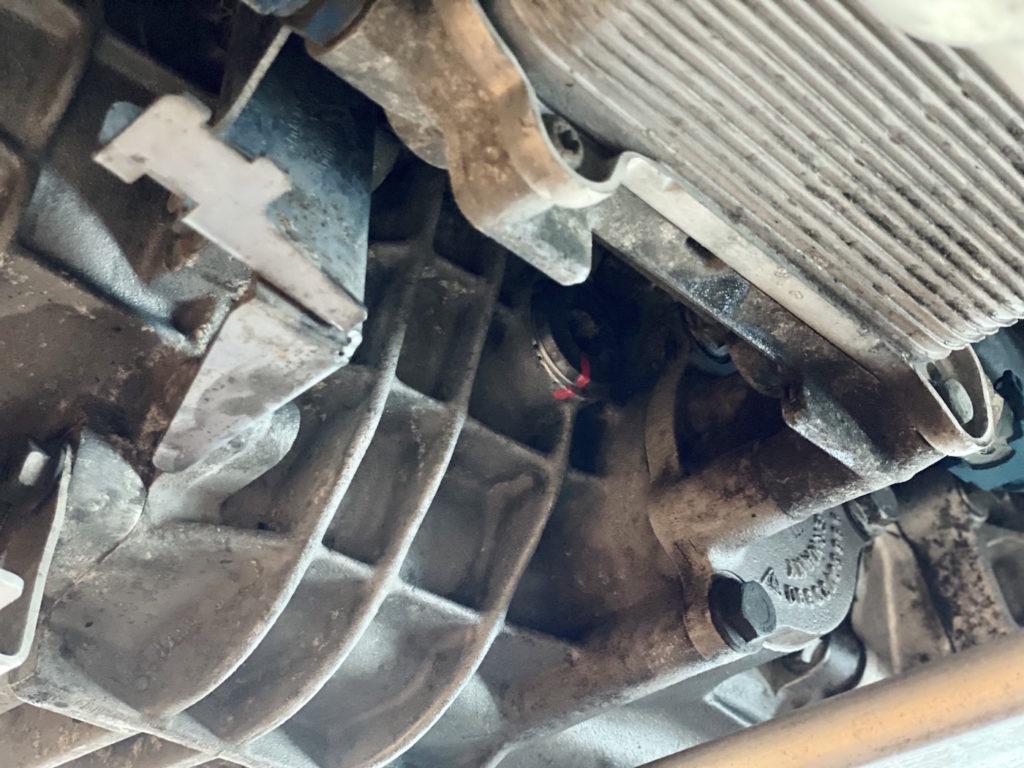
The transmission drained ~3qts, which is right about what you hope to see. The magnetic drain plug was free of any large metallic pieces. We refilled the transmission until it drains on it’s own, which was right about ~3qts.
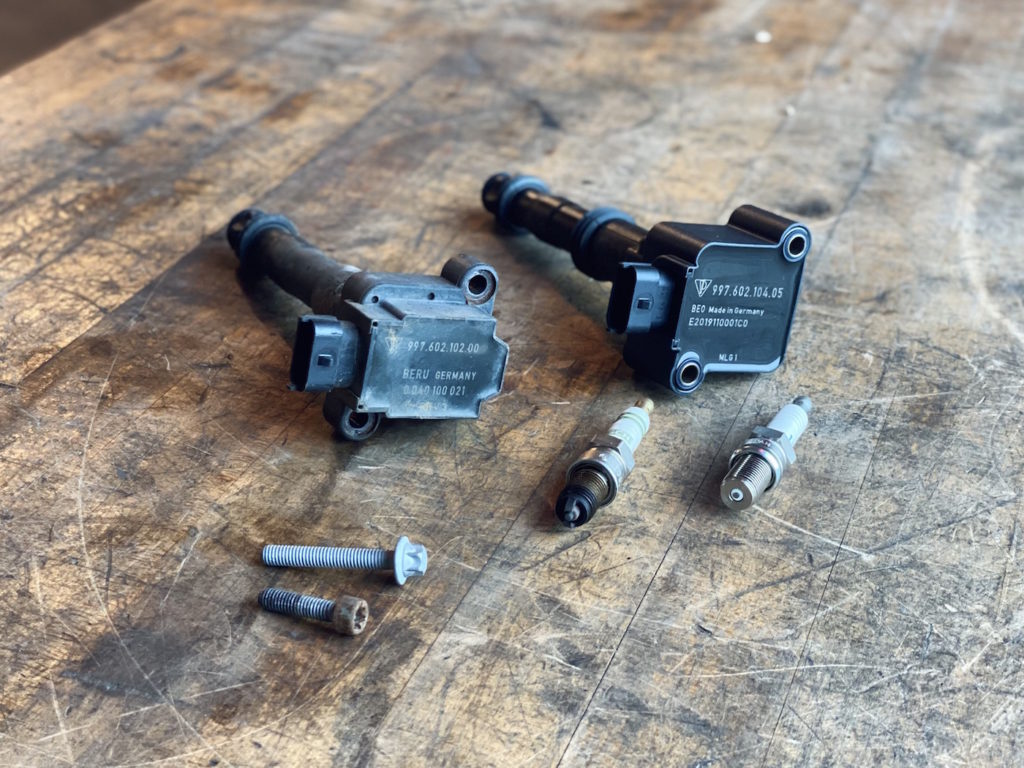
02/06/23: The updated spark plugs & ignition coils arrived late last week from PMNA.
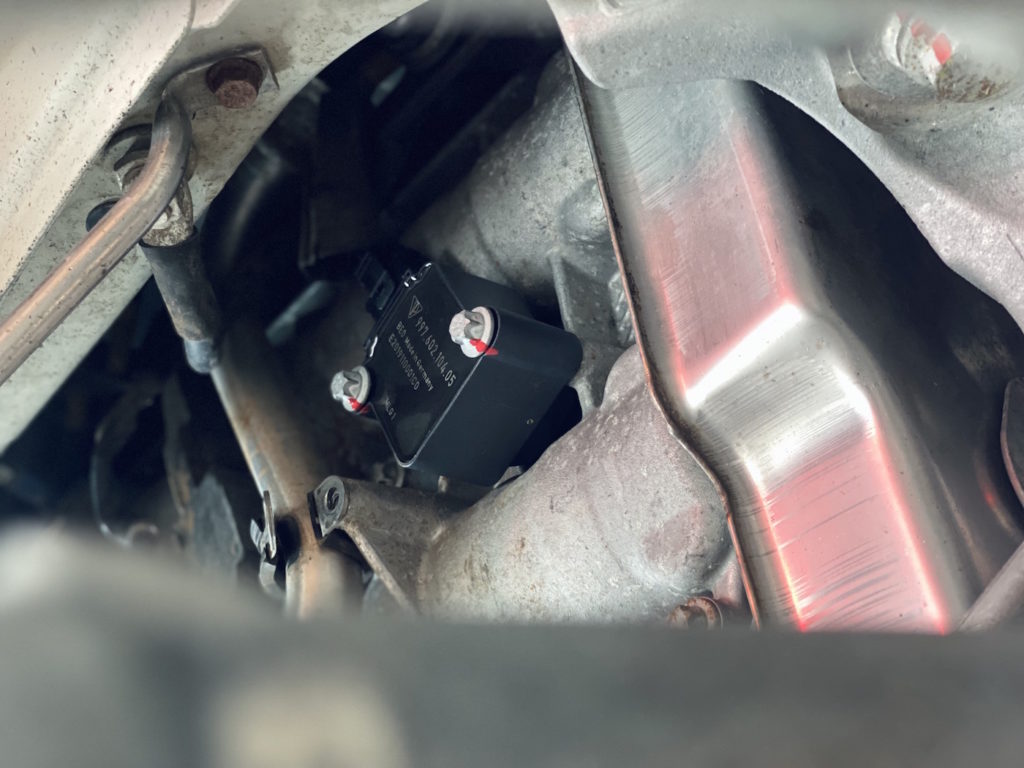
The spark plugs feature a new style head for more consistent spark over their lifespan. In a similar fashion, the updated ignition coils feature a larger coil for consistency and durability, and come with longer bolts to accomodate the new shape of the coil.
Here is a comparison image for reference.
A few of the Bosch spark plugs showed some oil pooling near the bottom of the threads, a sign of not being driven for an extended time period. We will monitor this after the first event with the car.
Install was rather straightforward and went smoothly.
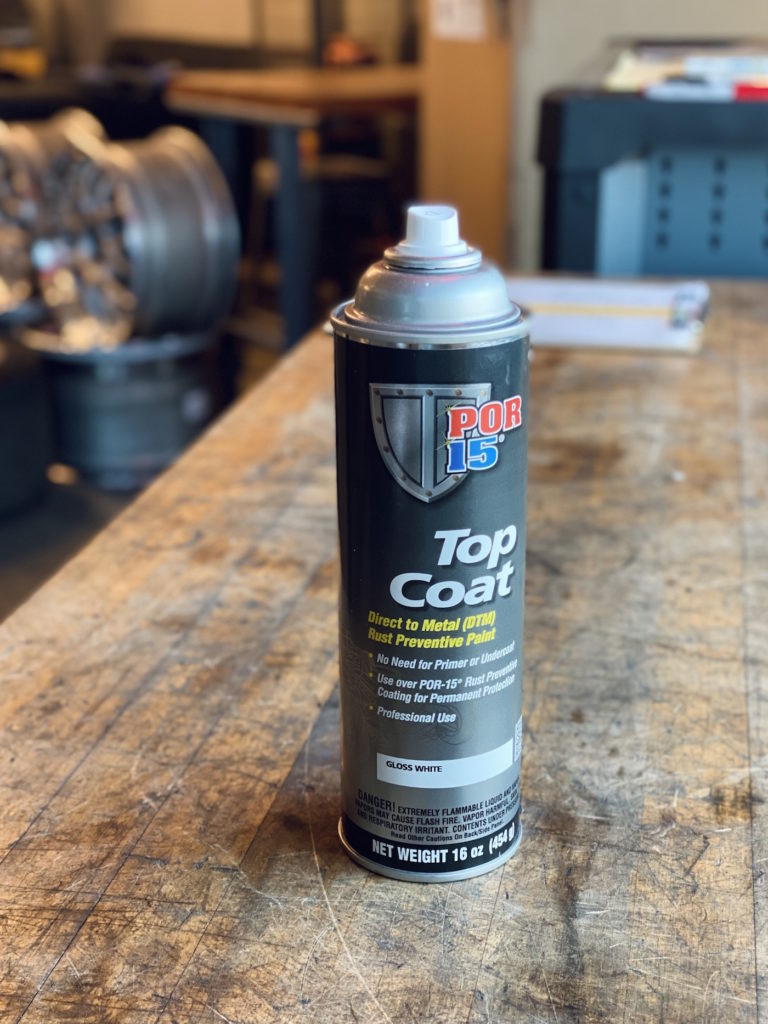
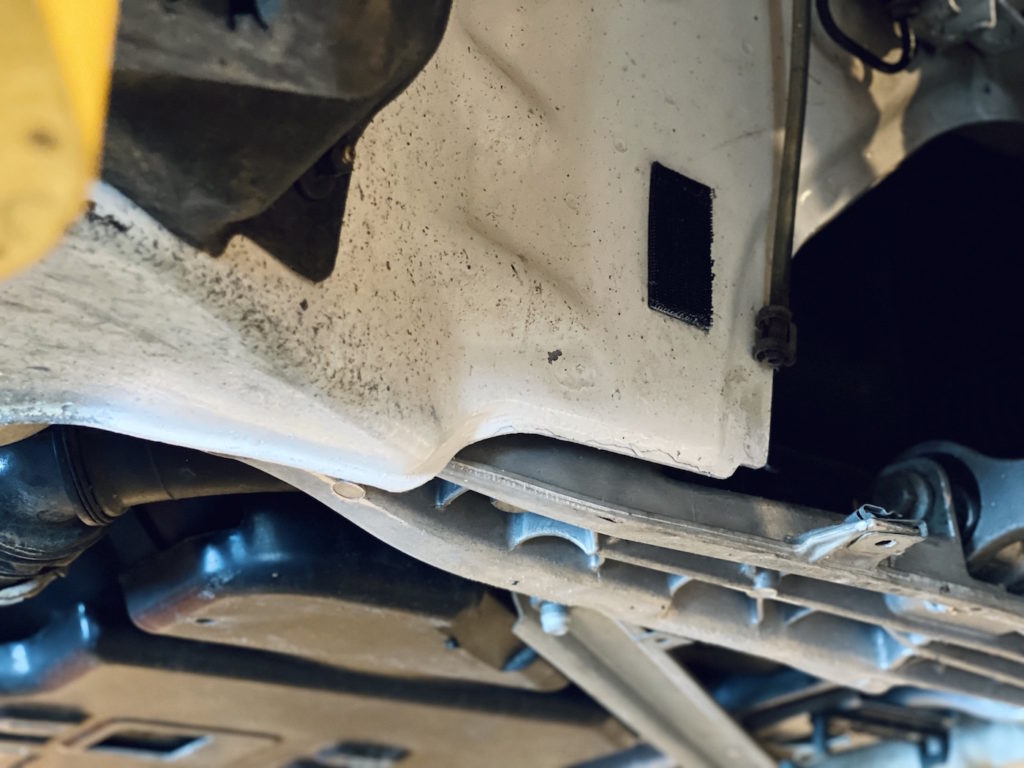
Next we addressed the surface rust on the chassis using Por-15, as suggested by client. This spray-on rust protection should do a good job of stopping the progress of the current rust and prevent future growth.
Here is an image of where we started.
And after a few coats of Por-15.
02/07/23: We have sourced a new front damper to replace the bent unit that came on the car. Our partners at Autometrics had a low hour unit on hand and have shipped it to us.
And an image of the bent unit, torn down by 057 Motorsports while attempting to dyno them.
We have a 997.1 spare damper on hand and have installed it for the time being to allow the car to move if needed.
02/08/23: A portion of the components from BBS Motorsport have arrived. We are waiting for the metal O-rings and the rubber gaskets to arrive to complete all 3 sets.
We keep a spare set of O-rings & gaskets on hand which allowed us to build a single set of wheels using the new components, including the new outer barrels.
The wheels were sent out to be mounted on roller tires, allowing us to prep the other set for rebuild.
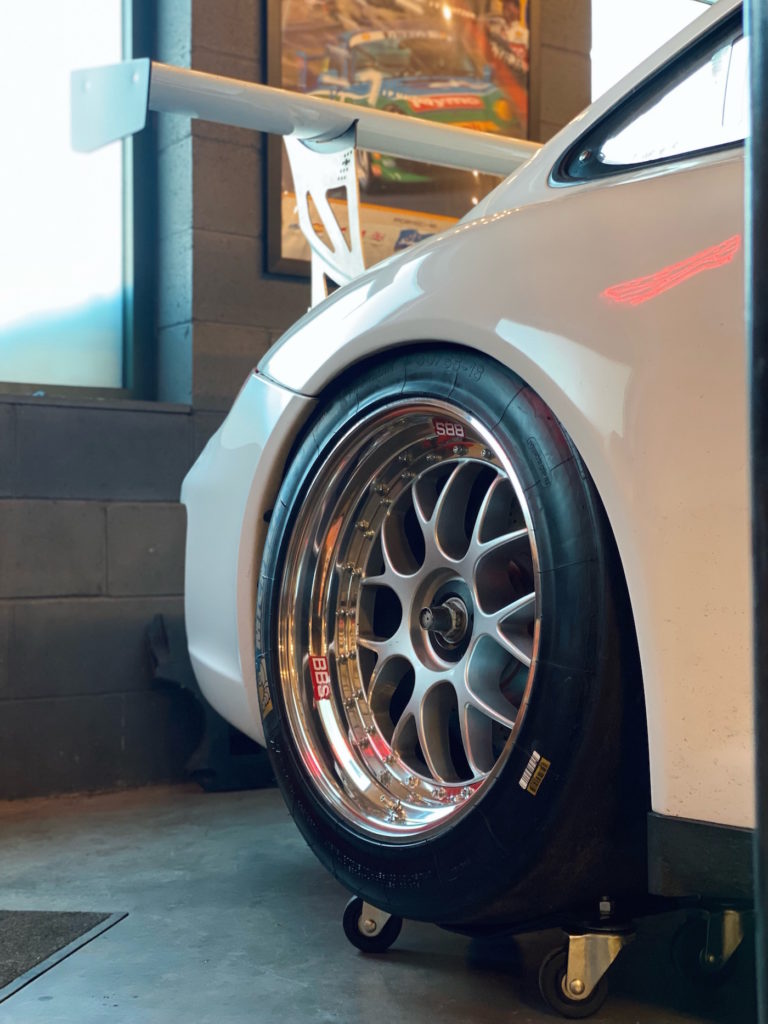
It’s an exciting time when fresh wheels go onto the car for the first time. The entire car looks “refreshed” with the additional shine of new BBS outer barrels.
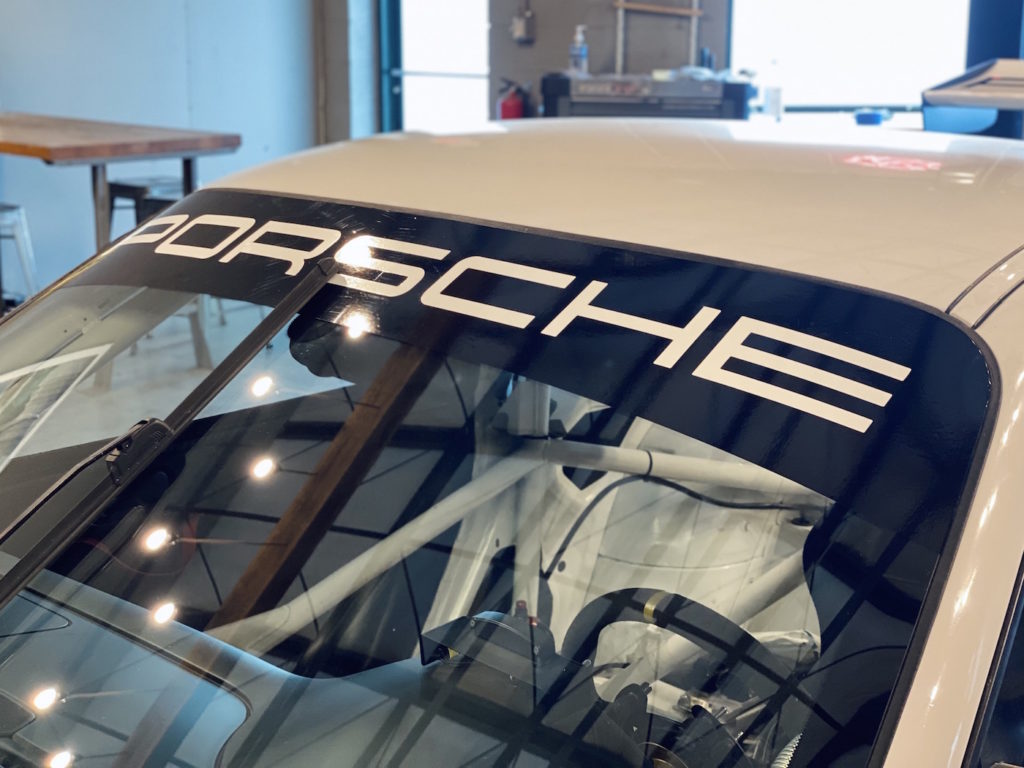
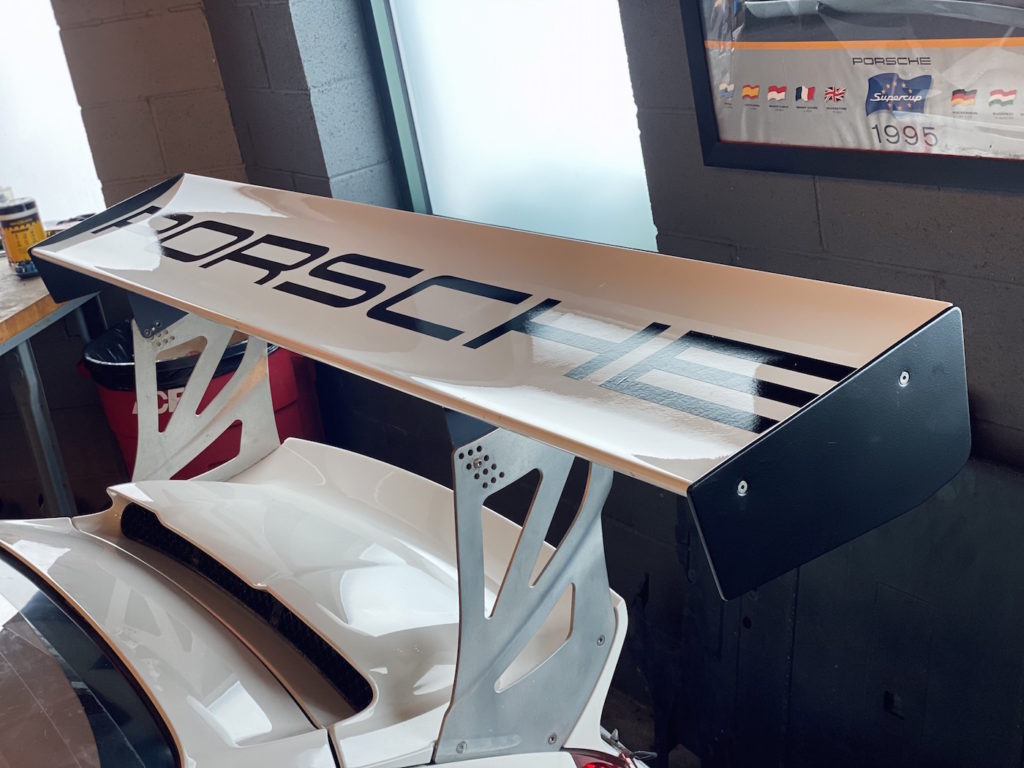
02/10/23: Today was a the first time we’d a look at this nearly-completed project Porsche 997.2 GT3 Cup. First up was to install the Porsche logo windshield banner & wing decal.
This gives the car a “just delivered” Factory look and feel.
Once those touches were completed, the car was lowered onto the ground to give us a sneak peek of the finished product.
From this point, the list below will be completed as components arrive to HQ.
– PMNA Blipper install
– PMNA updated F&R brake master cylinder install + brake & clutch bleed
– Install new to us FL damper
– Install new serpentine belt
– Rebuild the remaining BBS wheels sets
– Install fire bottle and confirm updated system is live
– Exhaust decision
– Systems check and heat cycle(s)
– Seat install (on order via German vendor chosen by client)
– Square up chassis, corner balance, align
– Nut & bolt
(If an item is missed, this list will be updated. Last update – 02/09/23)
02/14/23: Big day today, the GT3 Cup logo arrived over the weekend. This small detail makes it official. It’s a surprisingly nice decal to boot, very sticky.
We have received all the components from PMNA to complete the blipper & master cylinder install, as well as the new (used) front damper from Autometrics. We will install these items next.
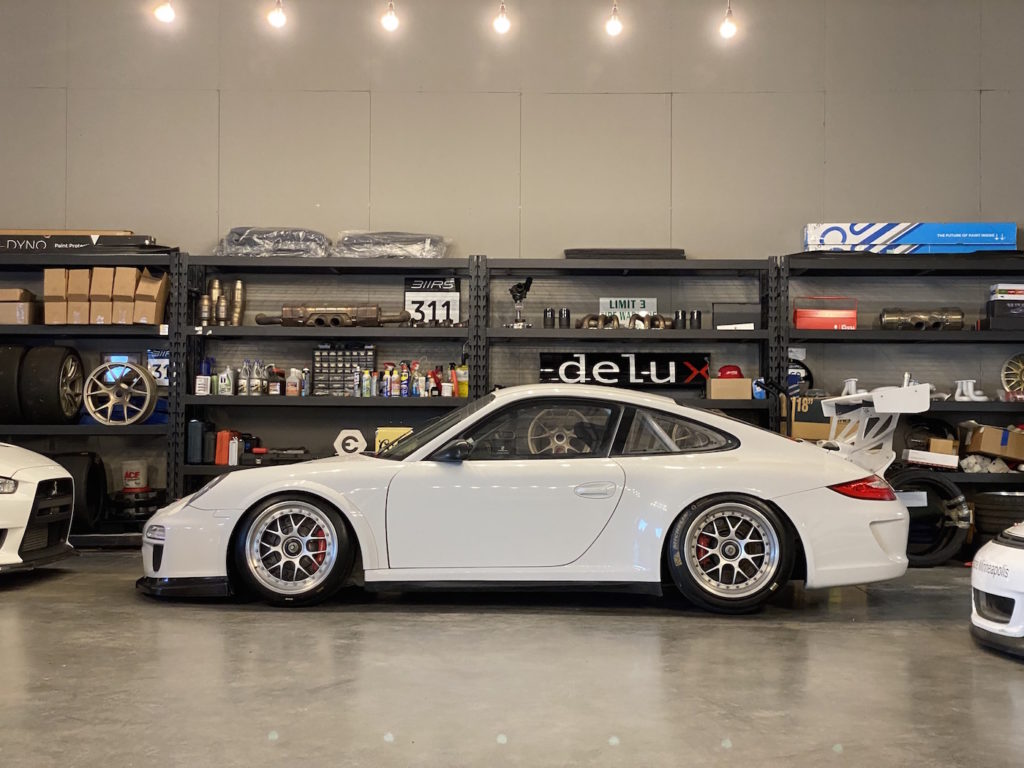
Here is how the car sits today. We are waiting for items from BBS, German Recaro supplier, fire bottle from service, and a decision on exhaust. We will continue to chip away at items we can until all has arrived.
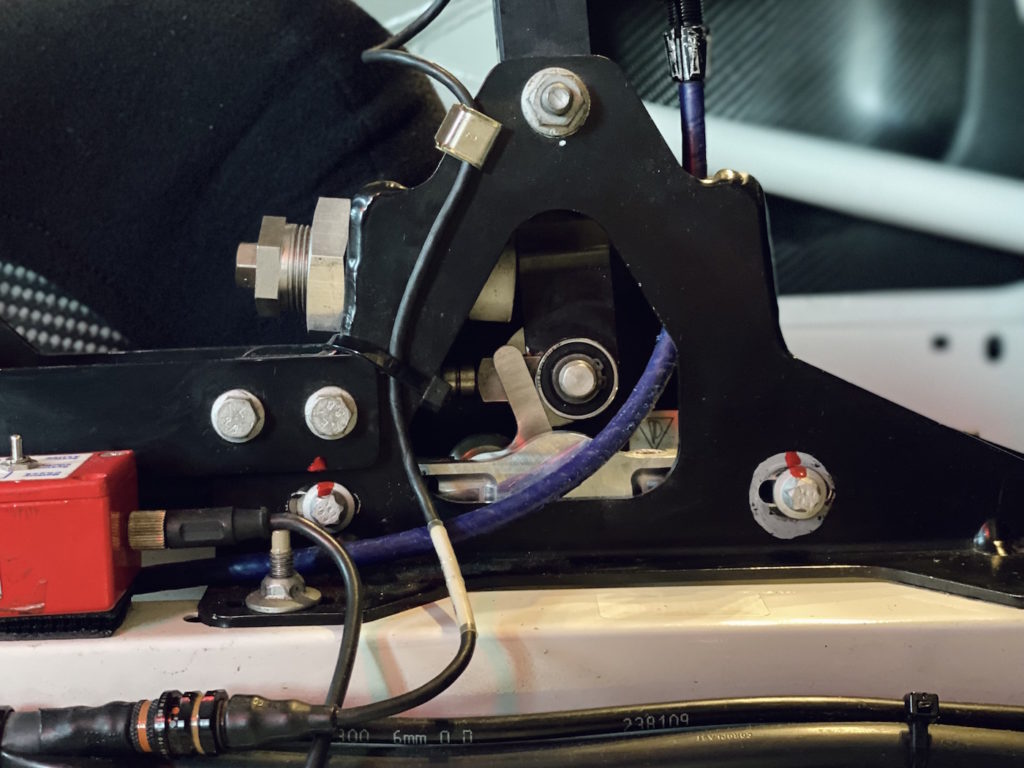
02/16/23: Today we checked quite a few boxes, starting with installation of the new Porsche Motorsport throttle blipper.
The Porsche Motorsport blipper sits below the shifter cage and is actuated when the shifter is pushed forward to engage a downshift. During the process of the motion of a downshift, the shaft pushes a small lever on the blipper system that pulls the new blipper-specific throttle cable, which in turn “blips” the throttle for a smooth downshift.
This is a trick system, especially in comparison to an aftermarket throttle pedal-activated system. We will confirm the system functions when we begin heat cycling the car.
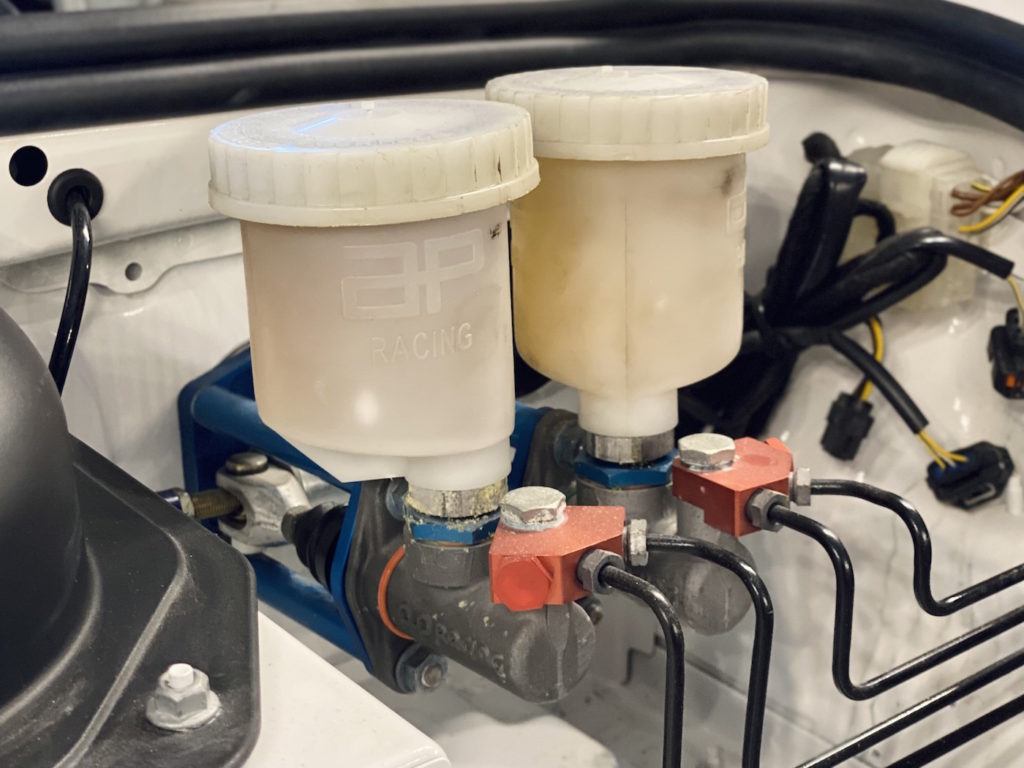
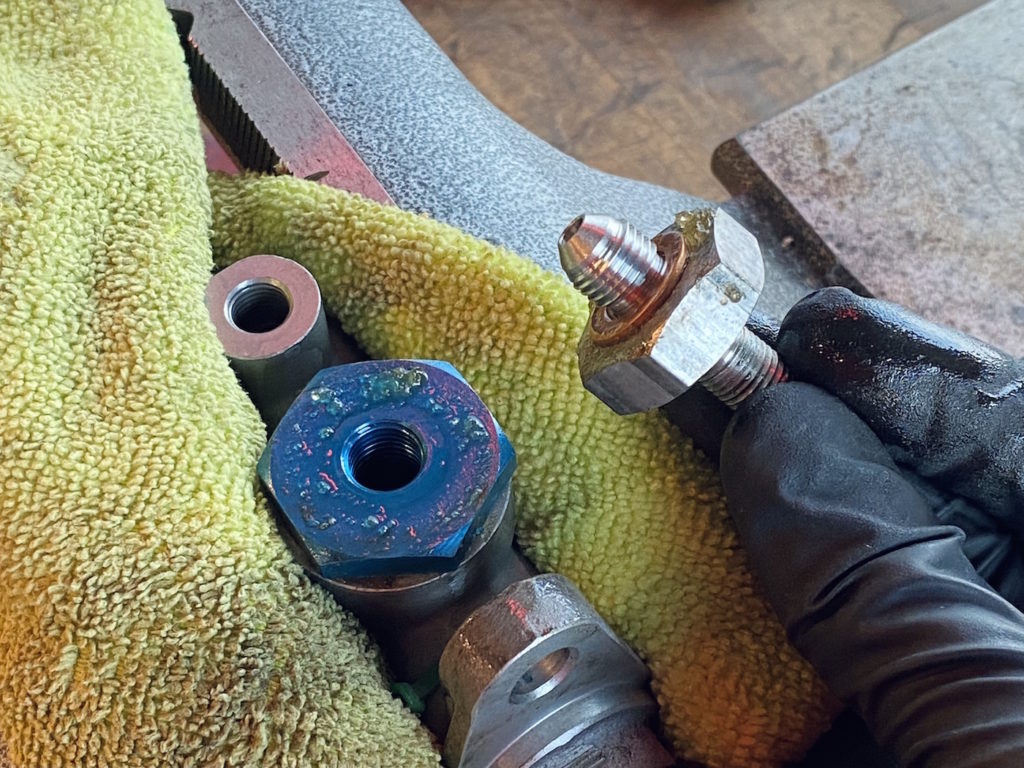
Next up was to replace the old F&R brake master cylinders. These are prone to leaking and no longer rebuildable via PMNA, thus new units must be installed.
Corrosion can be seen on the outside of the system and even more upon disassembly.
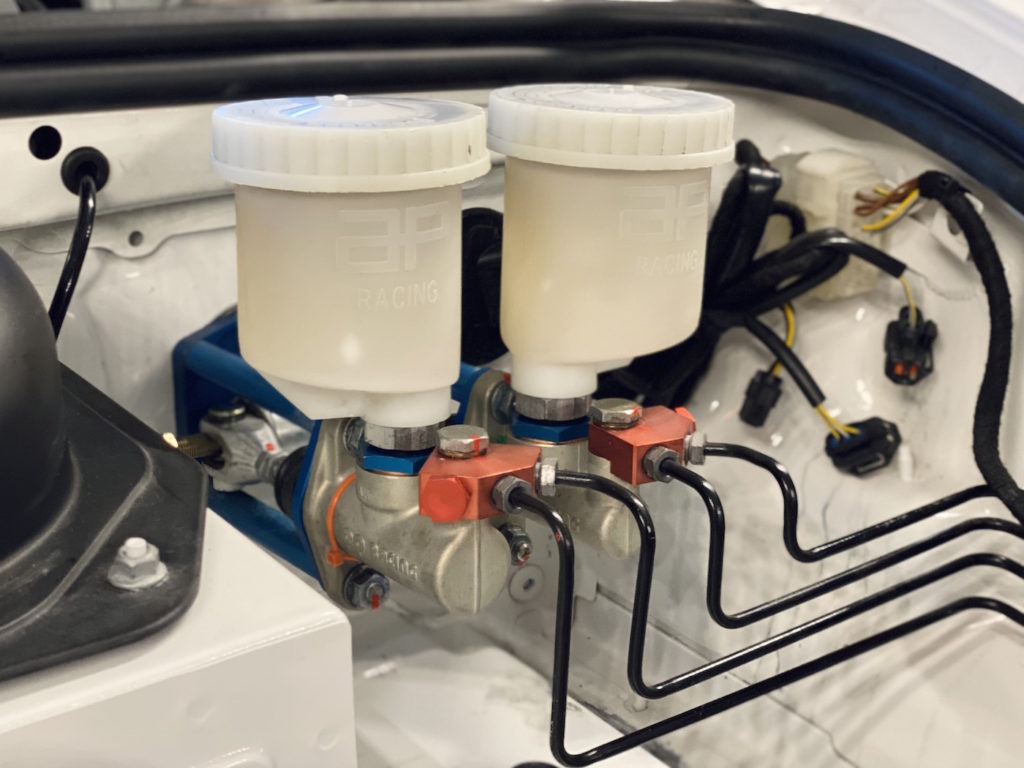
The new units went in without issue and were filled with fresh Castrol SRF. These units are key to eliminating question marks from the car while ensuring safety for the driver.
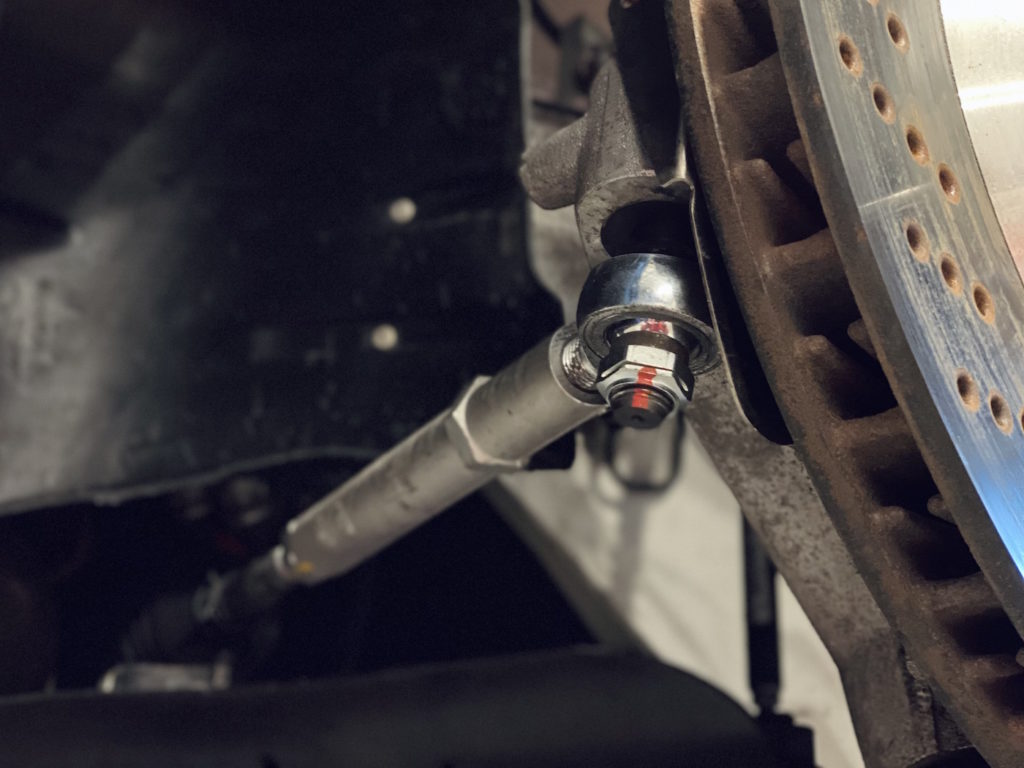
Onto the suspension with removal of the cross threaded LF tie rod end and installation of the new unit.
Prior to installation, we inspected the hub to ensure there were no cracks or imperfections, as the tie rod end is a press-in unit.
Installation went smoothly and a new specialized nut installed.
Next on the suspension front was to install the used FL damper sourced from Autometrics to replace the bent unit the car was delivered with. The damper is in very good shape and should be a nice match from the others on the car.
The first step is to “build” the unit by installing the springs & top hat from the donor damper.
Next the unit goes in the car and everything is tightened up to spec.
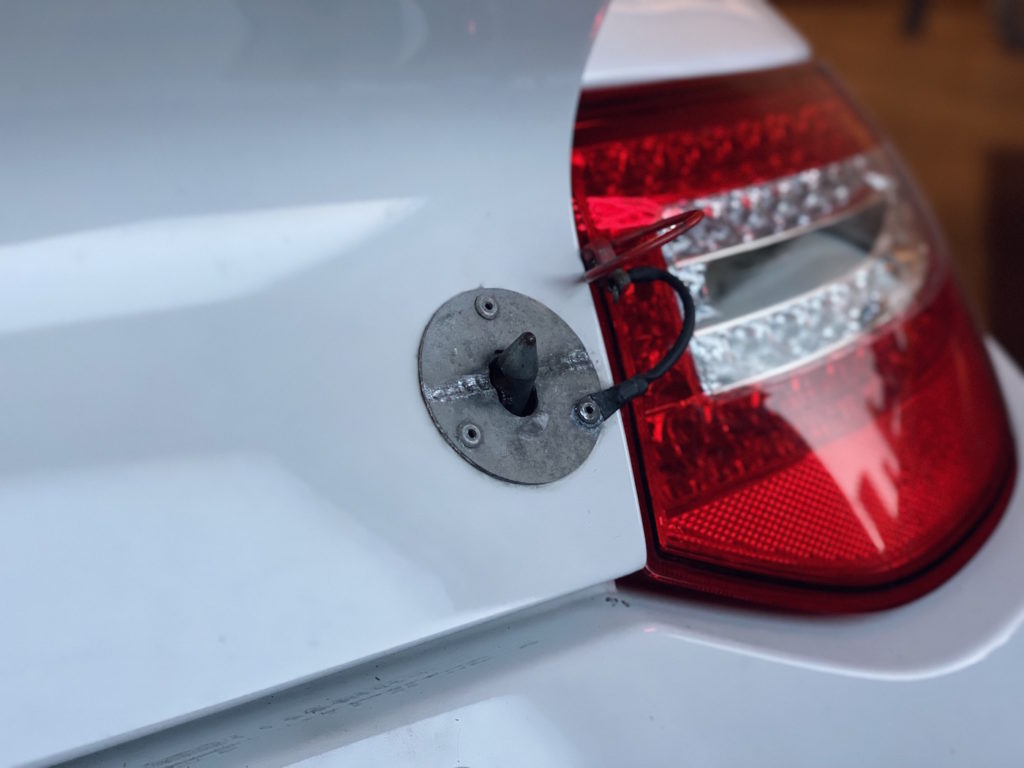
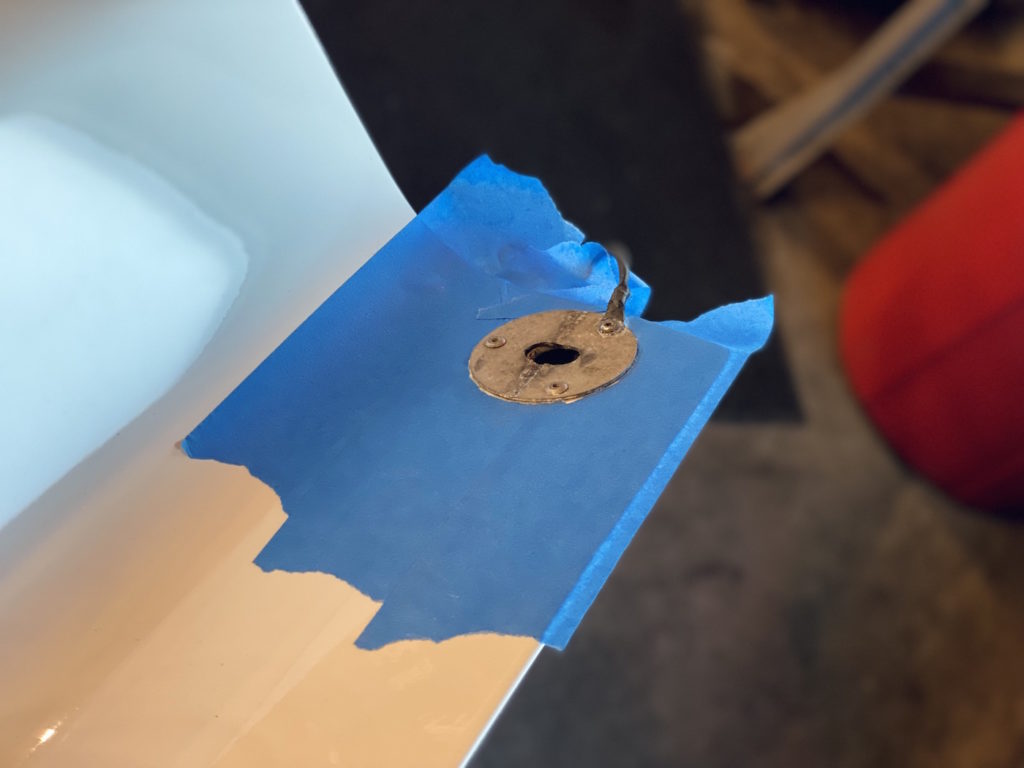
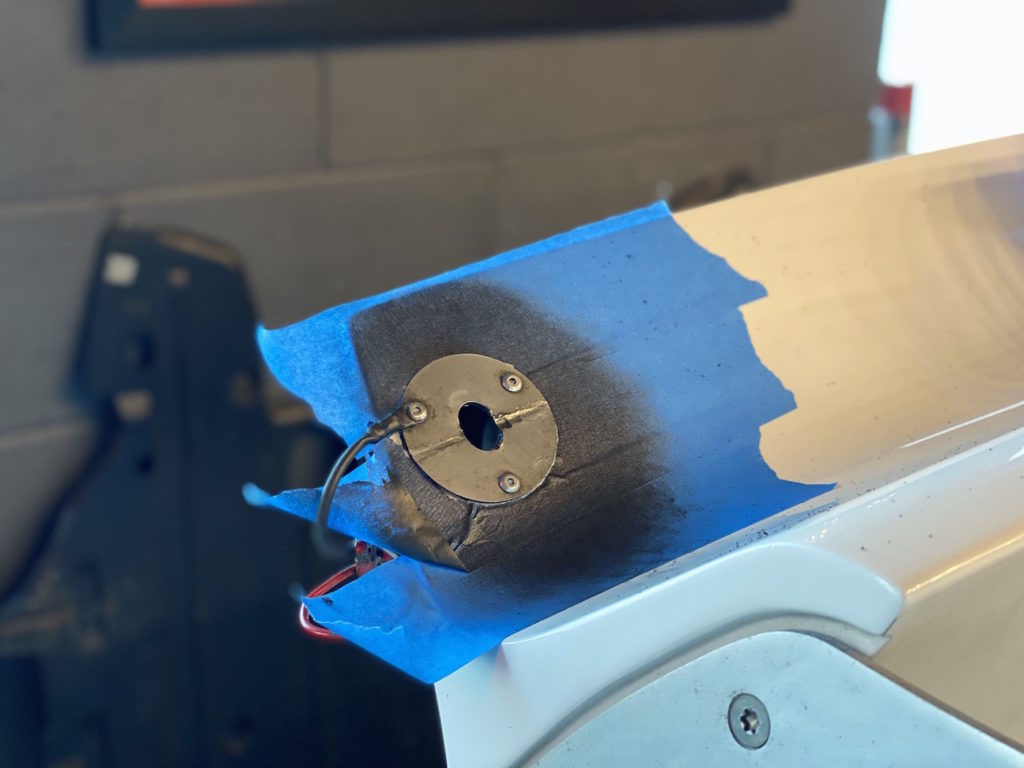
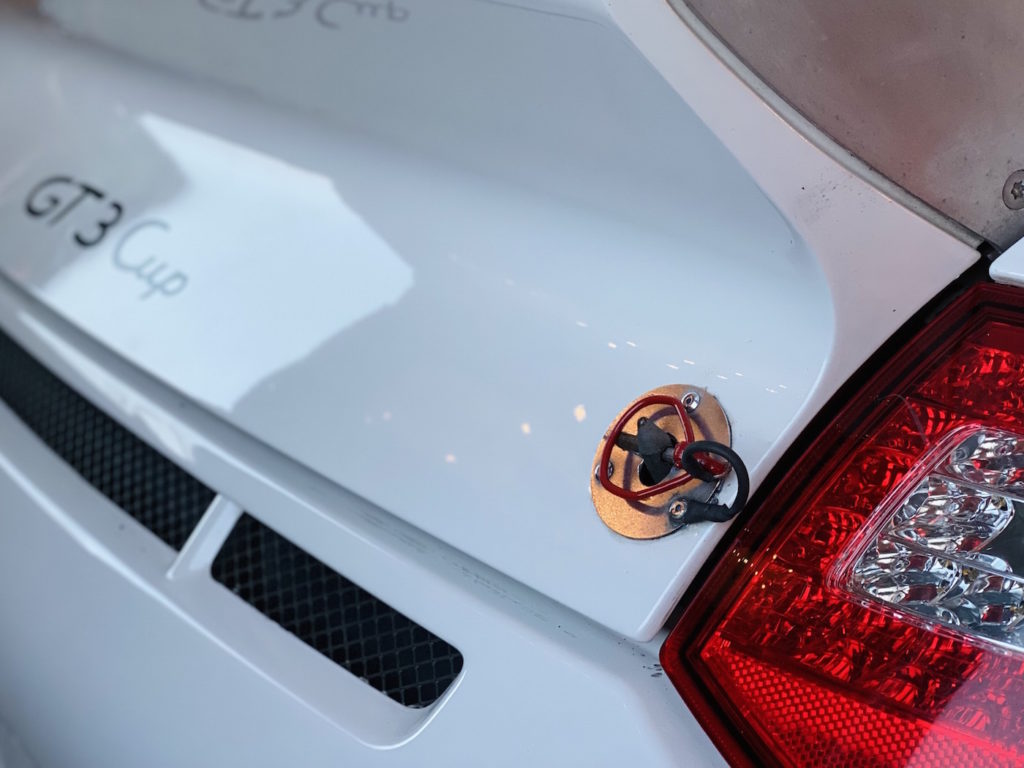
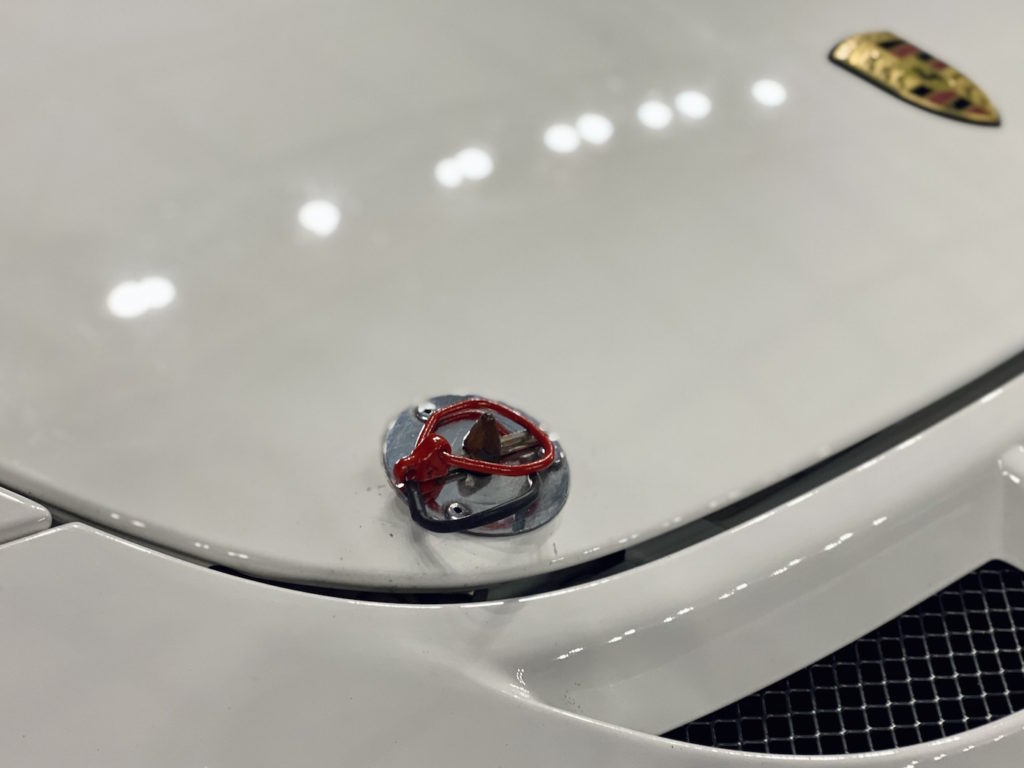
The final item on the check list for today was to refinish the hood pins front and rear. These units are in good working order, but are looking a bit worse for wear.
The first step is to tape off the metal base plate and begin polishing them.
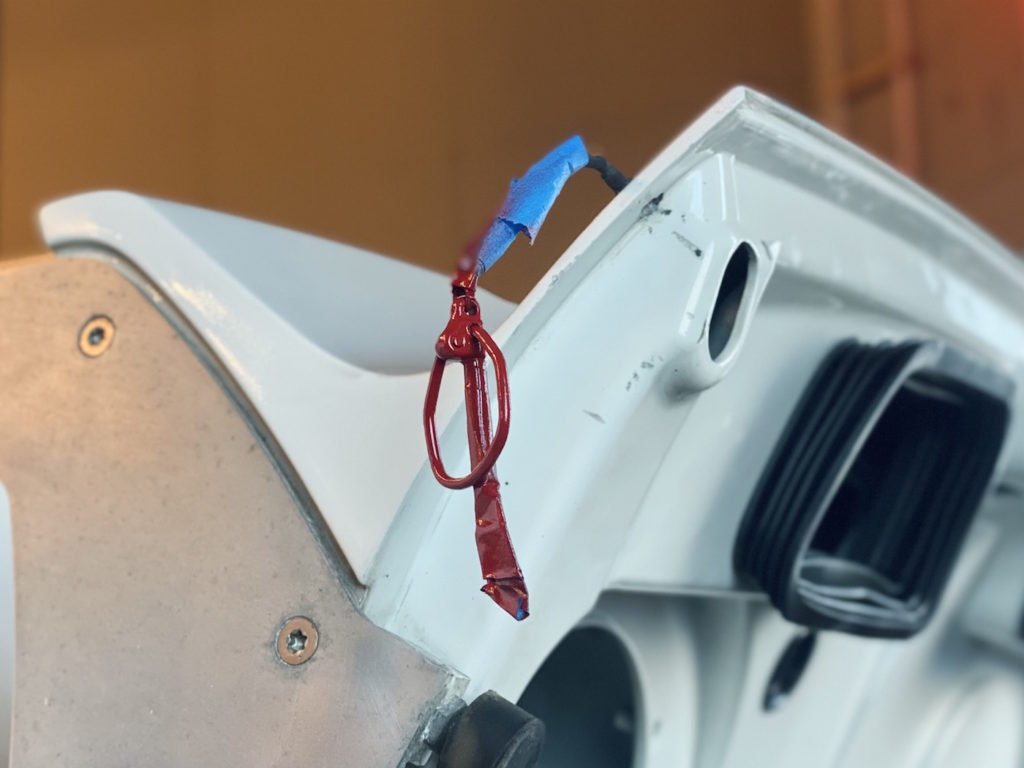
Once polished, we also painted the hood clips using the same red paint as we did to refinish the tow hooks.
The end result is a yet another “like new” touch to the car that, when combined with all of the other refinishing and freshening up we’ve completed, will make for a very complete end product for the client.
Next up is to install the new serpentine belt and rebuild the remaining BBS wheel sets. From there, we would like move forward with an exhaust decision so we can begin heat cycling the car.
02/17/23: Today we performed the first heat cycle on the car since it’s recent service. Prior to firing the car, we added 5gal of VP IMSA 100 fuel & fitted the car with a spare 997.1 GT3 Cup muffler system we have.
The car started and ran smoothly during it’s initial heat cycle. Early next week we will top off the fluids and begin heat cycling the trans and testing the new blipper system.
As of today, this is how the car sits.
02/22/23: Our race technician Nick worked from HQ today and knocked out the following items:
– Adjust throttle cable, confirm blipper functionality
– Bleed brakes
– Hot bleed coolant system
– Install new Serpentine belt
– Leak down
– Square up chassis
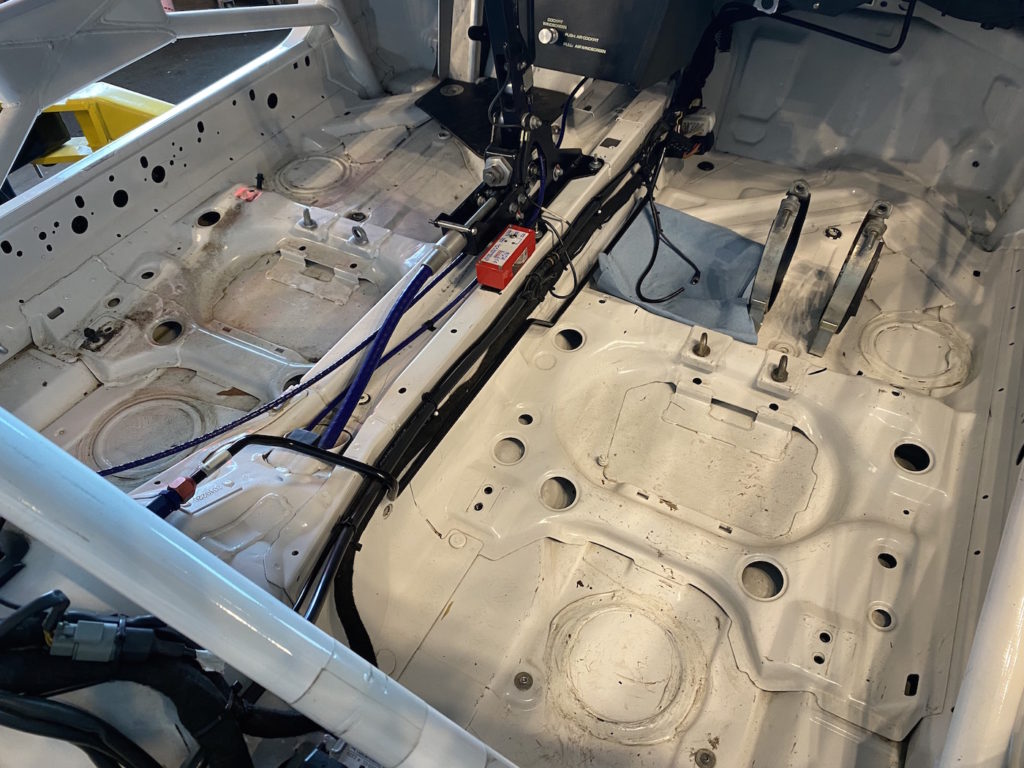
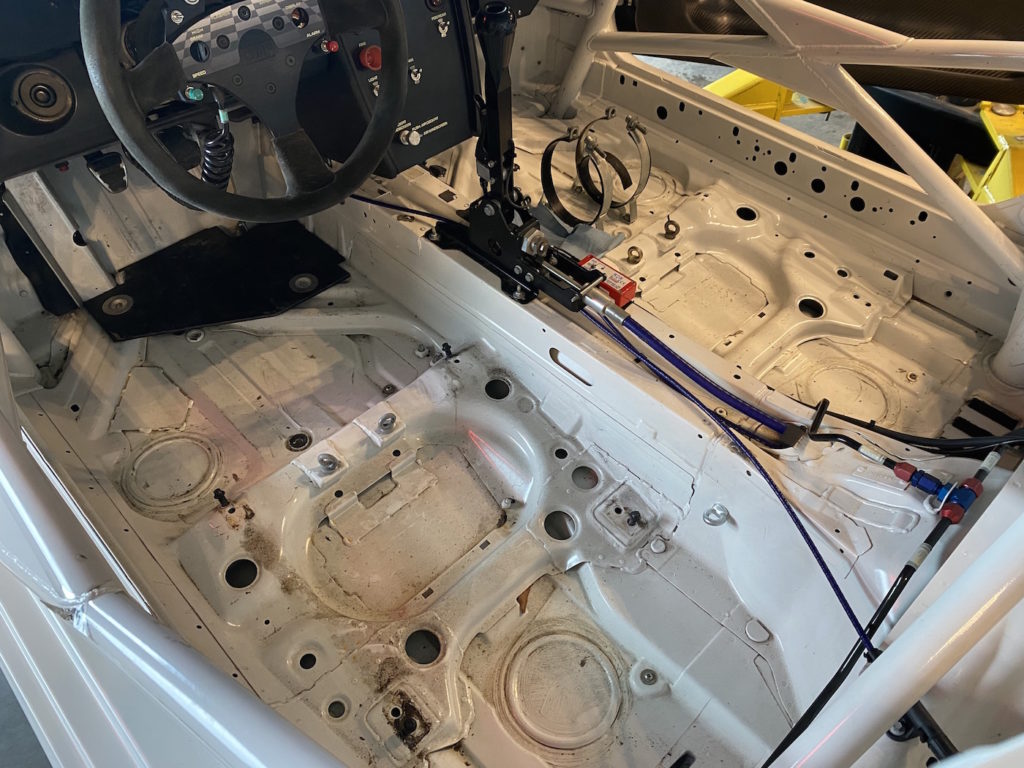
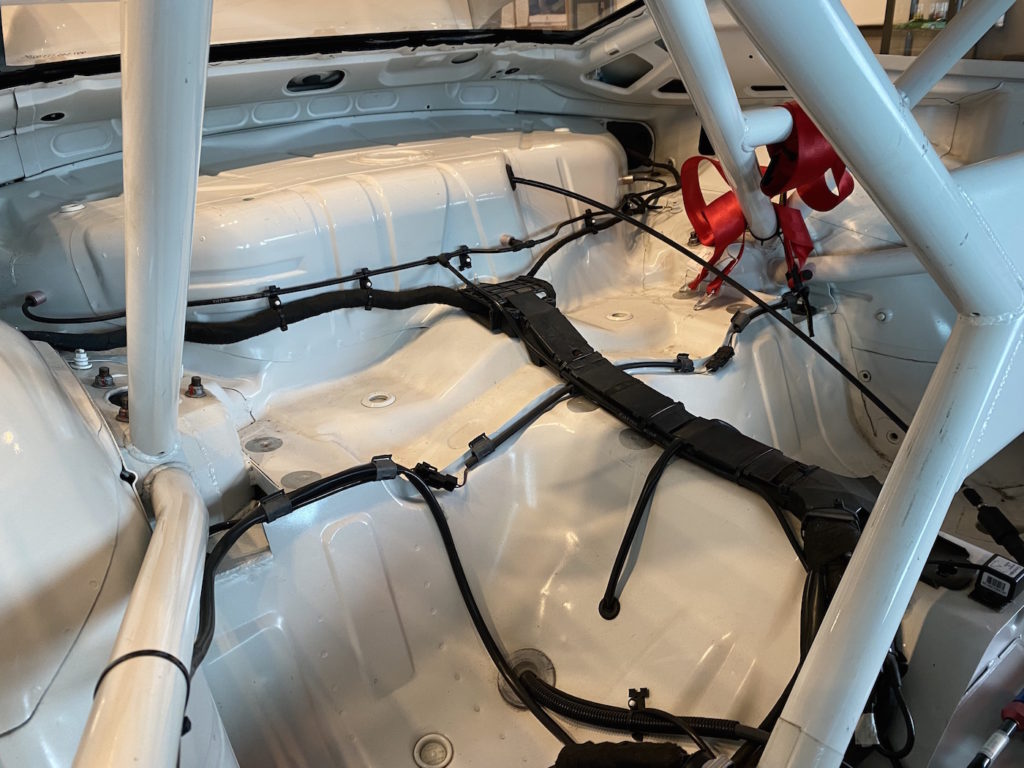
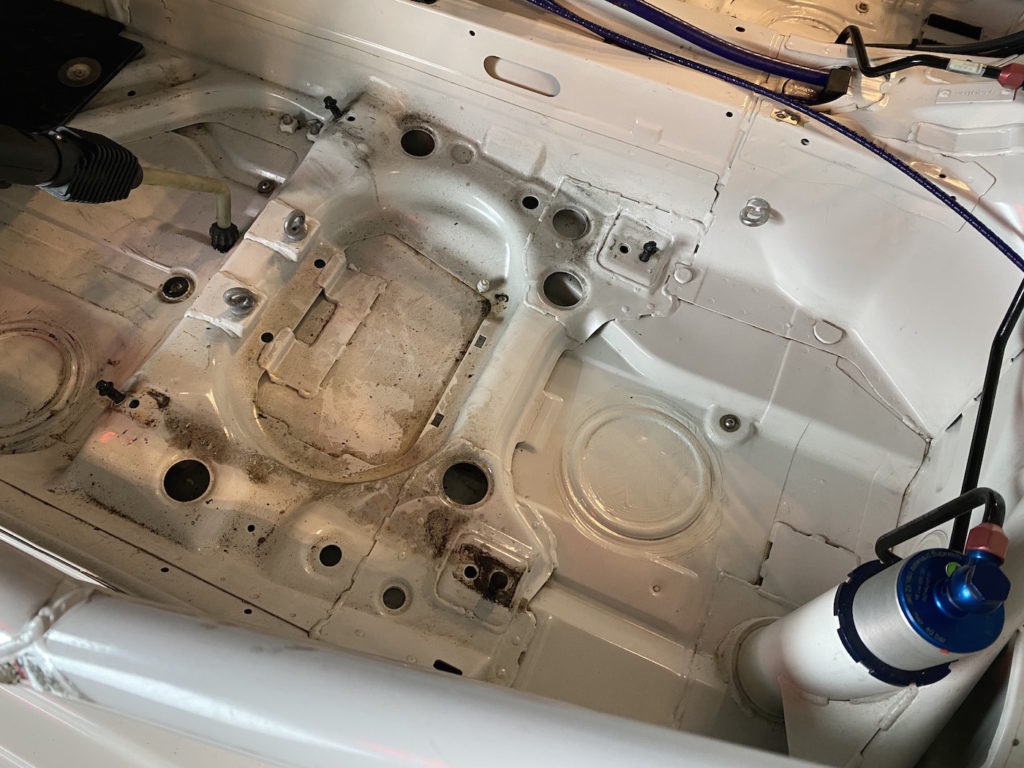
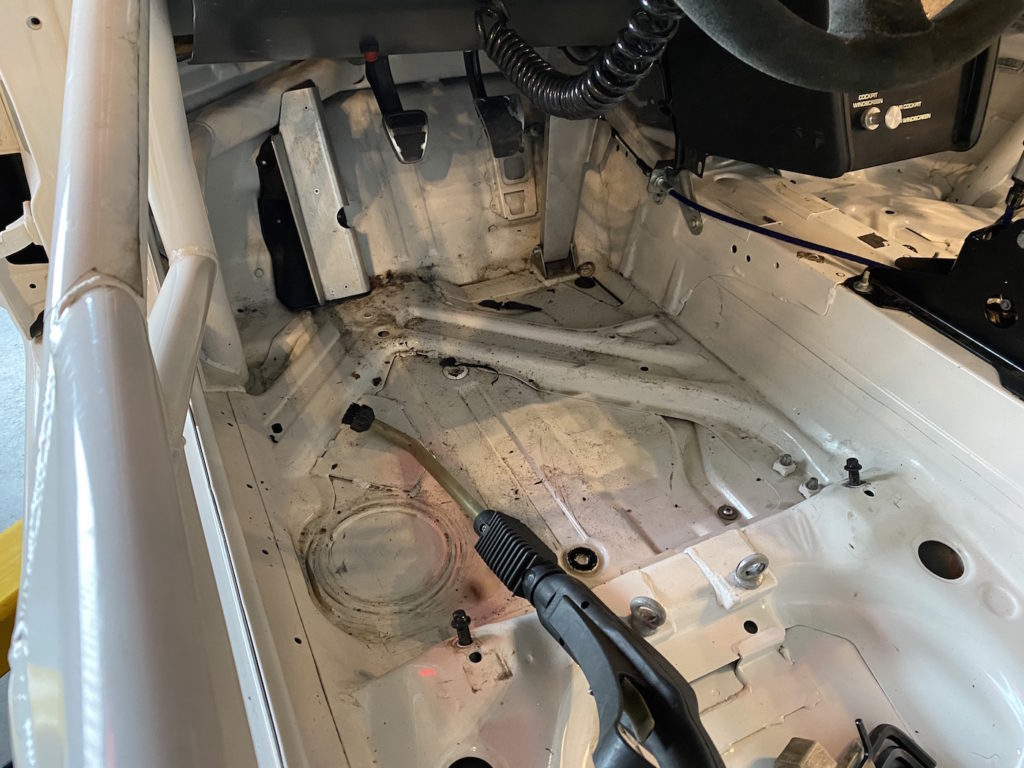
Separately, we steam cleaned the interior of the car with amazing results. Below are images of this process along with images of the items completed with Nick.
Before:
During:
After:
In addition to this, we replaced the aging clear protection tape around the chassis. Here’s a quick before and after.
Next up was to bleed the brake system and flush fresh Castrol SRF through the system. The fluid that was removed was in very poor shape, with an almost milky quality to it.
The new serpentine belt went on without issue. We now have a decent spare in the belt that was removed, which will be placed in the client’s track box.
We moved onto the leakdown, which was done on a cold engine to expose any potential issues. We pressurized the system to the maximum of 100psi.
The results were very promising and further confirms our belief that this 997.2 GT3 Cup will perform well. The “worst” cylinder (#6) showed a maximum leakdown of 4.5%, well under the 7-12% range of a GT3 Cup engine with age.
Finally we squared up the chassis prior to doing a complete nut & bolt and final chassis setup. The goal here is to adjust all the subframes to a point where the diagonal measurements across the chassis are within a 2-3 millimeters, and taking it a step further to adjust the wheel bases to within 2-3 millimeters.
This process gives us a perfect base to build from, and happy to report the car squared up nicely.

